Diana C. Kirby

About Diana C. Kirby

Diana Kirby is a lifelong gardener and longtime Austinite, who loves the Central Texas climate for the almost year-round opportunities it offers for active gardening and seasonal splendor. Known as an impassioned and successful gardener, Diana began by helping friends design and implement their landscapes. Soon, she was contracted as a professional designer by a popular local landscaping installation firm, where she designed landscapes for residential and commercial clients for several years. In 2007, her new passion blossomed with the launch of her own firm, Diana’s Designs. ... Diana is a member of the Association of Professional Landscape Designers, the Garden Writers Association of America, and she writes a monthly gardening column for the Austin American-Statesman. Diana teaches the Landscape Design classes for several county Texas Agrilife Extension Service Master Gardener certification programs and speaks about gardening and design for garden centers and other groups. Learn more about presentation topics, availability and speaking fees.

Take care of tools to save time, money and work
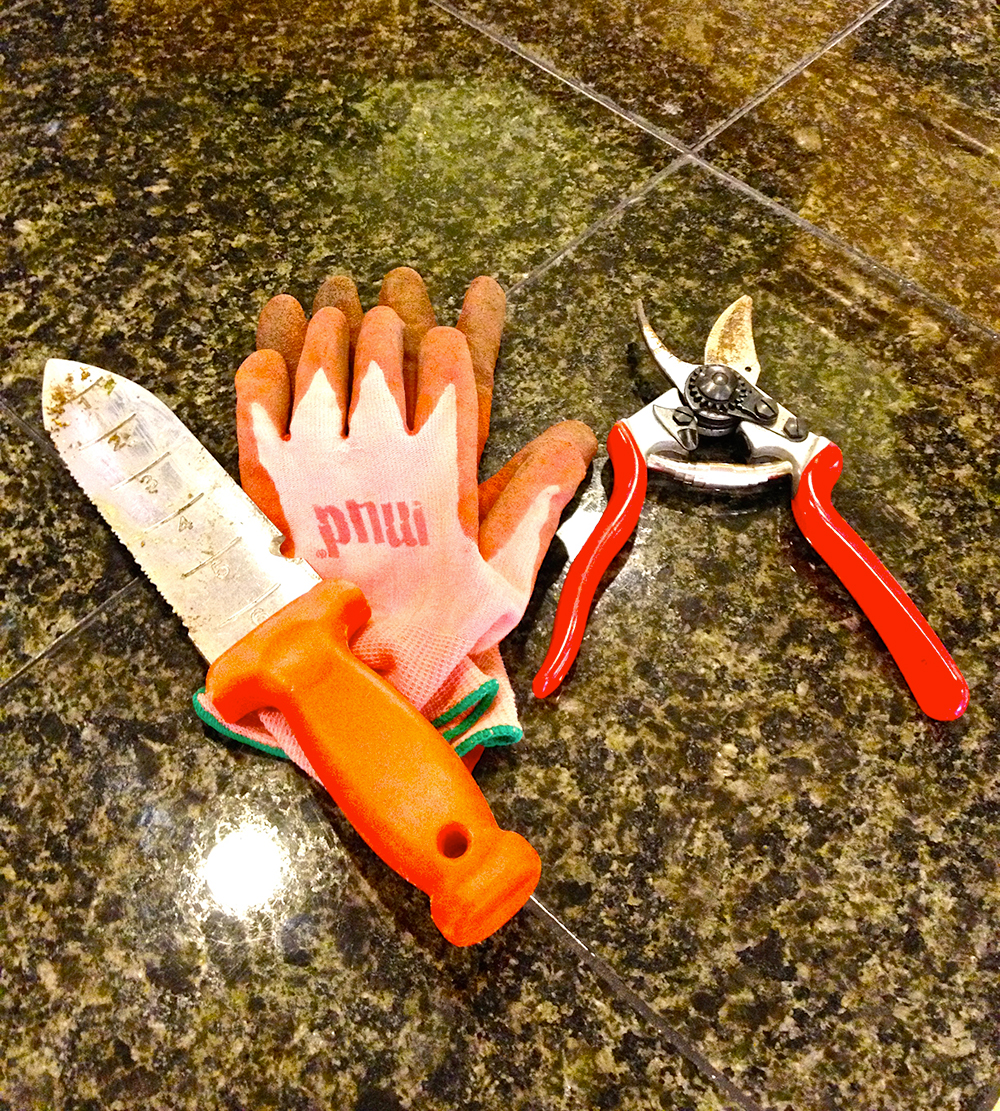
caring-for-your-gardening-tools-implementsFor cold climate gardeners, now is the time to bring in tender plants, clean and put away the tools, and curl up with seed catalogs to wait for spring. Here in Central Texas, where we garden and use our tools most of the year, tool maintenance should be a regular practice.

Even the most meticulous gardeners spin tool horror stories. Like the tale of the fish that got away, any gardener can entertain you with stories about pruners left in the rain or spades left in the compost. We’ve all done it. My best tool tale involved my tossing an uncapped construction paint can into a bucket where it immediately began spraying the Felco pruners in the bucket and the grass and everything else around it a bright, Day-Glo orange.
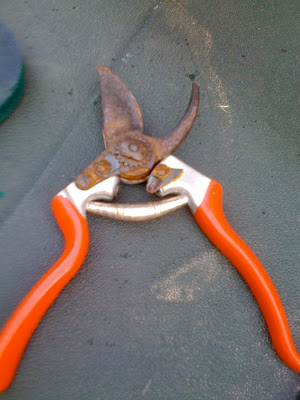
garden-tool-maintenance-removing-rust-from-shearsTaking care of your tools makes gardening easier. Rust-free pruners cut more easily and don’t crush and damage tender plant stems. Sharp shovels and hoes require less effort to push into the ground. A little linseed oil will go a long way to lessen the amount of elbow grease your need to accomplish your gardening chores. And if you’ve priced good bypass pruners lately, giving tools a longer life means more money for plants.

Designed to make clean up a simple habit, use these quick-care tips to lighten your gardening load

Rinse off your tools immediately after using them. Stuck-on wet soil, especially our terrible clay, sets the stage for rust to begin degrading tools. Use a scrub brush or S.O. S. pad to remove any stubborn remains. Wipe them dry with a rag and leave them outside for a while to fully dry.

Just as you carefully oil and ‘season’ your cast-iron skillet, oiling your tools will also give them longer life. Fill a small plastic container with sand and barely moisten it with linseed oil, or even motor oil. Then push your hand trowel down into the moistened sand, pull it out and let the gritty mix help you clean your tool as you rub it with a rag, removing all the sand.

For tools that have collected sticky plant sap or resin, use a little paint thinner on a rag to remove the residue before the sand cleaning process.

If your pruners are already sporting a nice burnished coating of rust, roll up your sleeves and start by taking them apart. The most important rule to remember – as you begin to disassemble – lay each part out in a line on the counter in the order in which you removed it. Use steel wool or sandpaper to begin removing the rust. Then wipe the tool off and finish with linseed oil.

Travis County Master Gardener Sheryl Williams recently hosted a tool cleaning and sharpening gathering for a small group of Austin garden bloggers. She showed us her techniques.

“I grew up in a hunting family,” said Williams. “My grandpa taught me early on how to sharpen a knife using a whetstone, and then later taught me how to sharpen a hoe and a shovel.”

“I know some novice gardeners who have simply thrown away their tools because they didn’t know they could be sharpened.”

To sharpen tools, clean them, then use a sharpening stone or a file to sharpen the beveled portion of the blade. For hand pruners, a 6” smooth file should work, while hedge trimmers and loppers will probably require an 8’-10’ mil file. For harder steel tools, you may finish with a diamond or ceramic hone as well.

Do not sharpen both sides of the blade; make sure each filing stroke goes down the entire length of the blade with the file parallel. Don’t file across the blade or on the back side of the blade. This can lead to nicks and damage to the blade.

Williams keeps her sandy bucket and rag by her tools and makes a quick cleaning part of her routine each time she gardens.

Williams summed up best motivator of all for developing proper tool maintenance habits, “If you’re using dull or dirty tools to garden, it’s going to take much more human effort to do it.”

Local Landscape Designer and Garden Coach, Diana Kirby, provides landscaping tips on Facebook at Diana’s Designs, at www.dianasdesignsaustin.com and writes a garden blog at www.dianasdesignsaustin.com.

By |2017-11-29T23:26:58-06:00November 28th, 2015|Articles|Comments Off on Take care of tools to save time, money and work

Fruit trees in the garden bearing fruit after recent rains…

A tour through the garden this week, after several significant recent rains, has me smiling.  Several of our trees are bearing fruit, thanks to a change of seasons and the end the our drought status.

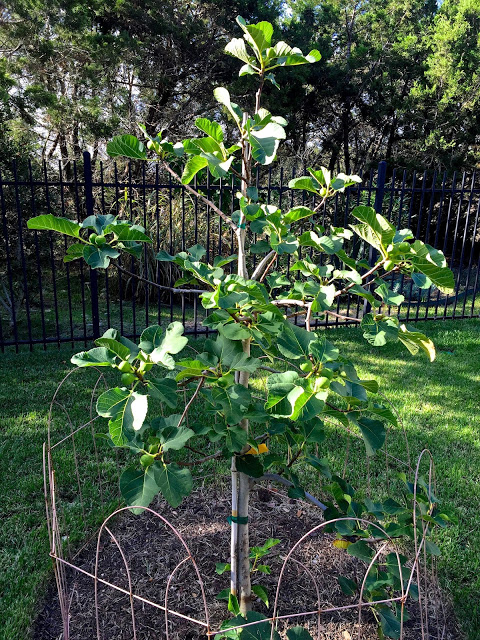
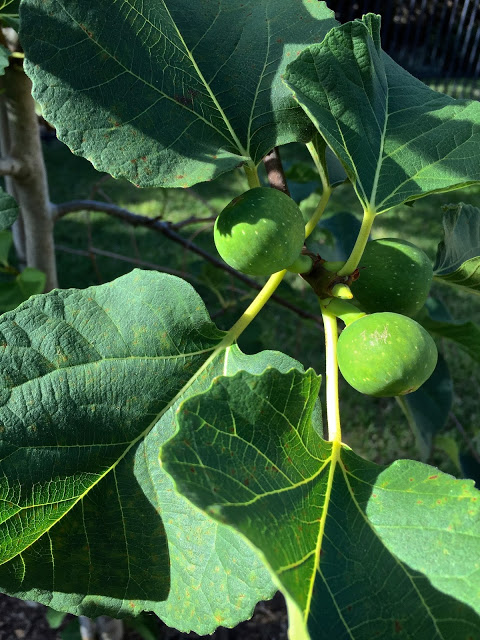
The Texas ever-bearing fig tree we planted this spring is perking up after the summer and producing a second crop of fruit.  I can’t wait to taste them, as those from the spring were stressed by the transplant and heat.

It’s a lovely little tree, but I have had to put up a fence to keep Dakota, the fruit-vegetable-bulb-grub-eating dog away from it.

The pineapple guava is getting to be quite large for its spot and when it’s done fruiting, I will do some more pruning on it.  I’d like it to be a little less multi-trunked so we can see the structural nature of the tree.

Dakota had eaten some of the guavas, but there are going to be enough for us as I’m keeping a closer eye on her!

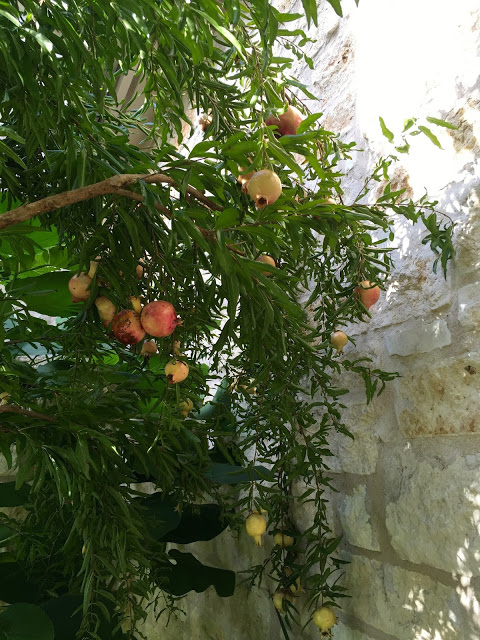
The pomegranate tree is absolutely full of fruit.  The birds and squirrels often get into these, and I usually leave some on the tree to split open and give them a treat.  I’m going to try some different ways for us to enjoy the arils this year.  They’re so good for you — their health benefits include helping to fight heart disease, blood pressure, high cholesterol. They have also been shown to help inhibit breast, prostate and colon cancer. We have many more than we could possibly eat, so I’ll be sharing.  If you’re in Austin, let me know if you’d like to come get some — they’re not quite ready yet, but it won’t be long now.  Just post a comment if you’re interested in coming to get some.
There is no fruit on the loquat, but it’s blooming all over, so that’s a promising sign for future production.  Except that this fruit tree sits next to the Pom, so the squirrels usually have a field day with the loquats because they are much less work to eat.  I’ll have to be the early bird to get this fruit.
What’s fruiting in your garden?

Frogs and toads and eggs in the garden — oh my!

We’re very fortunate to enjoy an abundance of wildlife in our garden.  With an acre and a half – and about one third of it is natural woods — we see birds, deer, squirrels, foxes, road runners, coyotes and an abundance of lizards and frogs and toads.

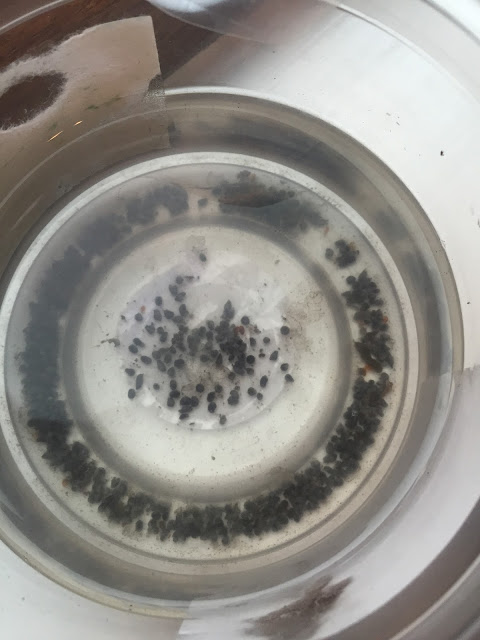
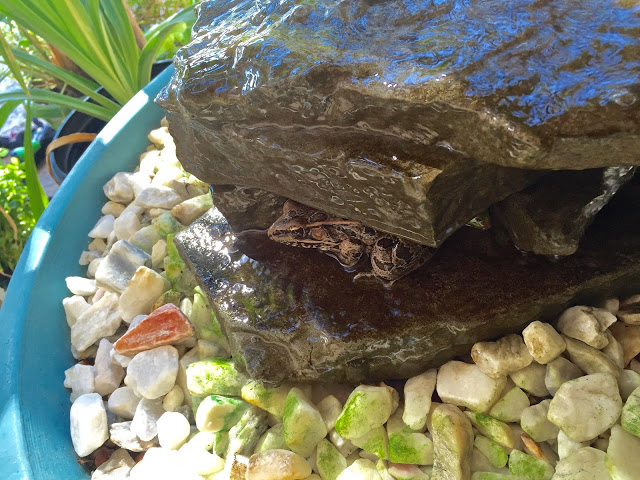
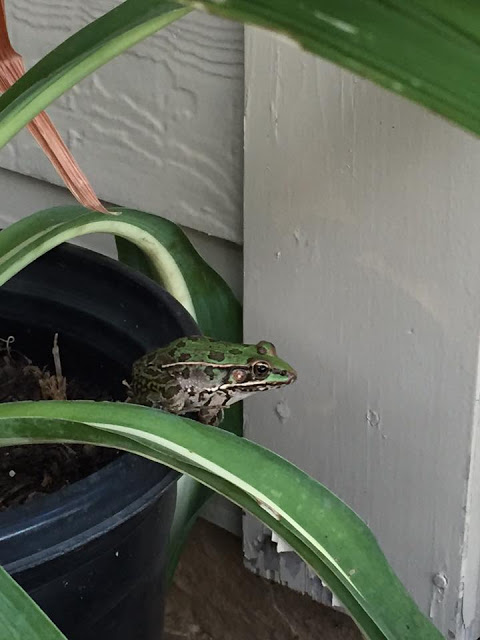
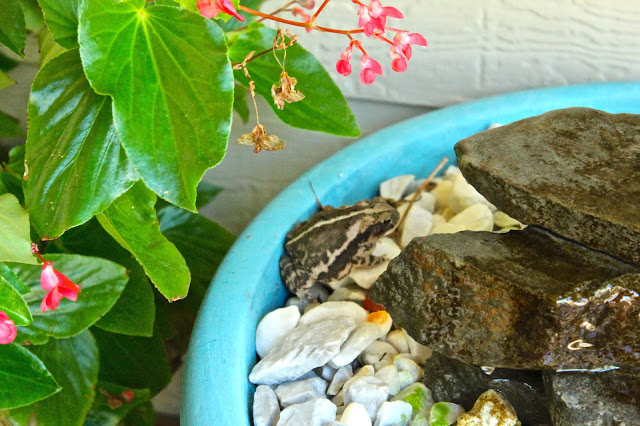
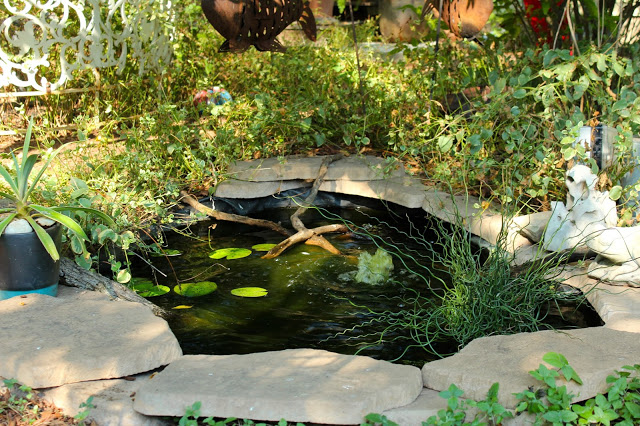
I’ve enjoyed watching frogs and toads near one of our fountains and the pool over the course of this summer.  I went out every day to see if someone was cooling off in the fountain.  Last week, I let the dogs out at night and counted 16 Rio Grande leopard frogs in the pool at once!  They jump in at night and are usually gone by morning.  And I found a cluster of frog spawn in the pool. I scooped it out and carefully and slowly replaced the pool water with rain water from the tank over a period of about a day.  Now I am refreshing the rain water daily.

They seem to be changing, the eggs becoming elongated as they begin the process of morphing into tadpoles.  Several of my garden blogging friends with ponds want to adopt some of them, too!  Fingers crossed that at least some of them make it.

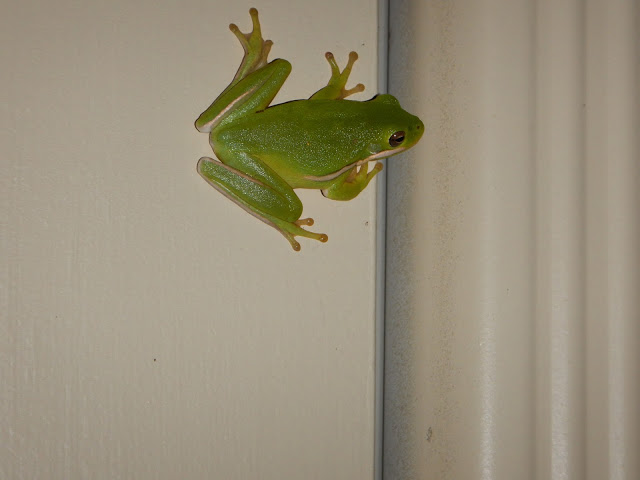
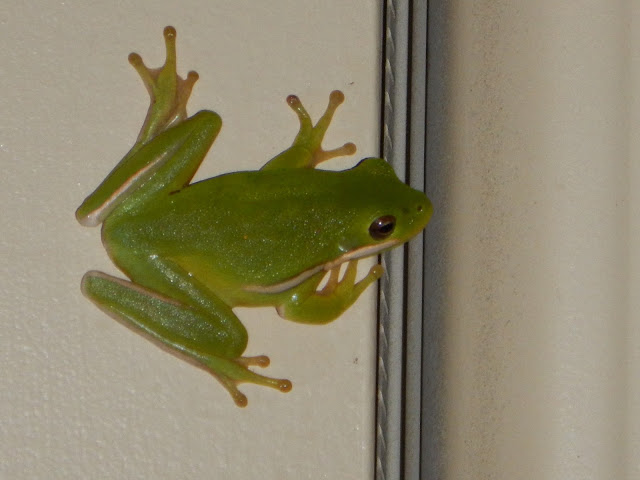
Then last night I saw my first Green tree frog on the back wall of the house.  This Hyla cinerea was just hanging out and didn’t move a muscle as Jeff took several pictures of him.

Isn’t he cute?  This is definitely the year of the frogs and toads in our garden.
I’ve blogged about these guys several times over the last few months.  

And an interloper toad came to the party for a while, as well.


A few years ago, I even had a whole family of toads squatting in a bag of potting soil.  Scared me to death when I reached in for some soil!

It’s like having the National Geographic channel in our own back yard.  I could spend hours watching our critter friends.

What critters do you enjoy in your garden?

Great garden color combos to perk up the fall garden…

A big package from Plant Delights made me squeal with delight yesterday.  Because I already had two flats of small plants for containers and the garden waiting impatiently in the garage, I vowed to spend the time to get these right into the ground.  

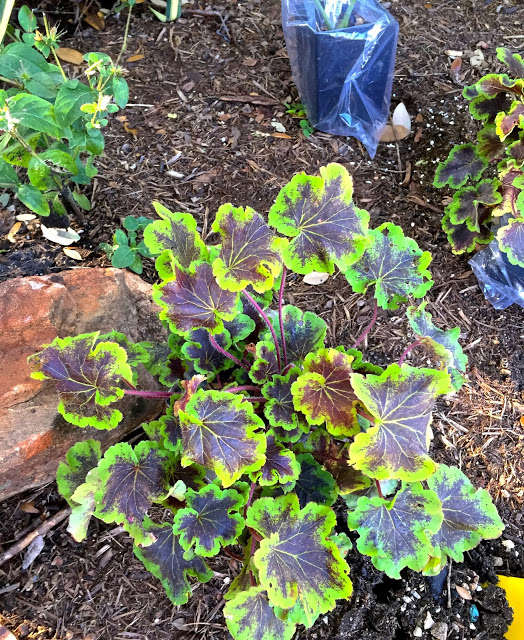
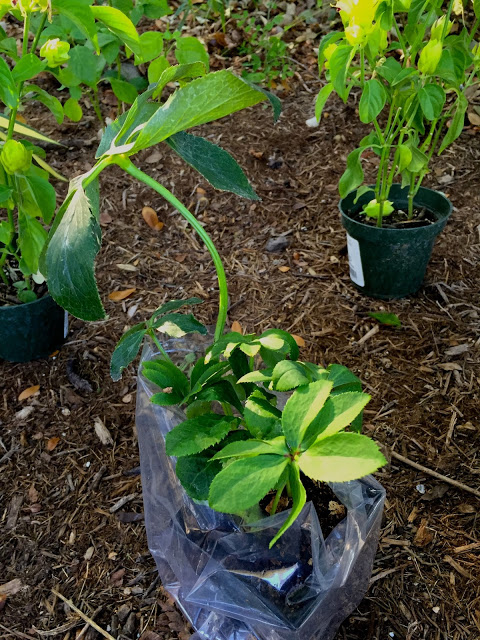
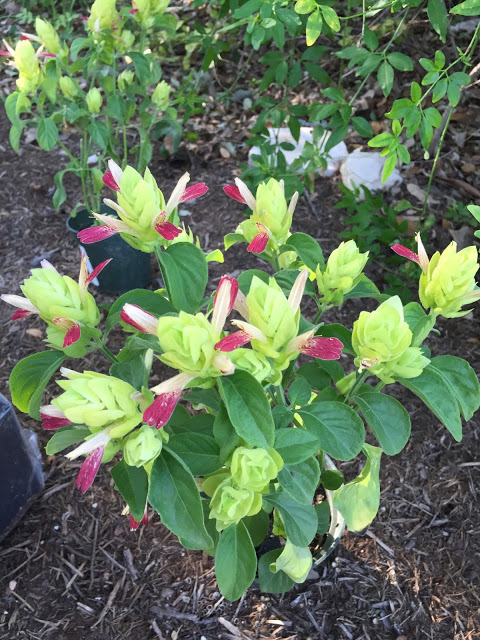
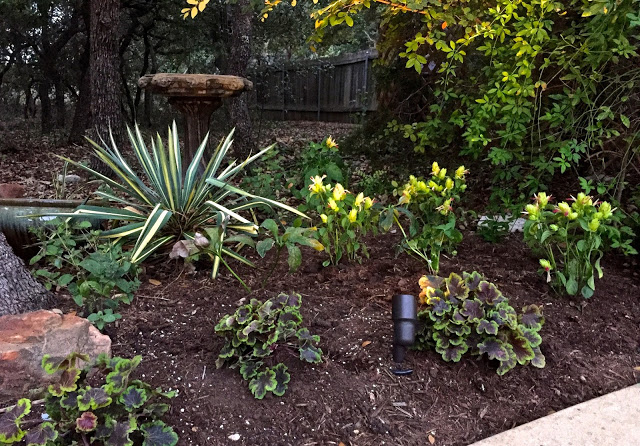
As I considered where to put them — they are additions to collections I’ve already started — I thought I would just mix them in with the existing varieties.  The order included 3 heucherella ‘Solar Eclipse,’ and 2 hellebores — ‘Berry Swirl’ and ‘Golden Lotus’ — and 1 sprekelia (red – so going elsewhere).  And, sitting in my garage for two weeks – 2 ‘Tutti Frutti’ shrimp plants.  

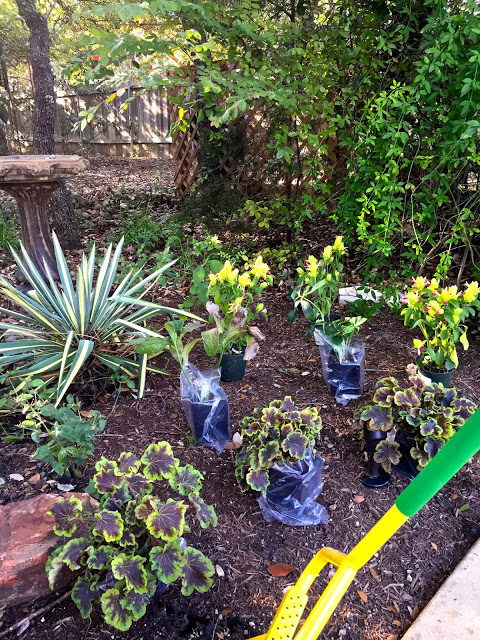
Hmmmm. chartreuse and burgundy and cranberry and yellow — that looks like a fabulous combination.  So, I looked for a spot to place them all together and found a corner with 1 existing ‘Tutti Frutti’ and plenty of room.
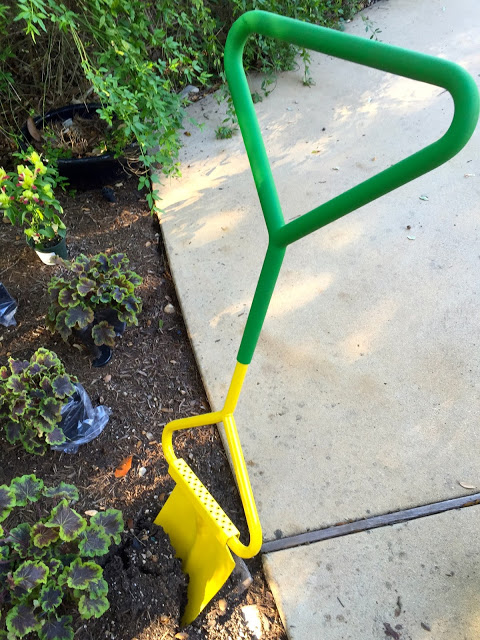
Oh, and see my new shovel?  It’s the first time I’ve used it — it has a nice flat bar to step on and provide more power and stability and has a nice handle that makes it easier to press down on it and put some oomph into it.  Especially great for me, with tendonitis in my arms and an occasionally cranky back.
It was much easier to use and it’s a little smaller than a standard shovel – just my size. I found it at Red Barn Garden Center up north when I was up shopping for a client the other day.
It was getting dark when I finished, so this isn’t the best photo of it all done.
Now, Central Texas is flooding, the rain is about to come into my garage and I expect my plants to swim by at any moment.  So much for getting them in before a nice rain!

Propagate now to grow new spring plants

Propagate-Plants-for-Spring

Fall will eventually usher in cooler temperatures, and with them, a brand new gardening to-do list. Shrubs, trees, bulbs and wildflower seeds will eagerly await planting time. While weeding and planting may dominate today’s short-term list, it’s not too early to plan ahead for winter.

With the tiniest temperature break, many plants in my garden are looking perky again. But I know that the first frost or freeze will take some of them out – killing the annuals and pushing the root hardy perennials into dormancy.

Most of us in the Central Texas area garden in USDA Zone 8, meaning many plants that don’t tolerate cold weather will have to be replanted come spring.

Rather than buying new plants next March, I will be propagating some and overwintering them in the greenhouse or the house. An inexpensive way to create new plants from those you’re already enjoying, taking cuttings produces plants genetically identical to the parent plant.

Many kinds of plants – woody and herbaceous – can be grown from cuttings. Different plants require different types of cutting methods, so make sure to research your particular plant’s needs before taking a cutting. One of the methods commonly used by homeowners is stem cutting, which is what I’ll be doing in my garden.

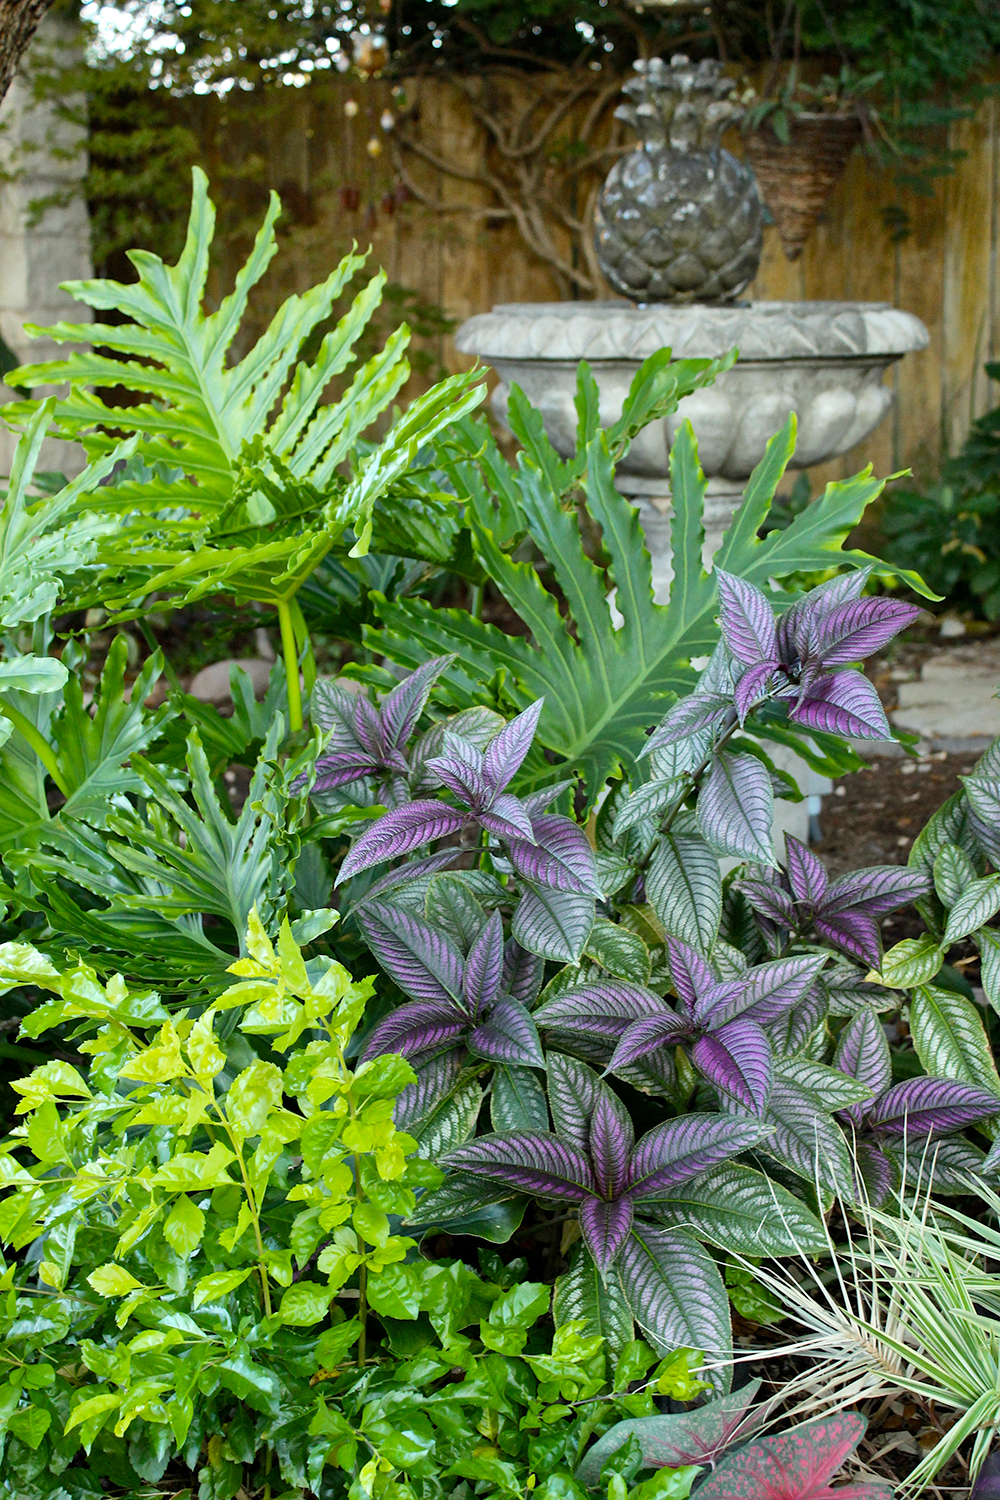
I plan to take cuttings of my Persian Shield, Strobilanthus dyerianus, so I have several new plants to use next spring. It’s often described as an herbaceous perennial, but it’s only hardy in USDA zones 10 and 11 (we are classified as zone 8). It can also be grown as a houseplant.

In my garden, it’s annual, dying with the first frost. Because it provides such a dramatic iridescent purple pop of color to my garden, I always buy new ones each spring. It’s a full shade plant and it does need an occasional extra squirt of water with the hose in the hottest parts of summer. I have it close to my pots and hand water it with them periodically.

Preparing to take cuttings

Before you start, clean your pruning tool by dipping it in rubbing alcohol or a mixture of one part bleach to nine parts water to prevent the spread of bacteria or fungi. Make sure you have a sharp blade to minimize any damage to the plant. To help promote root growth, you should also have some rooting hormone on hand. Rooting hormone can be purchased at most nurseries.

In your container, place a mixture of peat, vermiculite and perlite or sand and peat and water it. The potting mix should be sterile, like seed starting mix, so don’t use garden soil.

Make a straight cut 3-6 inches long, from the tip of a plant stem, at a 45-degree angle. You want to create the largest rooting area possible. Include the end of the stem and some leaves. Remove the lower leaves so the plant’s energy is used for root growth, rather than foliage growth. Remove the lower 1-1/2 inches of leaves on the stem, wet the stem, and dip the bottom inch or more into the rooting hormone powder, making sure some wounds from the leaf removal are buried. Then make a hole with a pencil in the growing mix and place the bottom of the stem into the soil and press down on the soil around the stem to hold it in place. Don’t press the cutting itself straight into the growing medium without making a hole, as this will rub the growth hormone off of the stem.

Taking care of cuttings

I’ll put my cuttings in my greenhouse in another month or so, but you can also make a small, pot-sized greenhouse for your cutting by placing an empty plastic jar, cut soda bottle or plastic bag over the plant. If you use a plastic bag, place straws or skewers around the plant to prevent the bag from touching the plant. The bag will keep the humidity high to reduce the amount of moisture loss. Keep the growing medium consistently moist.
Place the cutting pot in bright, but indirect light in a warm spot like a windowsill that doesn’t get direct sun. You can also use a heat mat, available at nurseries or garden centers and online, to encourage rooting.
Next spring, after the danger of a frost has passed, the cuttings will be healthy plants, ready to go out into the landscape.

Local Landscape Designer and Garden Coach, Diana Kirby, provides landscaping tips on Facebook at Diana’s Designs, at www.dianasdesignsaustin.com and writes a garden blog at www.dianasdesignsaustin.com .

By |2017-11-29T23:26:58-06:00October 24th, 2015|Articles|Comments Off on Propagate now to grow new spring plants

Garden art, water features & sweet seating vignettes in this garden on Inside Austin Gardens tour

Be sure to put the popular Inside Austin Gardens Tour on your calendar – it’s a garden event you don’t want to miss.  Saturday’s tour provides a rare look inside six private gardens and one public experimental garden.  The gardens demonstrate the practical beauty, variety and stamina of native and well-adapted plants in Central Texas gardens.

I was invited to a preview tour with other local garden bloggers, and that means you get a sneak peek at the wonderful gardens that will be on the tour.  
Cottage garden in Crestview
1315 Cullen Ave 78757
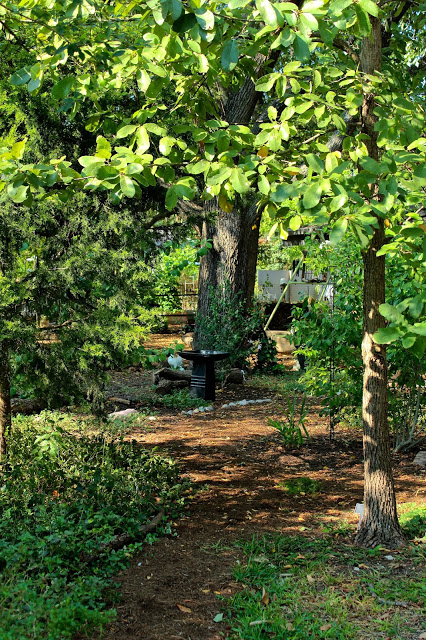
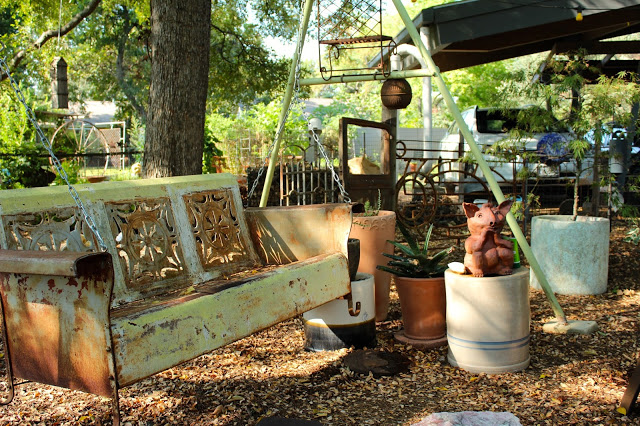
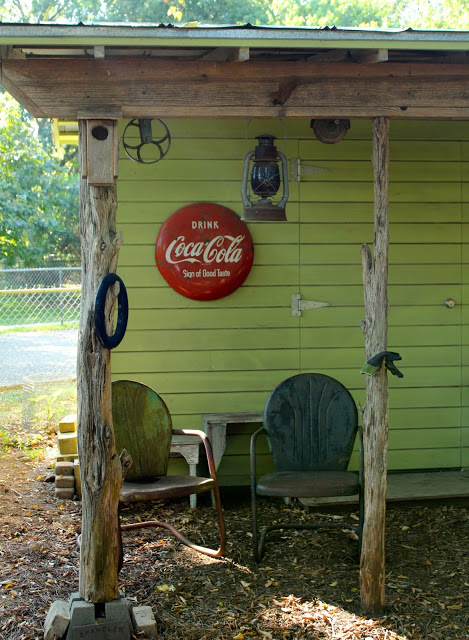
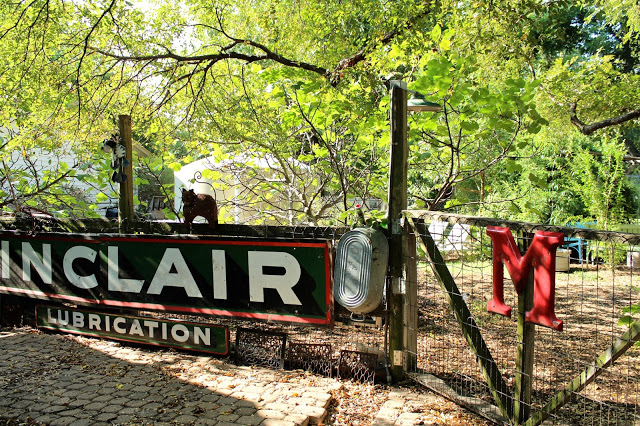
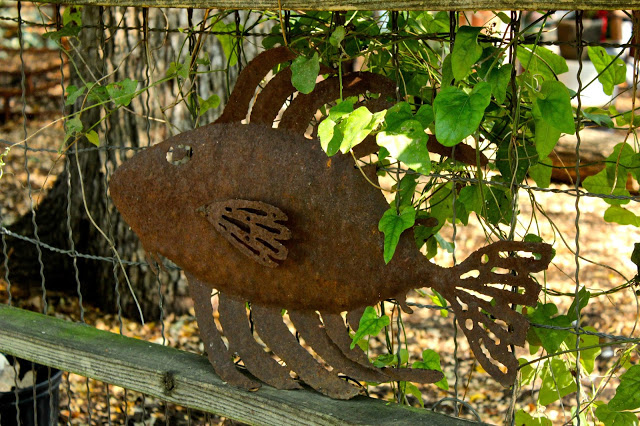
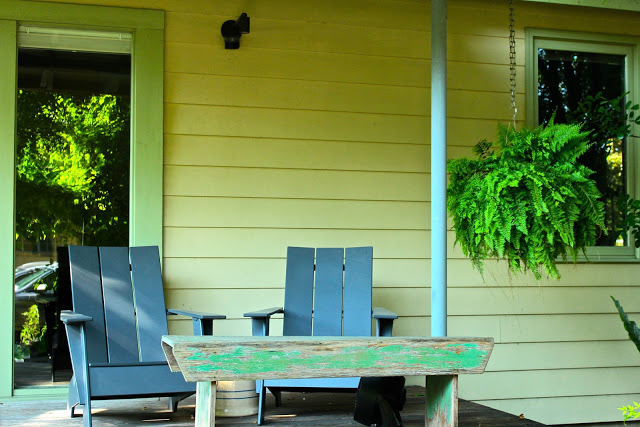
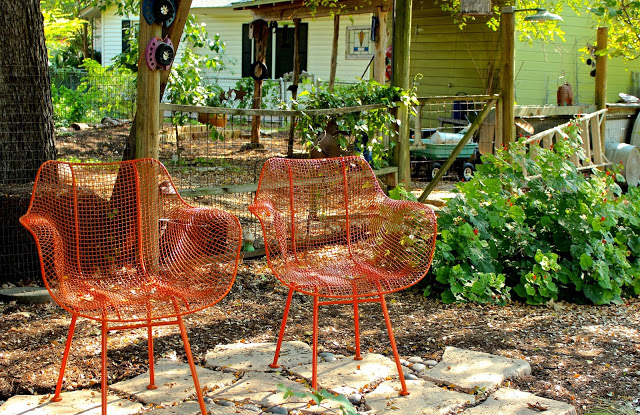
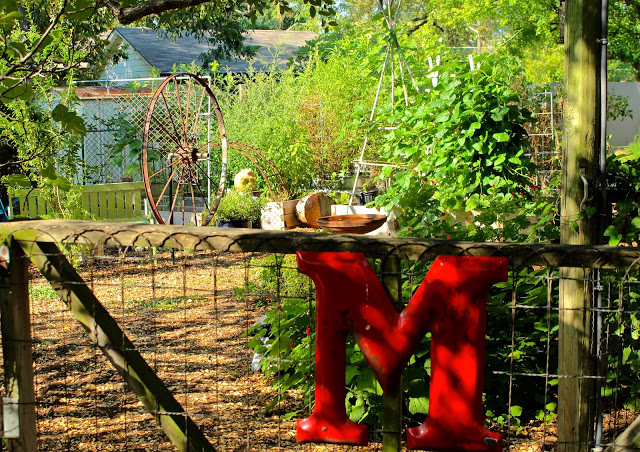
This garden was a delightful, free-form space, full of garden art, seating areas and eclectic touches around every corner.  Multiple paths wind through plants and interesting features and focal points. 

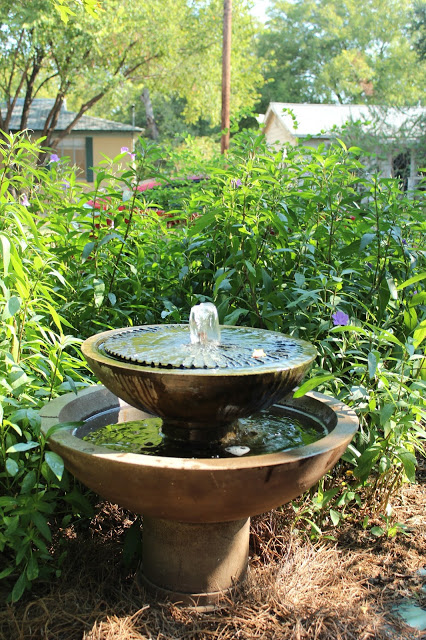
If you’re looking for creative inspiration for gardening, water features or found garden art, don’t miss this garden.
Go to Top