Diana C. Kirby

About Diana C. Kirby

Diana Kirby is a lifelong gardener and longtime Austinite, who loves the Central Texas climate for the almost year-round opportunities it offers for active gardening and seasonal splendor. Known as an impassioned and successful gardener, Diana began by helping friends design and implement their landscapes. Soon, she was contracted as a professional designer by a popular local landscaping installation firm, where she designed landscapes for residential and commercial clients for several years. In 2007, her new passion blossomed with the launch of her own firm, Diana’s Designs. ... Diana is a member of the Association of Professional Landscape Designers, the Garden Writers Association of America, and she writes a monthly gardening column for the Austin American-Statesman. Diana teaches the Landscape Design classes for several county Texas Agrilife Extension Service Master Gardener certification programs and speaks about gardening and design for garden centers and other groups. Learn more about presentation topics, availability and speaking fees.

Shopping for veggies for the spring garden…

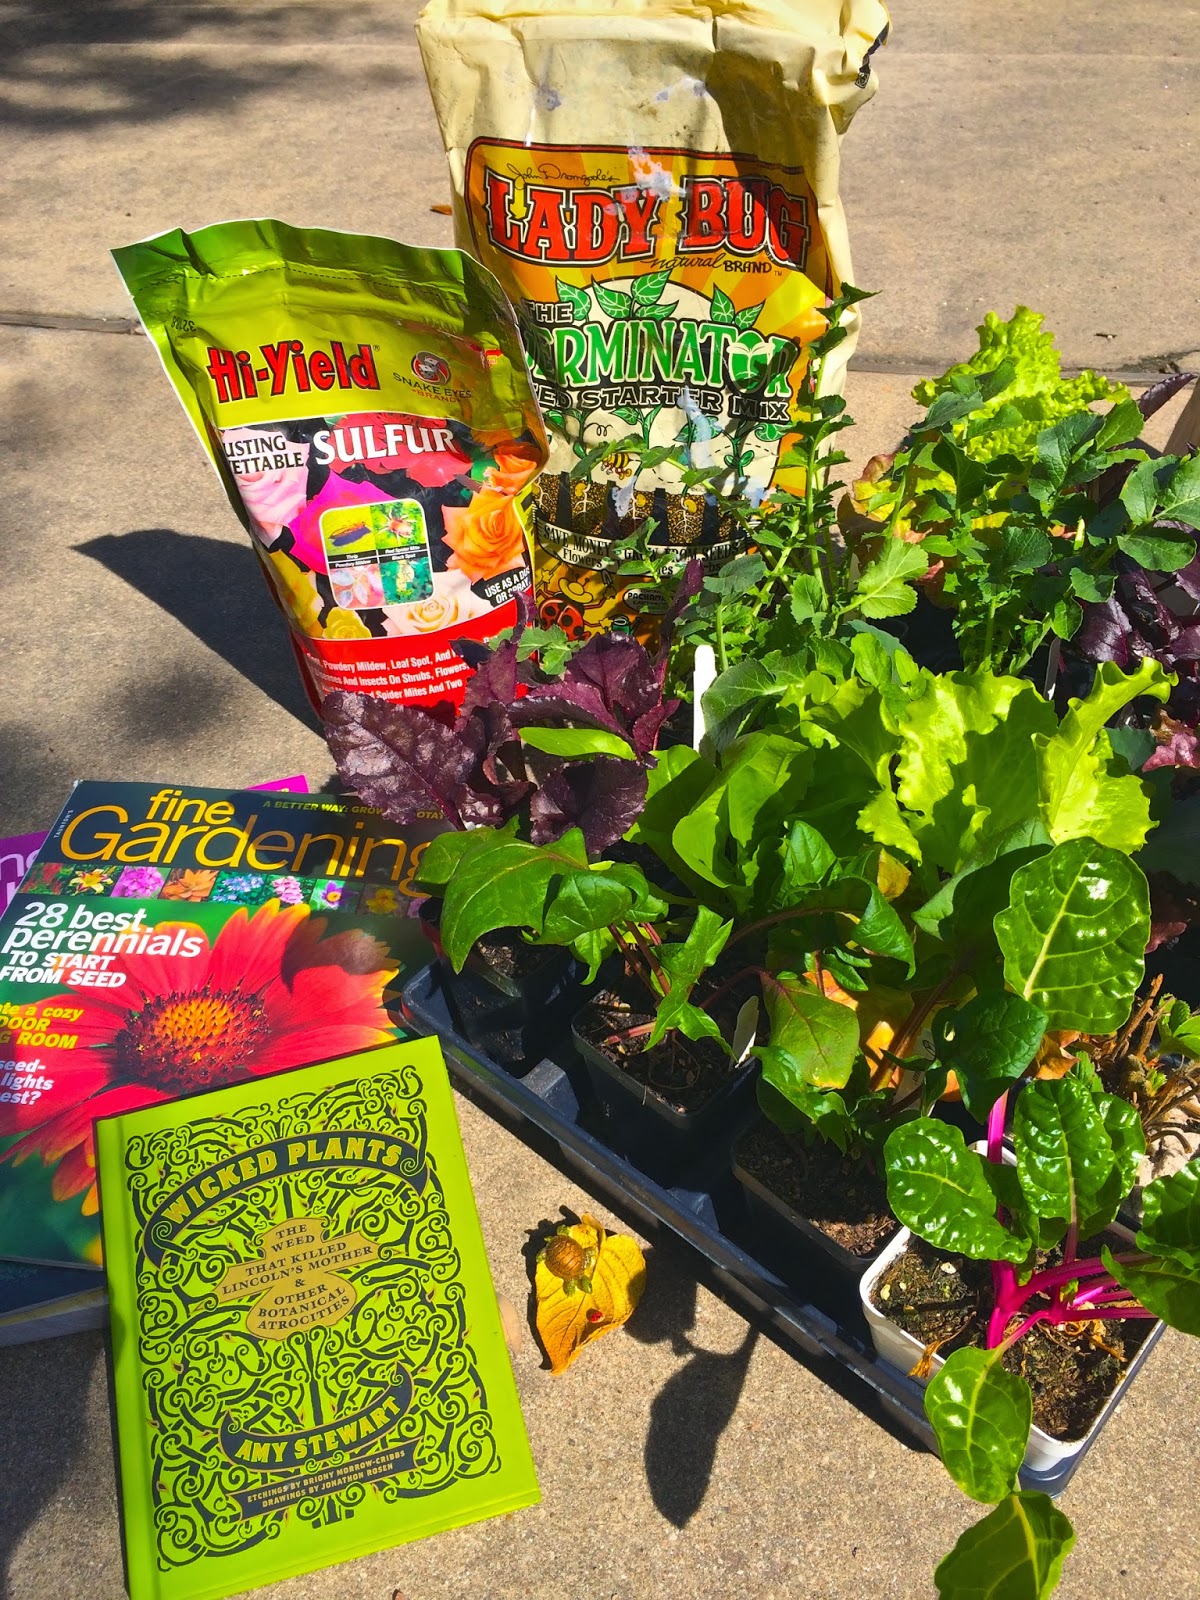
A quick trip to The Natural Gardener today yielded a treasure trove of goodies for the spring garden.

I went in search of three little things:  potatoes, sulfur and seed starter mix.

But I came home with so much more, including:

  • a few magazines,
  • a decorative hanging bell with a cord of glistening glass beads,
  • a fairy garden turtle on a leaf for my daughter, who recently asked if she could have a turtle,
  • seeds,
  • strawberries,
  • beets,
  • lettuce,
  • cauliflower,
  • spinach,
  • chard,
  • daikon radishes,
  • all blue and red pontiac potatoes,
  • sulfur,
  • and my friend Amy Stewart’s book, Wicked Plants.

I got it all into the car and then realized I had forgotten the seed starter mix.  It’s funny how a trip to the nursery can turn your world upside down and make you forget things.  I ran back in and grabbed a bag.

Now it’s time to get busy planting!

Landscaping project solves drainage problem…

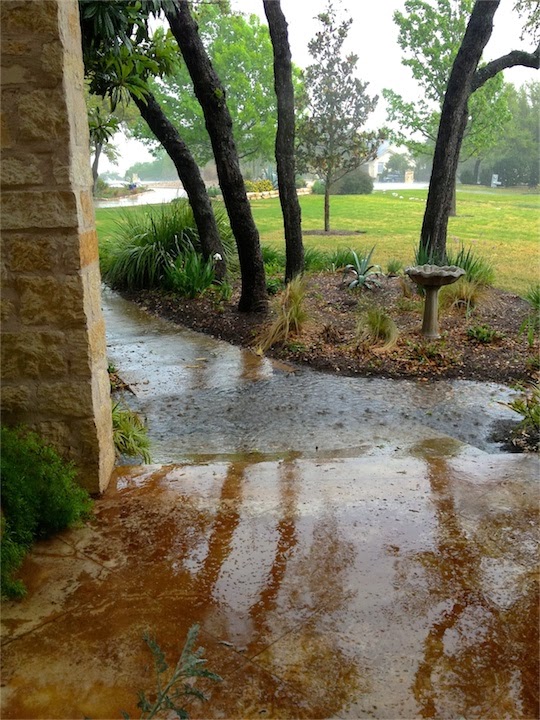
We’ve lived for 10-1/2 years with a terrible drainage problem on our front sidewalk.  When we get a good rain, a lake forms in front of the front door, making it impossible to come into the house without wearing galoshes or looking for a ferry.  (Well, that might be an exaggeration.)  If you look carefully, the edge of the stained concrete porch stops and you can see a tiny sliver of the sidewalk on this side of the puddle before you step up to the porch.

This is only a moderately-sized lake.  When we get gully washers it’s much bigger.

I try not to think about the builder and the contractor who thought it was ok to build a sloping sidewalk that comes down the hill, and then goes back up with the next piece of concrete, making a V in which water will always puddle.  They did the same thing in front of our garage doors as well, making a 3-car trench over which we also have to leap when it rains.

But I digress.

So, in addition to addressing our sprinkler/rain drainage and erosion problems in the beds that line the sloping sidewalk, we are fixing the entire sidewalk.

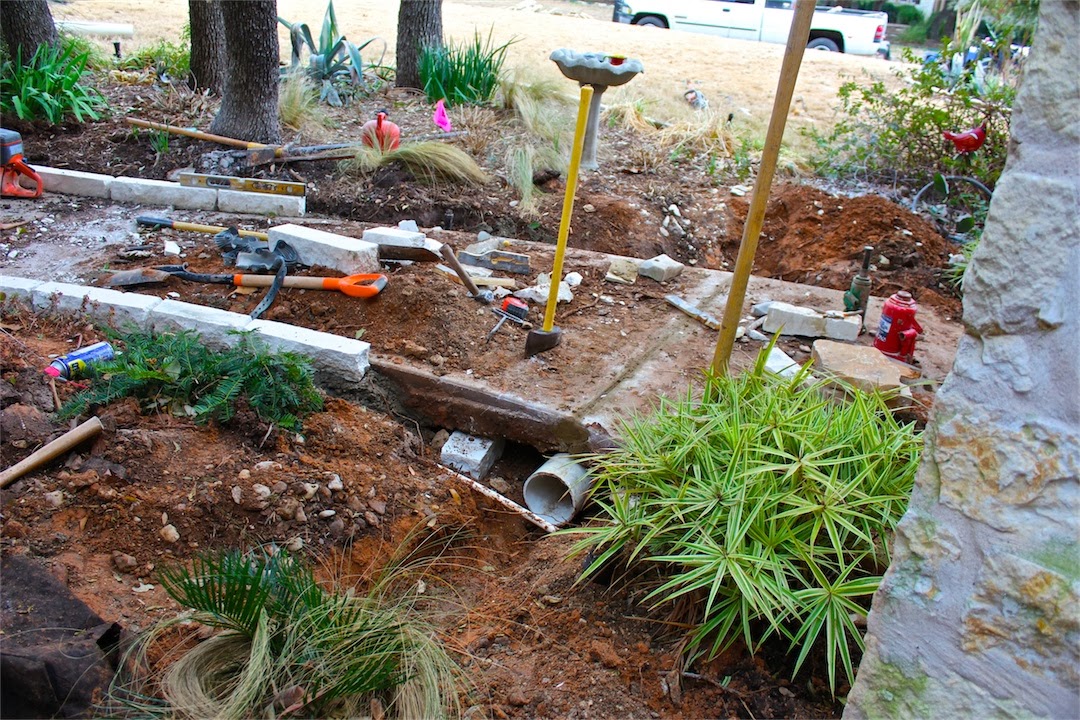
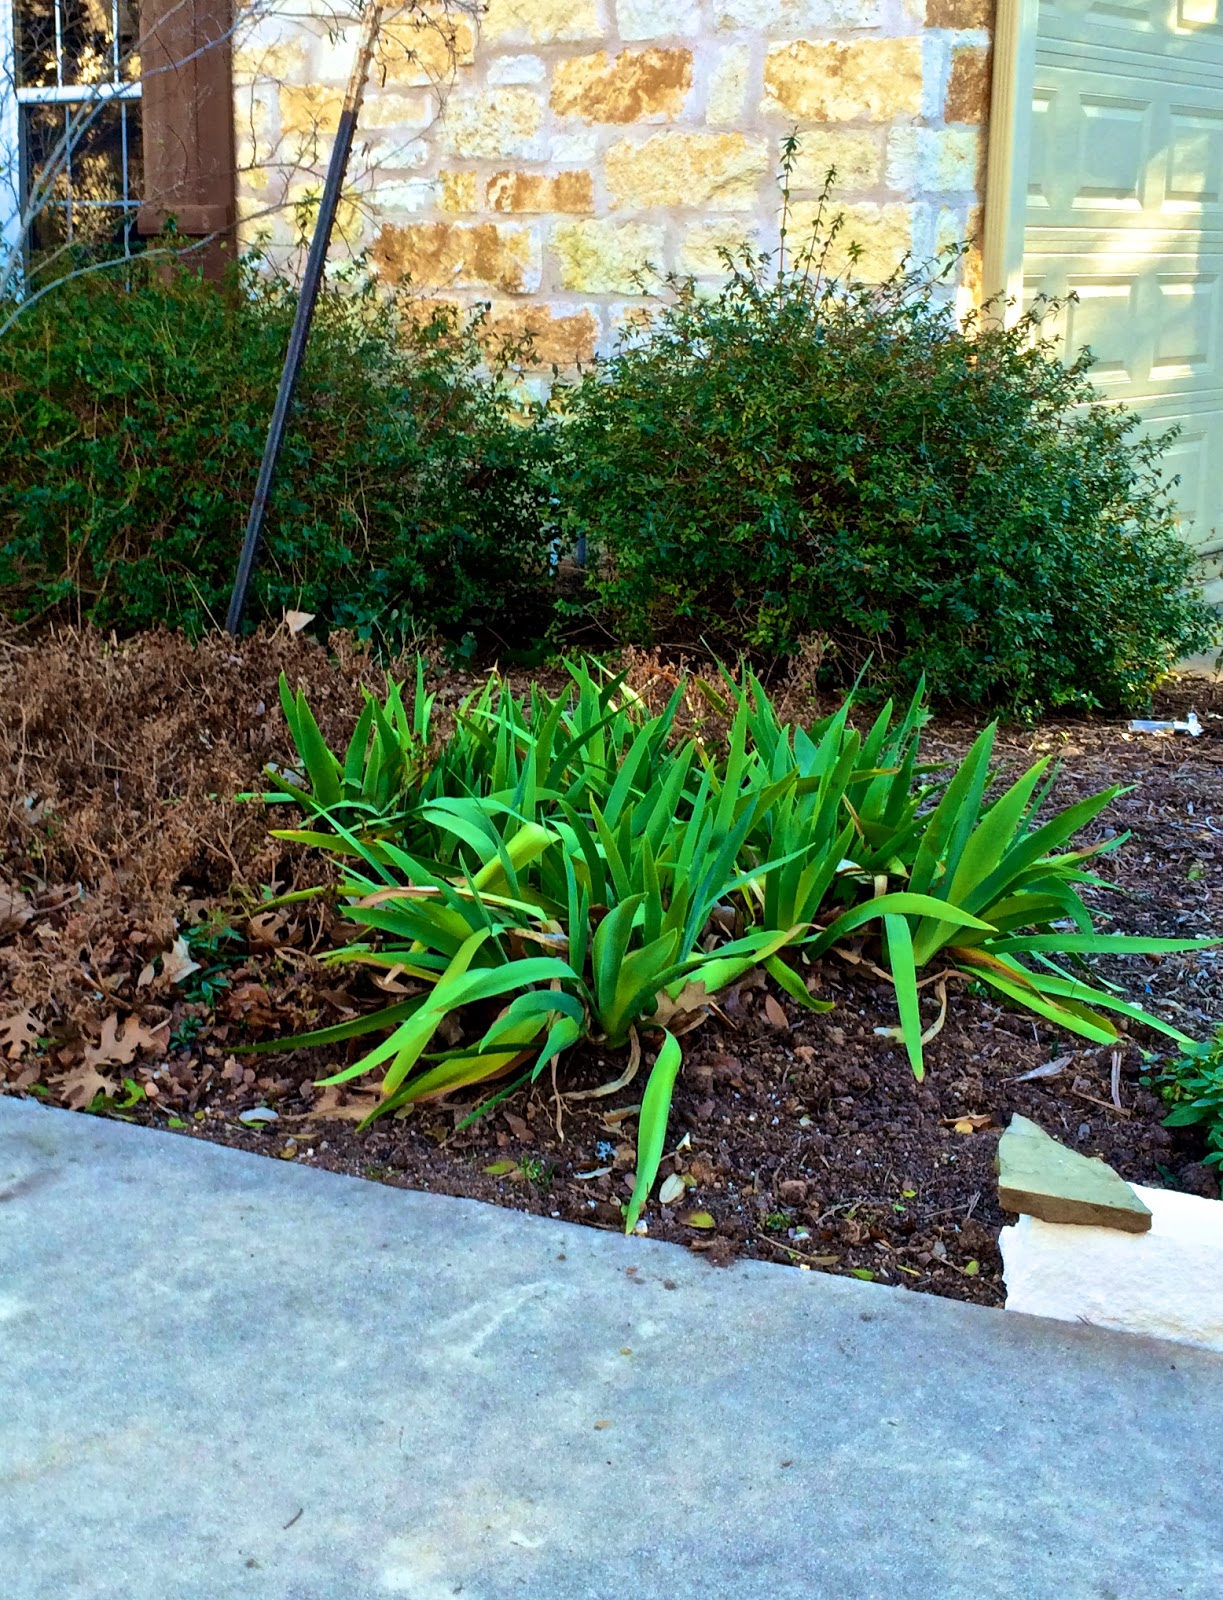
My crew dug the sides of the sidewalk out, separated the two pieces at the angeled joint and placed a BIG ‘ol pipe under it.  They then deepened my dry creek trench (the first attempt to fix the problem, but it was inadequate). 

I could not believe how meticulous they were with the cement pieces as I was sure they would crack in the process – the sidewalk is 14 years old after all.  They cut it to fit together so it is perfectly level and far above the trench that will carry away the water.  Before, the two pieces of cement met at an angle roughly down where the pipe has been laid.

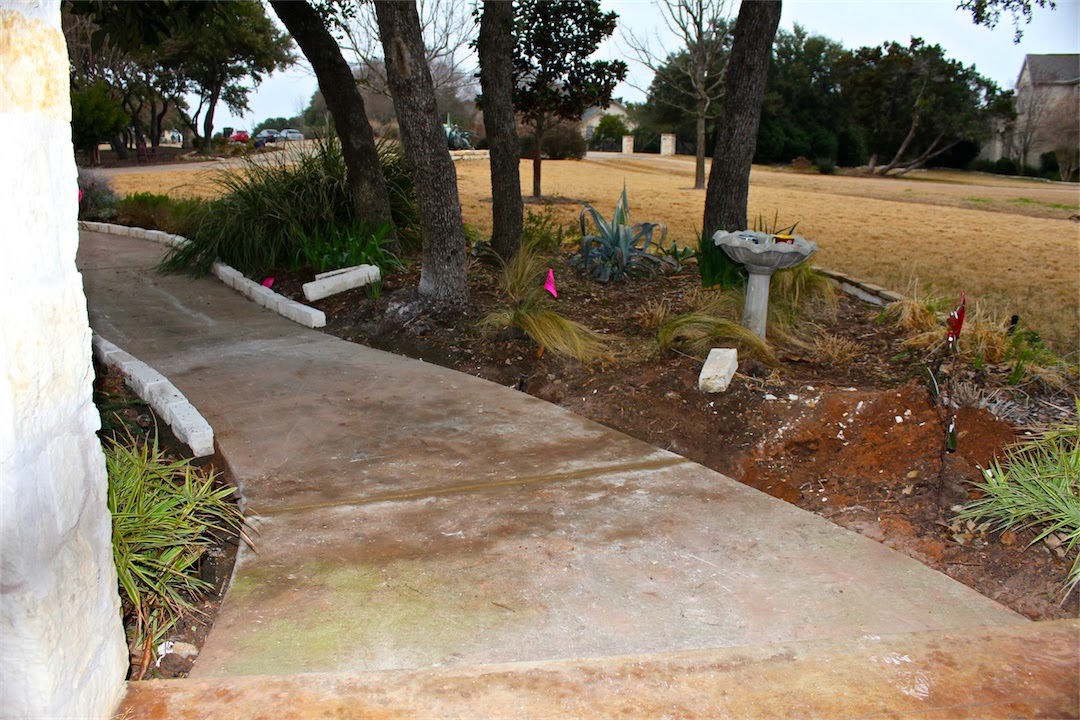
It’s hard to see, but it’s all nice and level now!

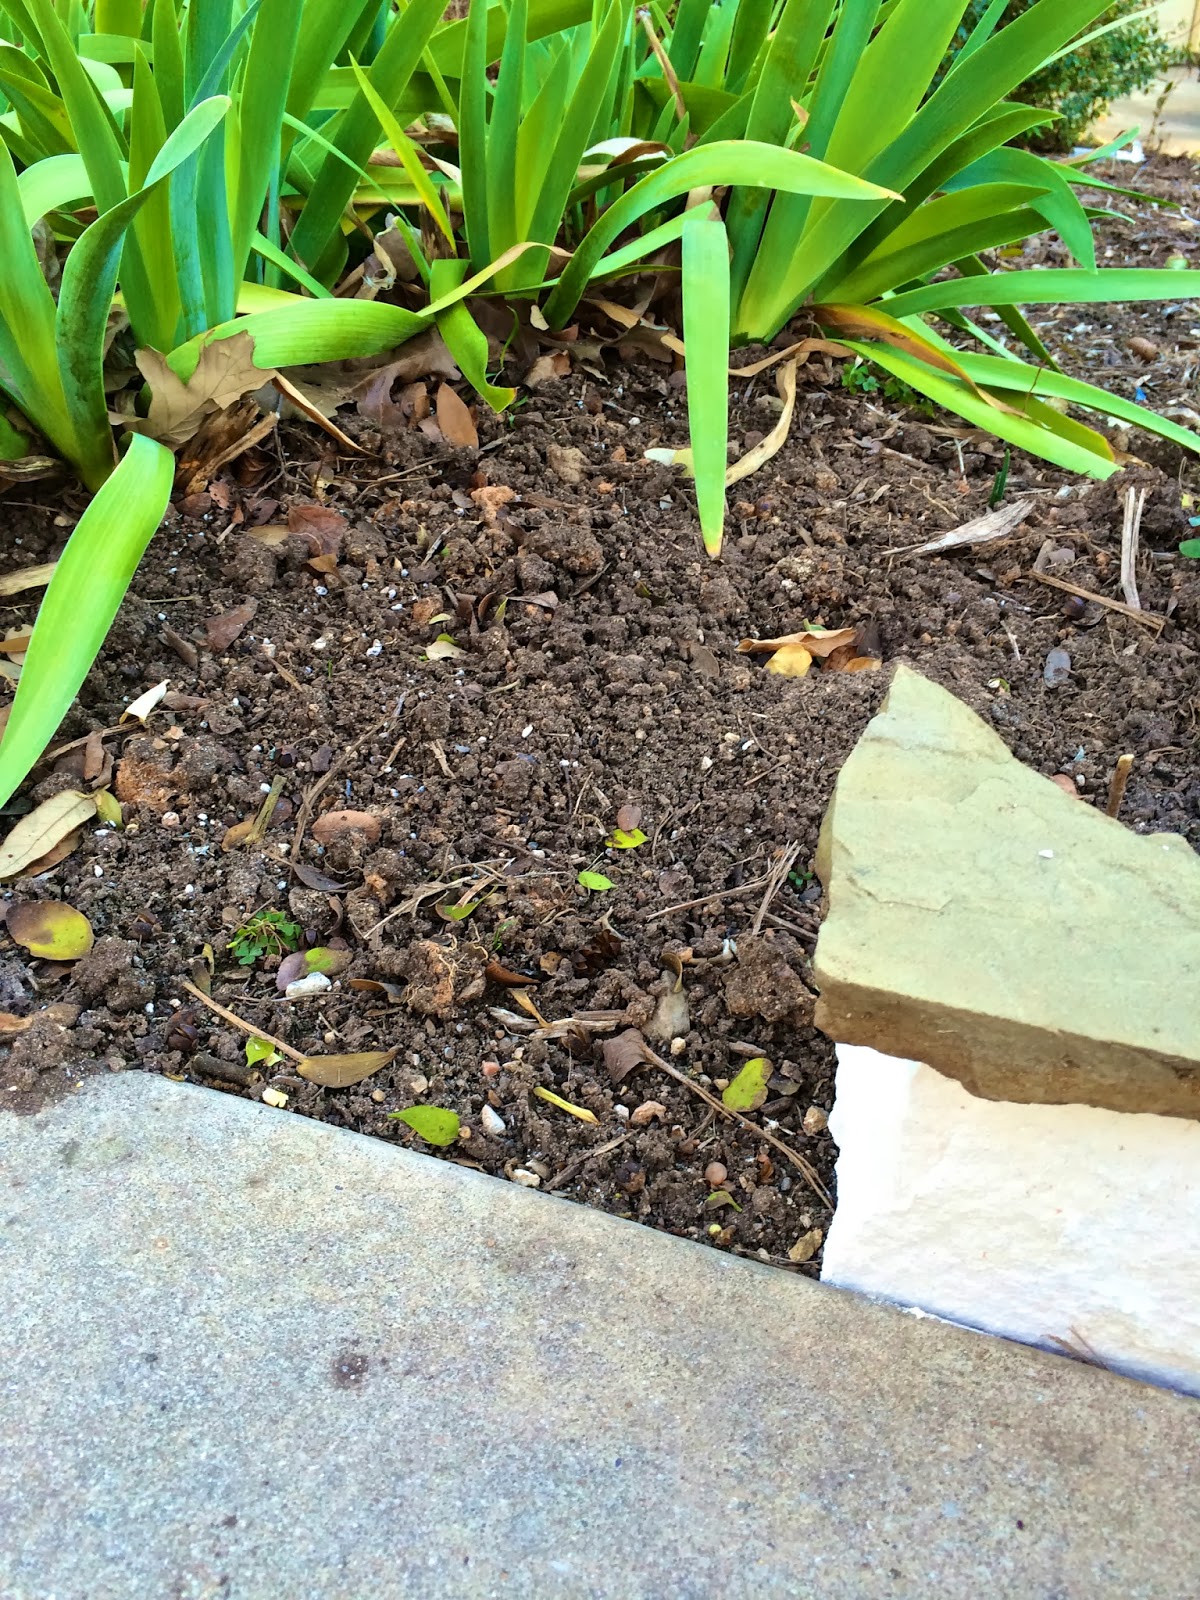
And they made great progress today on the Oklahoma flag stone cap for the limestone edging.  In this photo the mortar is still wet and they haven’t finished cleaning and brushing the excess off.  But you can see where it’s going.

It was cold and windy and damp and they worked really hard today.  And it all looks great.  I’m proud of my crew and their skills, but I really was in awe today.  Craftsmanship.

Oh, and did you see all that beautiful red clay they dug out around the sidewalk in the first pictures?  I’m happy to say that it is officially basura (Spanish for trash) and is going away, to be replaced by 3-way garden soil and covered with fresh native Texas hardwood mulch when the edging is all done.

It should all be finished this week.  I can’t wait to see it.  And I really can’t wait for the warm sunshine of spring so I can start planting in it.

Landscape bed getting stone edging facelift…

No more pondering — it’s time to get started on the next landscaping project here.  In an effort to address some erosion and drainage problems and spruce up the front walkway – the beds on either side of the walkway will be getting stone edging.

As it is now, the sprinklers cause water runoff — the path here has a slight decline, but as you walk around the corner, it slopes down dramatically and turns the sidewalk into a pond in front of the porch every time it rains.  And that leads to soil and mulch erosion, because the bed level is slightly higher than the walkway.  And the lack of mulch along the edge also creates a weed wonderland for me.

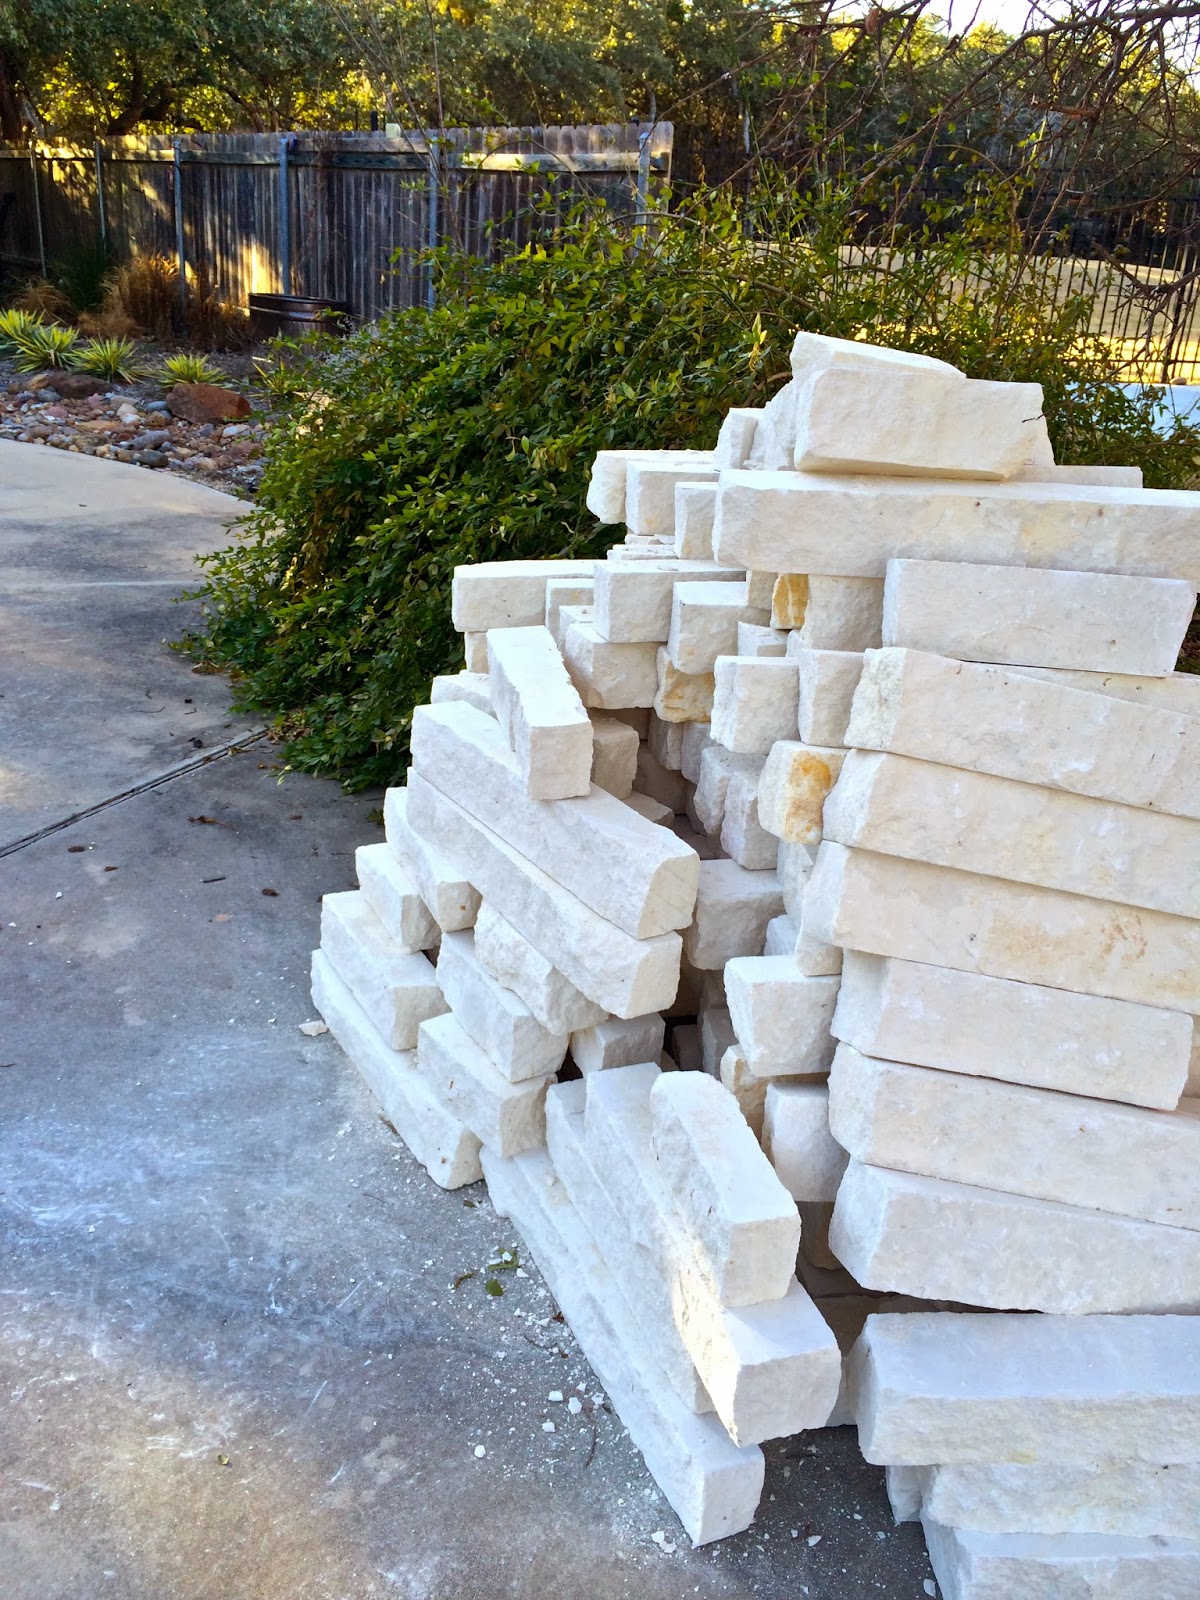
Our house is limestone, so a 4″ limestone border will be laid, topped by a thin cap of Oklahoma flagstone in darker browns and tans.


This is what it will look like.

But no project is ever that simple.  (We knew that, didn’t we?)

First, the sprinkler heads that line the bed will have to be moved  inward by more than 4 inches.  Then they will have to be raised to accommodate the additional yards of soil and mulch that will then have to go into the bed.

Then we’re going to raise up two sections of existing concrete to level the sidewalk and place drainage pipe under it from one side of the dry creek to the other to help with drainage.

I can’t wait for the freezing weather to be over so I can visit all my favorite nurseries and put pretty plants into the garden.  But, this is winter and I can’t do that yet.  So, hard scape it is.

I hope when it’s all finished, the pretty, newly-lined beds will be ready to welcome spring and a bevy of new plants.

I can’t wait…

January Tip: It’s seed-sowing time in Central Texas

OLYMPUS DIGITAL CAMERAIndoors, that is.  If you’re eager to try some new varieties of vegetables in your spring garden, now is the time to check out seed catalogs and the seed displays at your local independent nurseries.
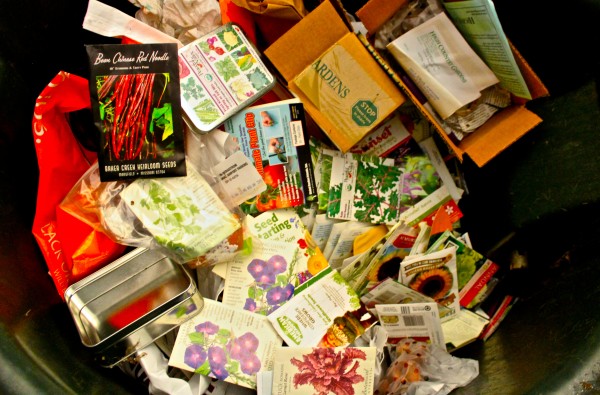
Seeds won’t germinate in the garden yet. The ground is too cold. But if you have a greenhouse or a cozy indoor spot to keep them warm, you can start growing now.

When the chance of frost has passed and the ground begins to warm up you’re ready to put your seedlings into the garden. Not so fast, though. Seedlings need to be hardened off before they can be plopped in the garden. That’s a fancy way of saying they need to get used to being outside in the elements since they’ve been babied in the house over the winter months.

Just take them outside into a shady spot for half a day for a few days, then for a full day or two and then slowly move them into the sun in the same way.

Remember, spring winds can be hard on delicate plants, so be prepared to give them some wind break if you need to. And my sweet transplants seem to emit a signal to insects that the buffet is open. You can protect the plants from some of them by cutting a solo cup in half to make a cylinder, and placing it around the base of your seedling until it gets a little bigger and stronger, just make sure it doesn’t block the sun or the water.

Once you have all your seedlings planted, mulch, water and eat.

Read the full article here.

By |2017-11-29T23:27:11-06:00January 29th, 2014|Tips|Comments Off on January Tip: It’s seed-sowing time in Central Texas

Sow seeds now for spring vegetables

txaas_mastheadIMG_2357It’s seed-sowing time in Central Texas.  Indoors, that is.  If you’re eager to try some new varieties of vegetables in your spring garden, now is the time to check out seed catalogs and the seed displays at your local independent nurseries.

Seeds won’t germinate in the garden yet. The ground is too cold. But if you have a greenhouse or a cozy indoor spot to keep them warm, you can start growing now.

Generally, the time to plant seeds inside is about 8 weeks before the average last frost date – for us, that’s about early March in Austin.  Areas around the Hill Country usually have to wait just a little bit longer for the ground to warm up. With the unusual winter we’ve had thus far, it’s hard to predict what the next two months will hold for gardeners.

Planting early and indoors will give your vegetables a nice head start so you will have well-established plants to put into the garden when spring arrives.  You can certainly put in transplants once the weather warms up, but planting from seed allows you to choose from hundreds of different varieties of vegetables since nurseries can only bring in so many plants to sell.

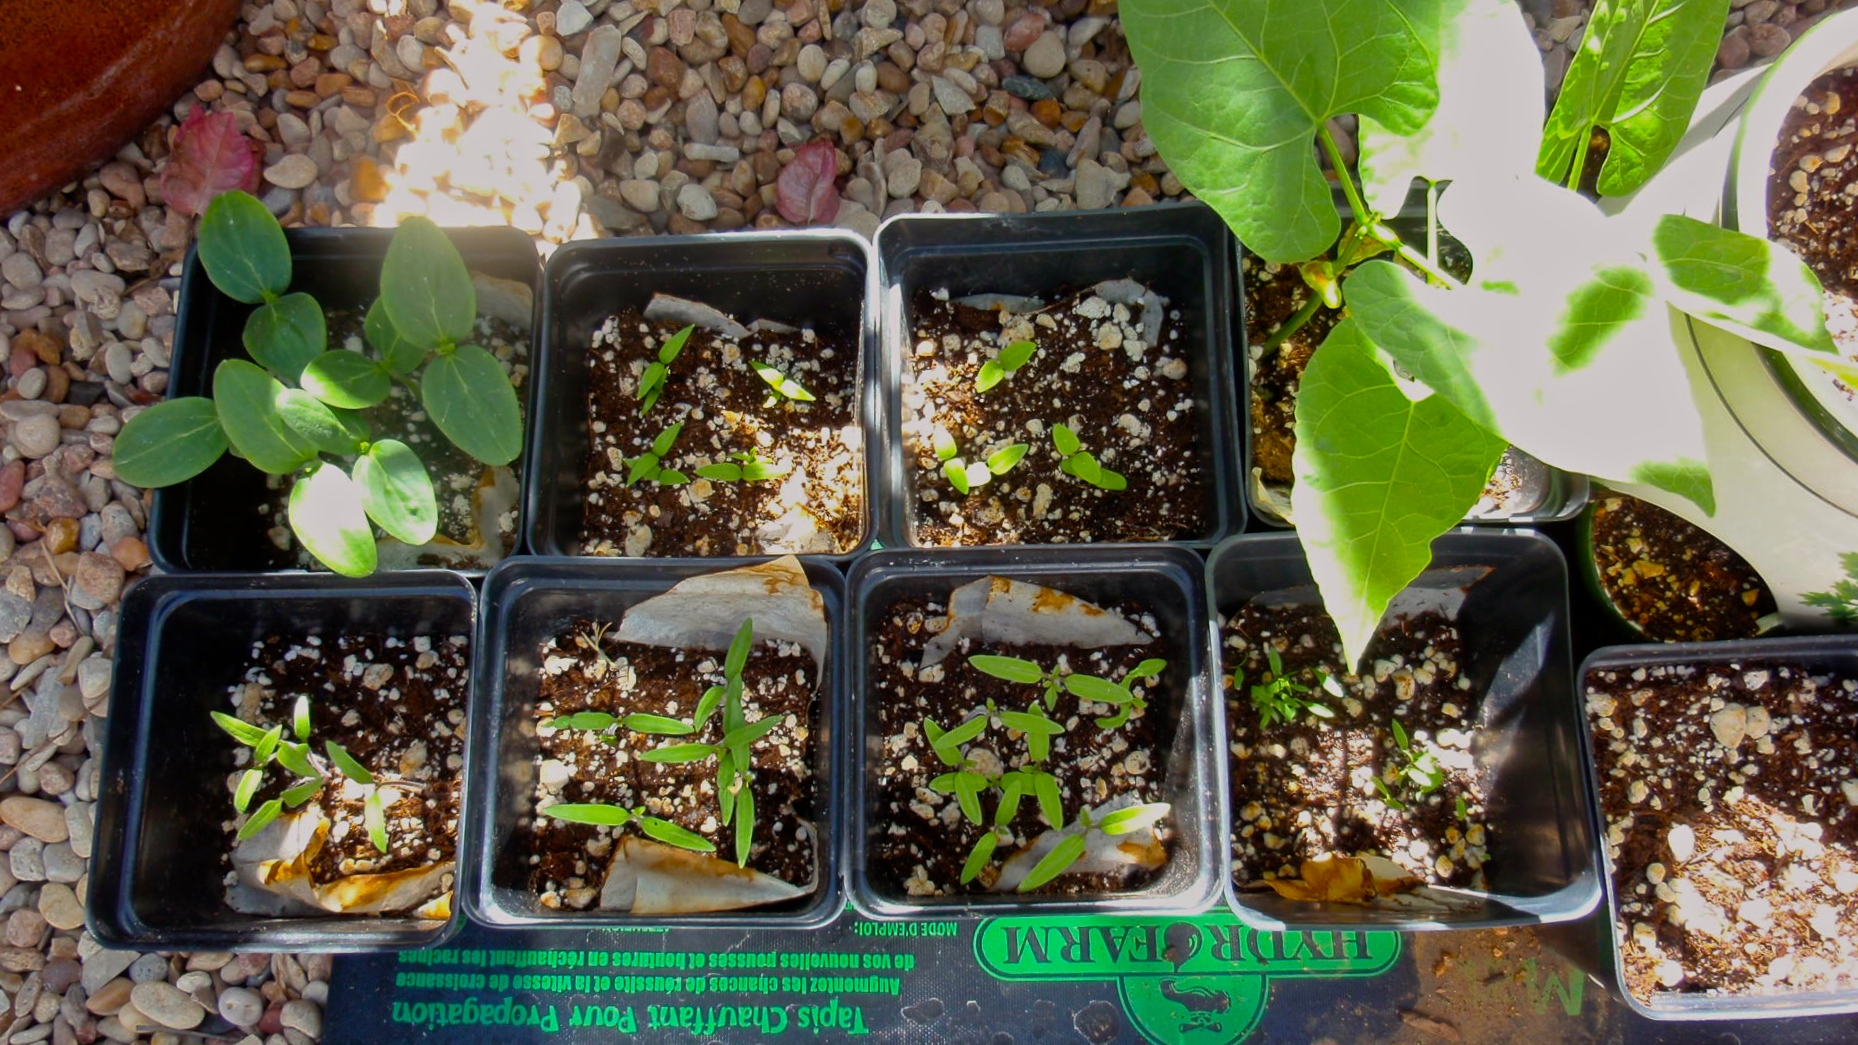
You can plant in many different containers – you can buy nice plastic flats with multiple planting holes or biodegradable pots that can be placed directly into your garden when it’s time to transplant. Or you can repurpose washed out yogurt containers as long as you punch a drainage hole into them.

Many people are surprised to learn that you shouldn’t use potting soil for planting seeds. Instead, buy small bags of specially-prepared sterile seed starter mix – it doesn’t compact as much as potting soil and gives your tender seeds more room to germinate and grow.

I’ve had the best success with seeds when I used a heat mat.  Even in the warm house, the seed mix must remain at just the right temperature, and a heat mat ensures that continuous warmth for germinating seeds. You can find them at many  nurseries or online. You can also place your seeds on top of the refrigerator, but I forget about them up there and then…no seedlings. If you place them near a sunny window, remember to move them away from the windows at night because the cooler air by the window will lower the temperature too much for them to germinate. They have to stay warm, day and night.

Be sure that you keep the soil moist. You can water with a spray bottle so you don’t disturb the seeds. As soon as the seedlings emerge, give them lots of light. You can put them by a window or place them under grow lights. Turn them regularly when they begin to lean toward the sun. If they seem long and stringy, they need more light. The first leaf shouldn’t be more than an inch from the soil.

Now you can start watering your plants gently and letting them dry up a little in between waterings. You can move them to larger pots if you need to.  It’s also time to give them a little liquid fertilizer like liquid seaweed or fish emulsion.

When the chance of frost has passed and the ground begins to warm up you’re ready to put your seedlings into the garden. Not so fast, though. Seedlings need to be hardened off before they can be plopped in the garden. That’s a fancy way of saying they need to get used to being outside in the elements since they’ve been babied in the house over the winter months.

Just take them outside into a shady spot for half a day for a few days, then for a full day or two and then slowly move them into the sun in the same way.

Remember, spring winds can be hard on delicate plants, so be prepared to give them some wind break if you need to. And my sweet transplants seem to emit a signal to insects that the buffet is open. You can protect the plants from some of them by cutting a solo cup in half to make a cylinder, and placing it around the base of your seedling until it gets a little bigger and stronger, just make sure it doesn’t block the sun or the water.

Once you have all your seedlings planted, mulch, water and eat.

By |2017-11-29T23:27:11-06:00January 29th, 2014|Articles|Comments Off on Sow seeds now for spring vegetables

It’s a snow day!

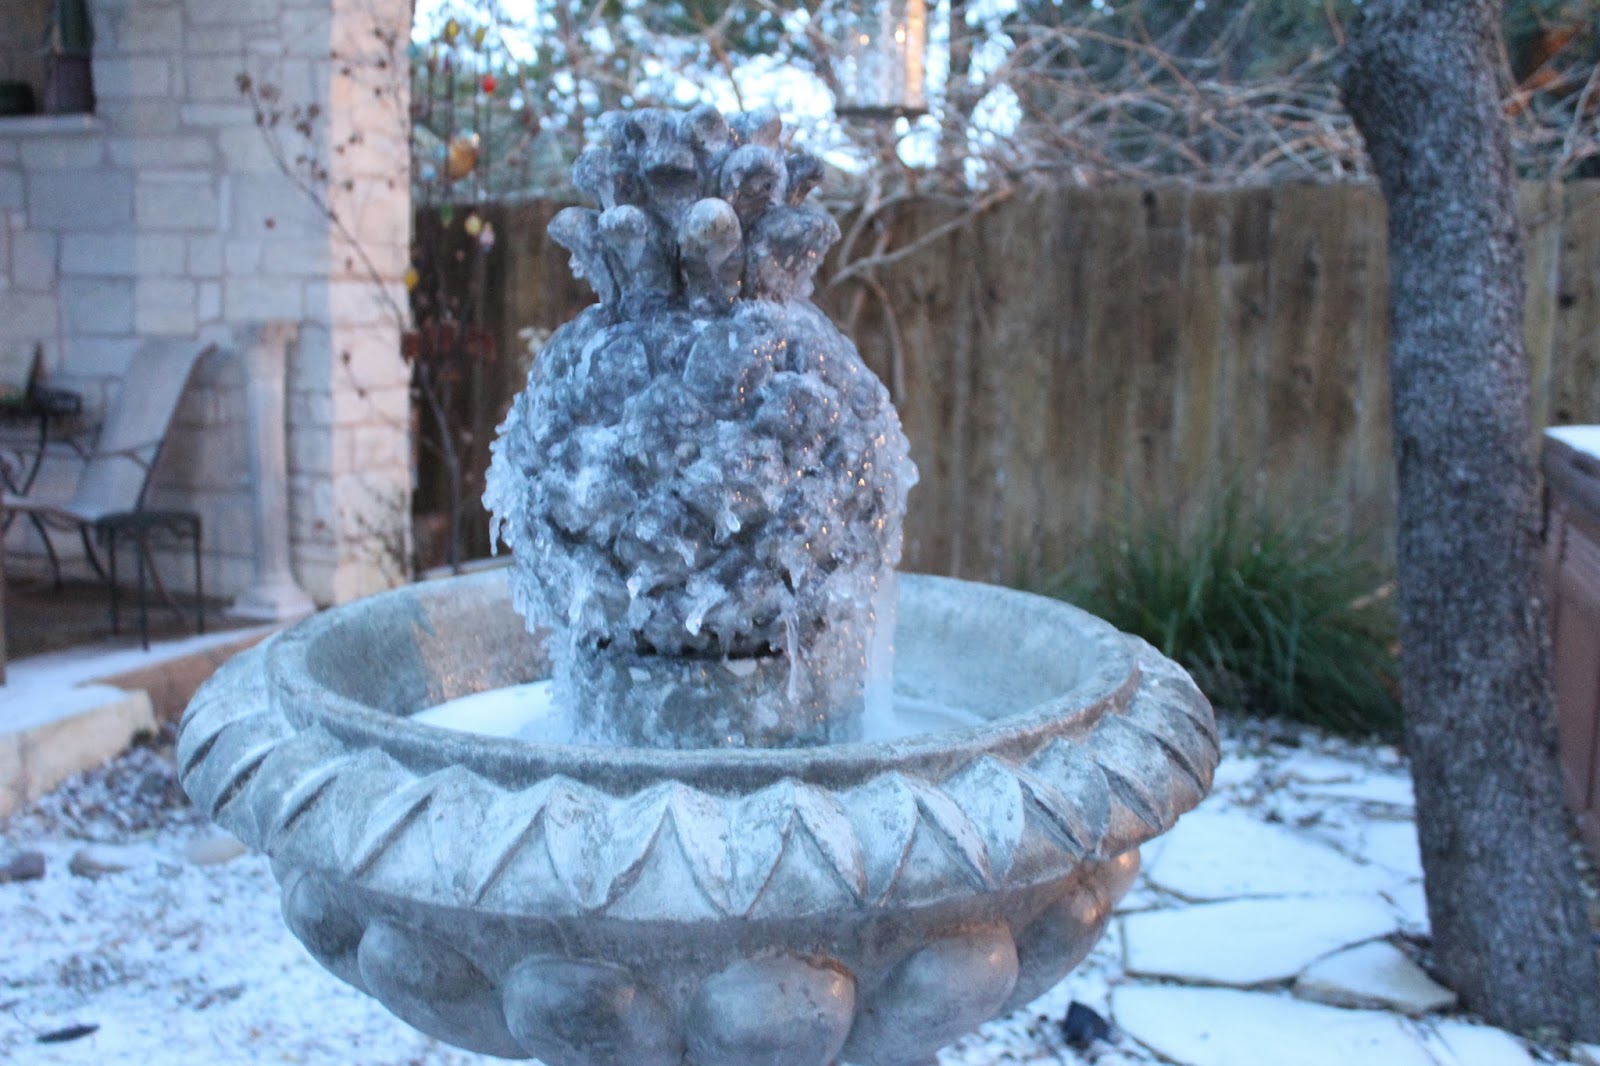
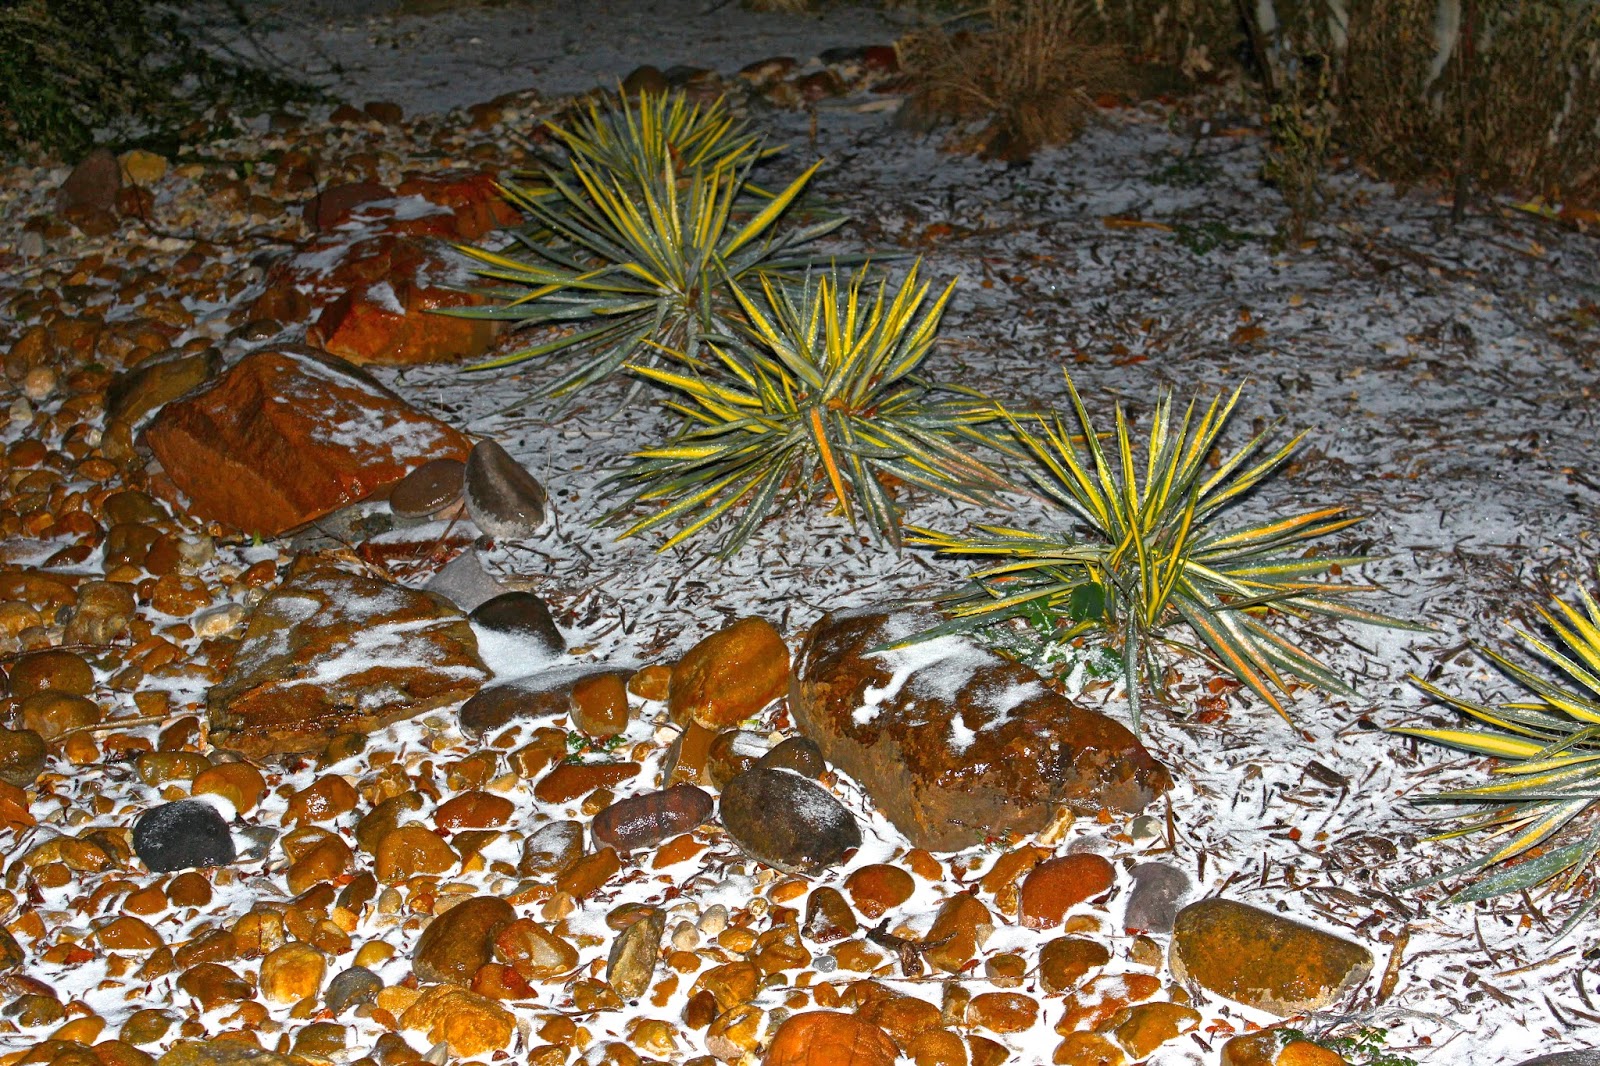
Sleeting rain and freezing temps left us with a layer of ice with the thinnest film of snow on the landscape this morning.  It was 26 when I got up this morning.

Snow day!

Even though I’ve lived in plenty of cold, snowy places around the world, even the lightest dusting makes me smile.  So I had to capture a few images before it all melts away around noon.

The agave above is NOT variegated – that is a strip of snow lying in the center!

Happy snow day.  What’s the weather like where you’re at?

By |2017-11-29T23:27:12-06:00January 24th, 2014|Blog, freeze, Sharing Nature's Garden, snow, snow day|0 Comments
Go to Top