dry creek

Vision and creating a new garden or landscape bed
Starting a new garden is scary.  There.  I said it.  Whether you’re gardening in a completely different space, creating a new bed, or just revamping what you’ve got, it can be daunting.

All sorts of things clutter up my brain.  What’s the soil like here?  Will there really be enough sun in that spot?  What if I change my mind later or come up with a better plan?

Realistically, these are all the questions any time we go into the garden, aren’t they?

I’ve given myself some time to sit in this new space, observe it, think long and hard about what I really want and what will bring me joy.  (Thank you, Marie Kondo!)  I wanted new beds immediately.  But creating new beds is an investment and I didn’t want to be rash and then regret my choices later.
I made lists of plants I love – shade plants, sun plants – evergreens, perennials, annuals, bulbs.  NO vines!  Never again.

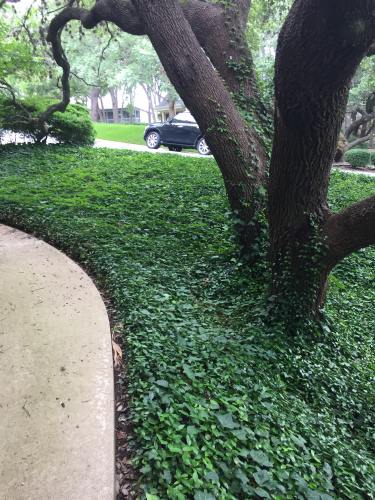
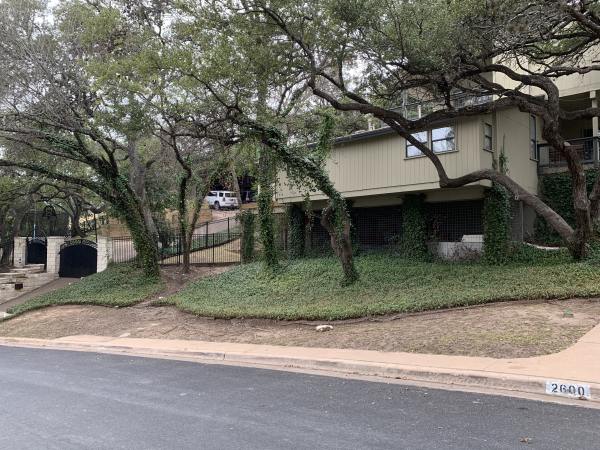
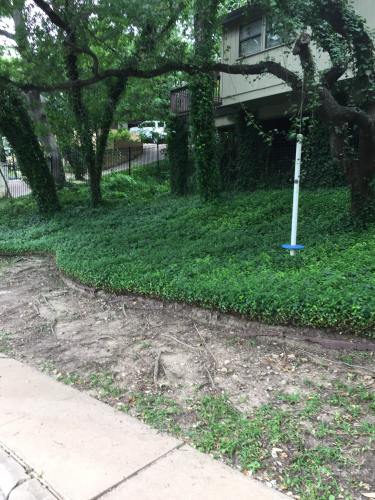
Go back through a few posts and you’ll see that our current yard, trees and house  are being eaten by not just ivy, but Asian Jasmine, English ivy, Virginia creeper and trumpet vine. And what wasn’t covered in vines, was eroding and lifeless.

Grass originally lived in this area, but the overgrown trees reached across the street and made this full shade spot too dark for healthy grass.

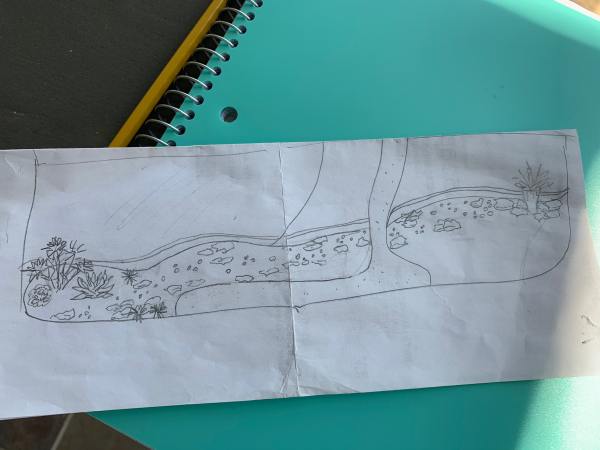
Following my own consulting/design advice, I started by evaluating my goals.  Then I looked at physical/site issues like sun and drainage.  I measured and sat down with a piece of paper and a pencil.

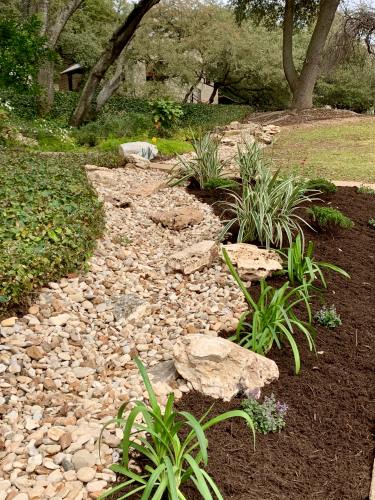
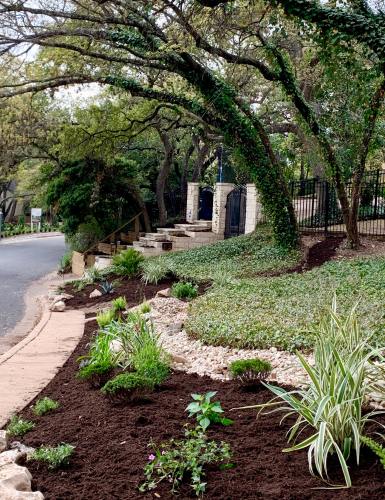
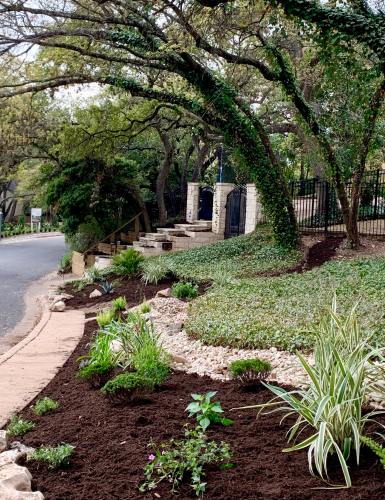
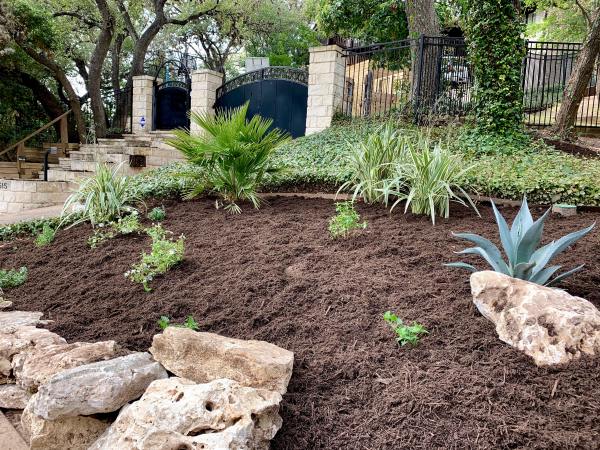
I’ve posted pics of the whole new bed, stretching from under a massive oak along a new dry creek and down to the other end of our property.
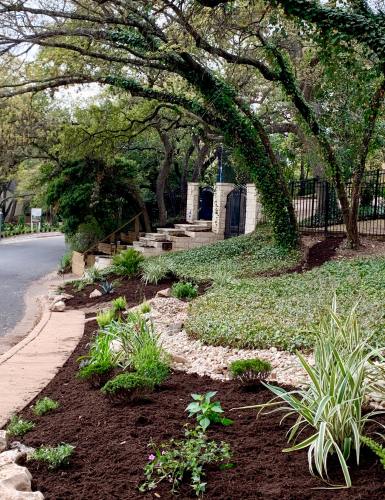
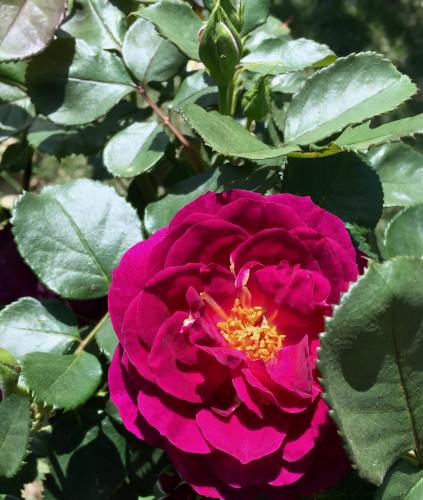
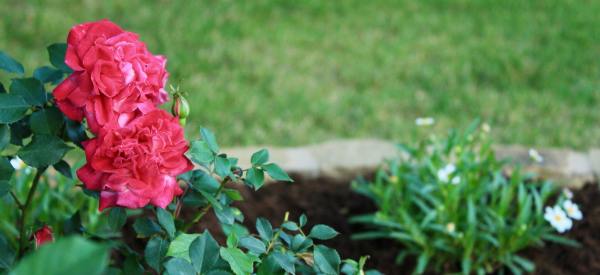
Making my list of most-loved plants, I knew that I wanted a rose.  One of the first things we did at the house was prune the lot full of overgrown trees.  That gave us some sunshine along the street, and conditions that I hope will be enough for a Maggie rose.

I had two of them behind the pool at the other house.  They loved the sun and I loved having them.  But it wasn’t the right place for them – I couldn’t ever reach them to prune or care for them.  So, I pulled them out.  But I missed them.
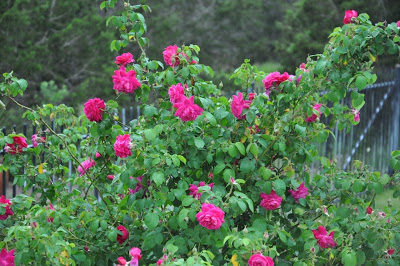
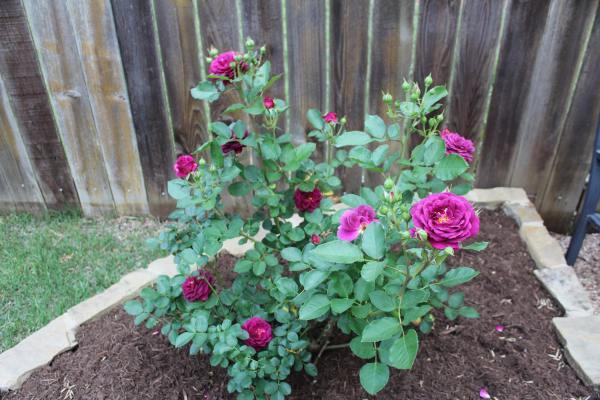
Now I’ve made a special spot for a Maggie in my new garden.

We’ll have to see if she gets enough sun there.

There are some more branches I can prune in the trees directly above if she needs a few more golden rays.  I’ll have to see what happens in the summer sun.

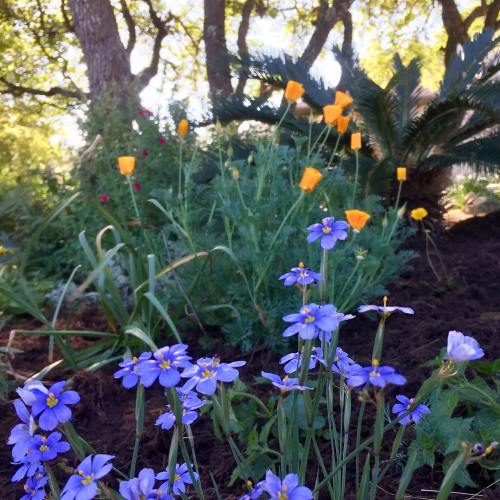
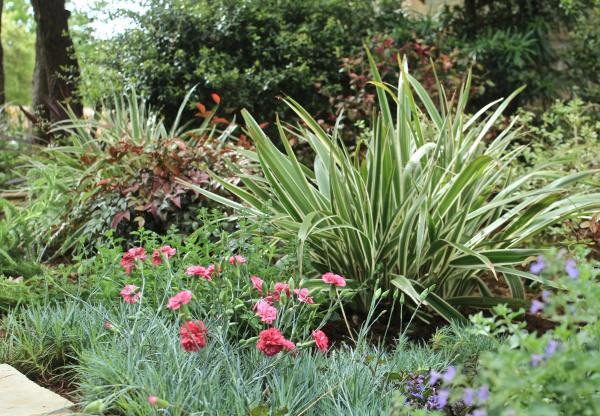
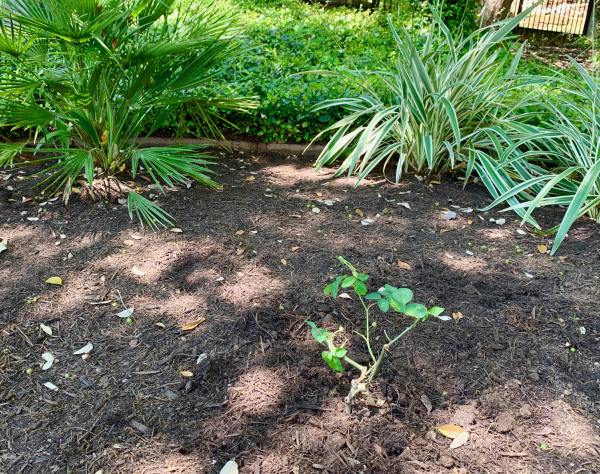
For now, she’s small and spindly.  I ordered her from the Antique Rose Emporium in Brenham, so I know she’s a healthy plant.  She has some buds and I’m babying her for now. With the backdrop of a Mediterranean fan palm, variegated dianella and some neighboring trailing white lantana, I think she’ll be very happy there.
And I’m happy to have her.

Inspiration on a napkin turns ideas into reality in the new garden

I woke up at 5:15 Saturday morning, as excited to wake up and start the day as if it were Christmas morning.  Saturday was planting day.  I could hardly control myself as I tried to go back to sleep for at least a little longer.

When we moved last summer, I knew I would have a blank landscape canvas with which to work.  Now on a large, shaded and very hilly corner lot, the conditions in this garden are dramatically different than our previous garden.

I’m reminded of the adage, “be careful what you wish for…” and smile when I think of my complaints that the other landscape was flat and boring.  There’s nothing flat here!  In fact, the only thing here is ivy.  Lots and lots of ivy.  I’ve found Jasmine, English ivy, trumpet vine and Virginia creeper, all intermingled in an incestuous mess, threatening to eat the trees and the house and everything else in its path.

Over the last few months, I’ve tried to focus on the area that runs along the lower side of the property.

One of our first projects when we moved in was intensive pruning of the wonderful, yet long-neglected heritage trees.  We removed a few dead ones, and opened up the canopy of trees along that side of the property.  Because of the overgrown trees, all that remained in the total shade was dead grass, soil and exposed tree roots.  Now, the afternoon sun shines in this area, and I decided that it might be my best bet at creating a bed friendly to sun-loving plants.

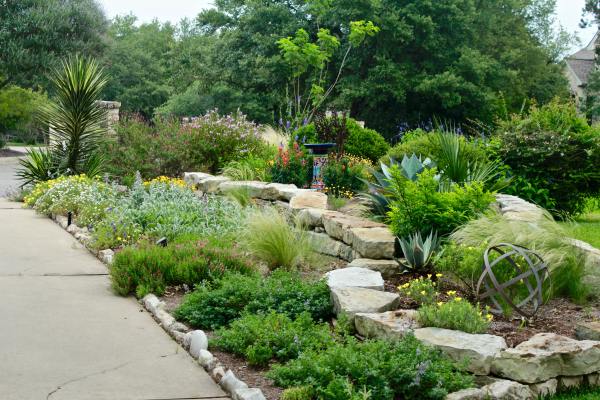
I’ve scribbled on several napkins and I’ve had a few snippets of ideas about possible plant combinations.  Luckily, I came to my senses and decided to take the time to assess the space, allow my vision to evolve, and focus on some of my favorite plants.  The sketch of plants grew as I decided to intersect the long space with a dry creek, boulders and a large ceramic pot as the focal point.
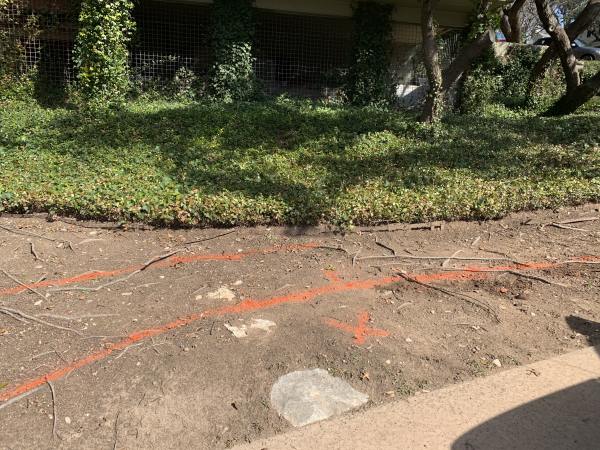
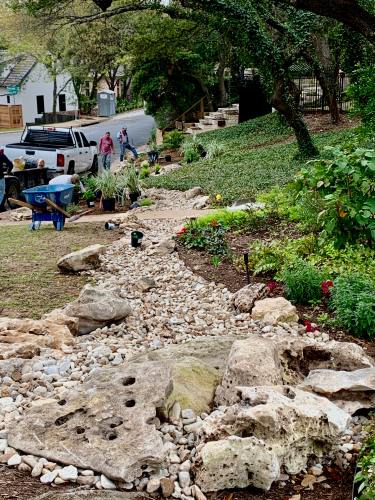
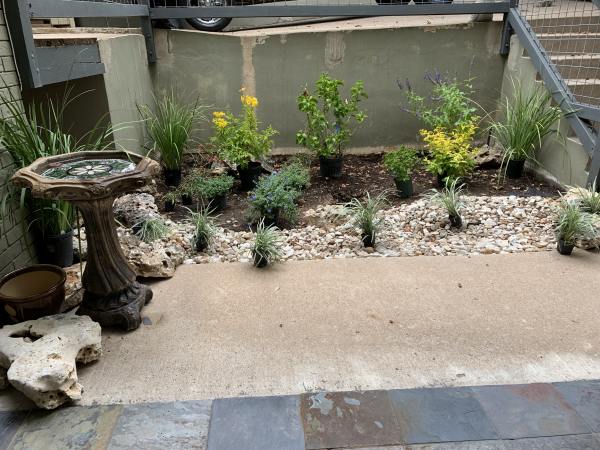
Last week, I put the plan into motion as I drew out the creek outline with construction paint and got the crew digging and delivering rock.

Over the week, I finalized my plant choices and placed my order.  Saturday was the day.

I lovingly placed every plant and every boulder, turning and adjusting and moving an inch to the left and then a half inch to the right and then another half inch back to the left!

At the top of the hill, I’ll add a very large ceramic pot, filled  with a focal point plant and trailing potato vines or maybe silver pony foot.  It will be nestled in the middle of these boulders at the headwaters of the creek.

Bordering the sidewalk entrance, a few dianella, a purple trailing lantana, a red salvia Greggii, blackfoot daisies and damianita surround a regal purple Amistad salvia.  She’ll be the star of the show in short order with her almost foot-long plumes.

To create year-round interest, catmint is intermingled with the elegant and strappy leaves of Agapathus.  I like the textural contrast between the delicate, gray-green catmint and the lime-y foliage of the agapanthus.
In mild winters like this one, catmint was evergreen in my previous garden.

It will be interesting to see how plants fare in this new garden.

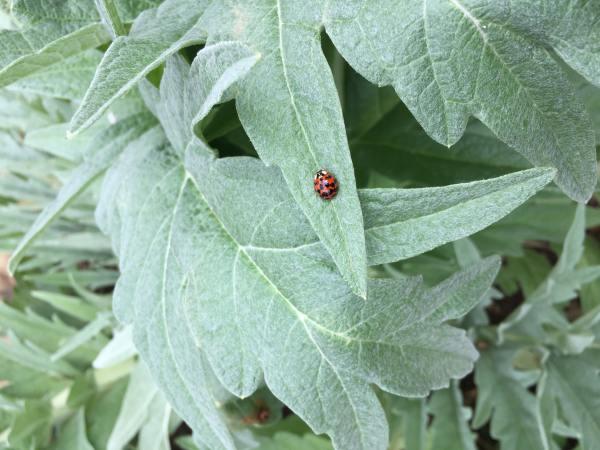
At the other end of the bed and the creek, the shining star will be a deep magenta Maggie rose (which I haven’t found yet).  She’ll be flanked by Dianella, a Mediterranean fan palm, trailing white lantana,  purple skullcap and a Weberi agave.  Just past the Weberi, another Dianella keeps an Indigo spires salvia company along with an artichoke and a scattering of sculptural foxtail ferns.
I didn’t realize how much I missed my other garden until I started to create a new one.  It’s filled a void and I’m excited to be moving forward.

I have lots of other ideas swirling around in my head.  And now that this bed is spiffy, neighboring areas definitely look shabby in comparison.

Now I’m dreaming about new stucco bed-bordering walls (to replace railroad ties), driveway flanking beds, and a possible new entrance from the street.

I’ve stocked up on napkins, there is plenty for me to do.  I’ll keep you posted!

My garden and design photo faves of 2019

It’s a new year and I’ve just passed the 6 month  milestone in a new garden.  I miss so many things about my previous garden – an acre and a half that I nurtured and loved for more than 16 years.  I’m also excited about having a new challenge.  A BIG new challenge!

So, I’m recapping some of my favorite 2019 photos of my gardens, both old and new.

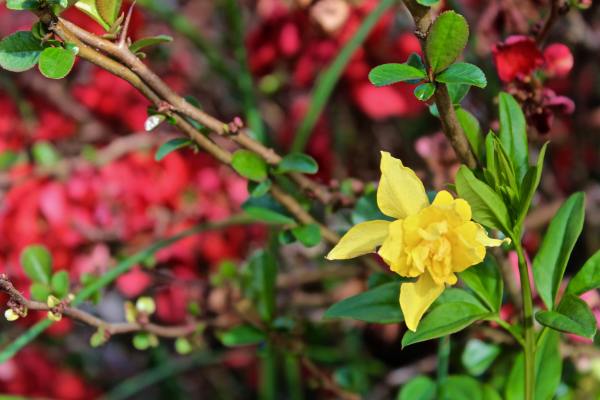
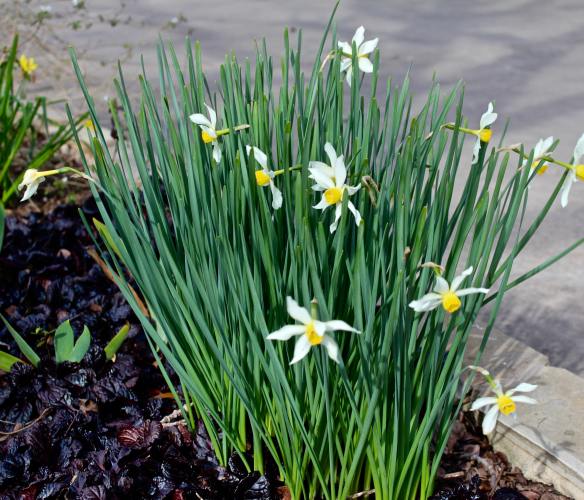
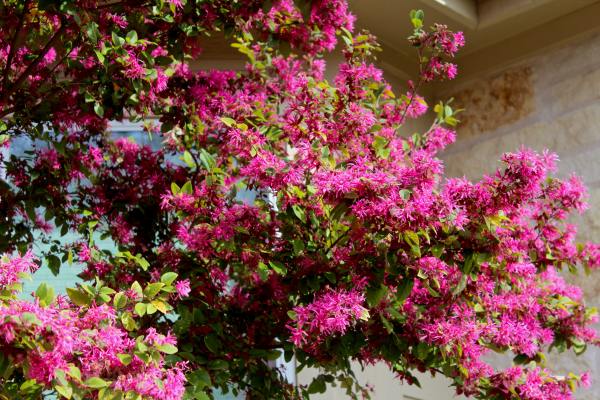
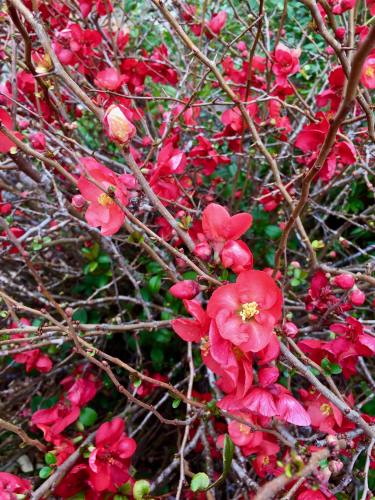
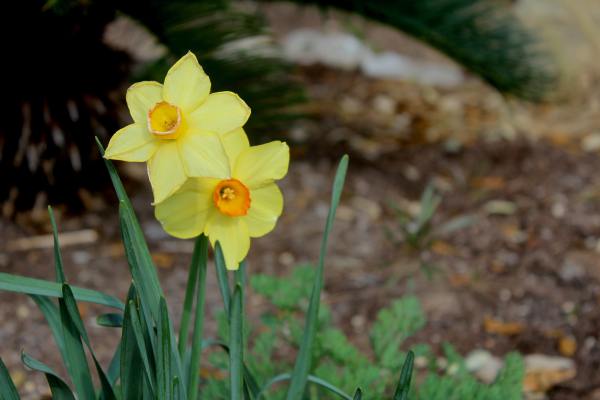
This Japanese flowering quince always joined the daffodils and hellebores as the first harbingers of spring.  These are plants I will definitely incorporate into the new garden.  I’ve already planted several varieties of daffodil bulbs.

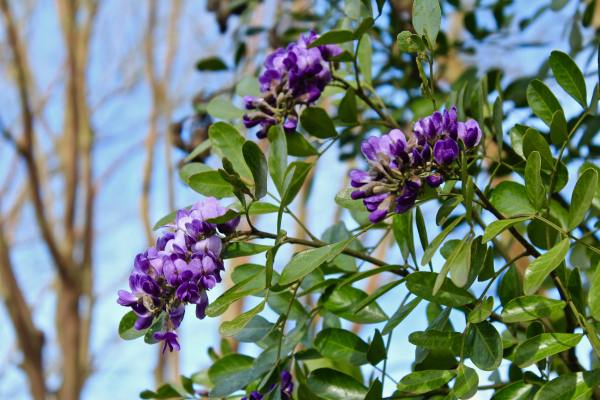
The row of Mountain Laurels lining the old driveway was heady with grape-y goodness when they were all in bloom.  Luckily, there is a Mountain Laurel in the new garden.

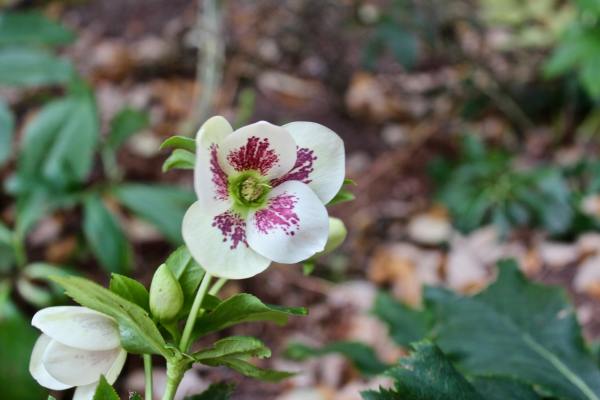
I dug up and brought several hellebores from my collection to the new house and they are thriving.  I lost one in the process (I might have been too busy to take good care of them in their pots for months before I began creating a bed for them).

These lyre leaf sage also came with me.  They provide lovely ground cover all year and put up these delicate blooms in the spring.

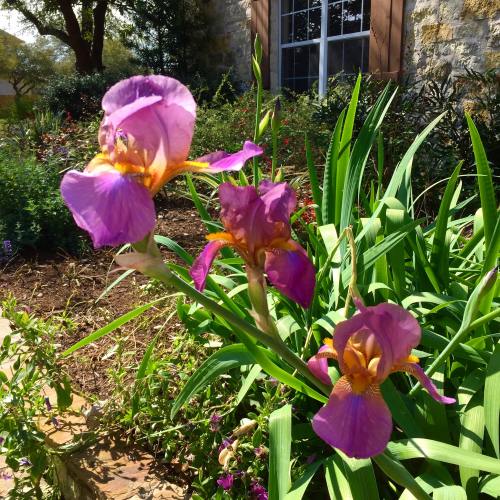
All of the Austin Garden Bloggers will recognize this as Lucinda’s iris – passalongs that I believe we all share.

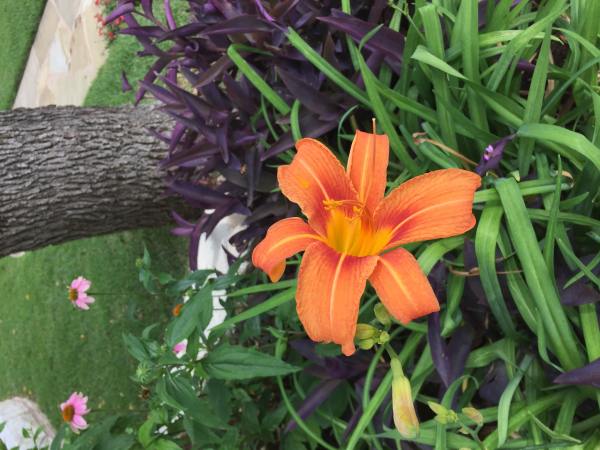
Rest assured, Lori, the ditch lilies you brought me back from Wisconsin in a bucket traveled with me to the new house, too.  I’d never leave those behind!

Dianella and loropetalum were building blocks in the previous garden and the will be again when I start building some big beds.

I think I’ll find a home for another ebb tide rose, too.

The current yard (it’s not a garden!) is covered with ivy.  I hope to craft a happier habitat for beneficials and pollinators and birds.

I loved the hot, confetti pops of color in the front bed at the previous house.  This is the one I jokingly called the hideous bed.

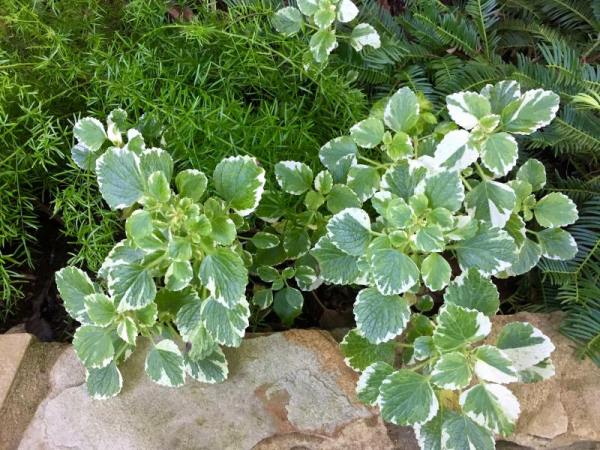
Swedish ivy always perked up the shadier nooks and crannies in the garden.

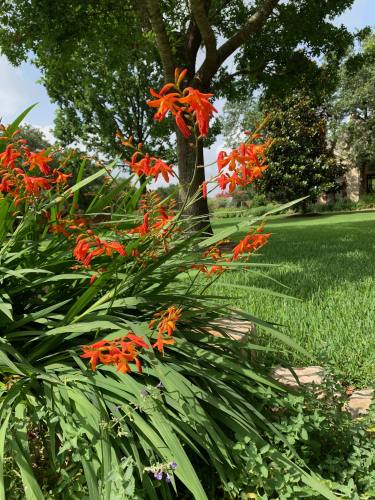
I fell in love with crocosmia at many Garden Bloggers Flings and was happy to add some to my garden two years ago.

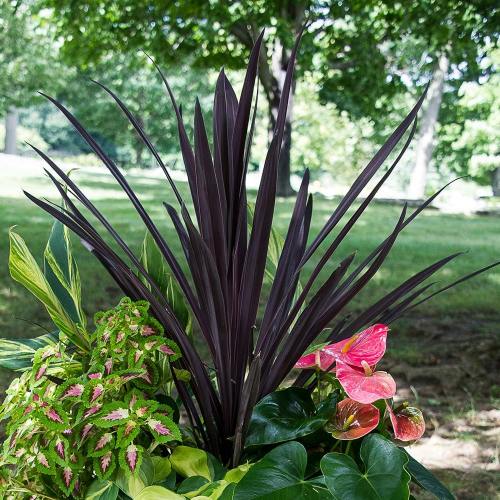
I always made room for cordyline in the garden and in ornamental pots.

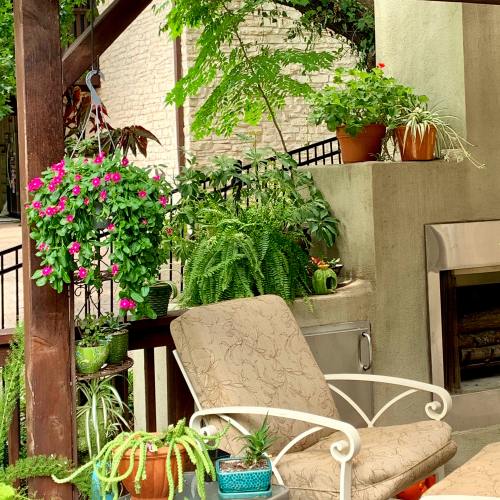
Of course I brought all of my pots with me.  I think we moved 75 of them – yikes!  Having them all here made us feel right out home on the big back deck and outdoor living areas.

This eyesore area at the new house needed an overhaul.  We had to regrade, take out trees, build a French drain and dig out a dozen trashy shrub volunteers.  As a small project, it was my first garden creation.

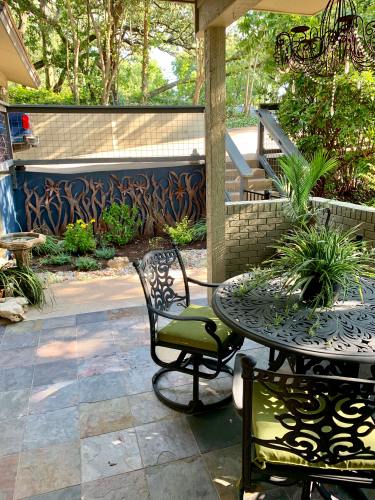
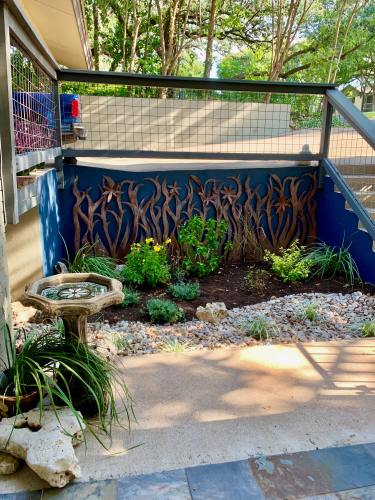
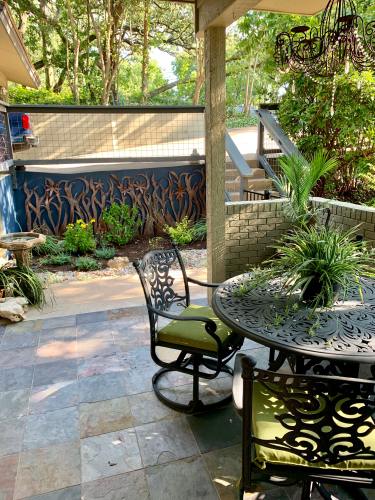
I started by giving some curves and shape to this part of the French drain to define a new bed area in this square space.  Then I painted the dilapidated concrete.  This area is the view out of the dining room French doors that open onto a courtyard.  I designed these steel panels and had them custom built  to surround the AC units at the previous house, but don’t need them here.  They were perfect for adding interest to this odd space.

Plants and a bird bath were the crowning touches!  The wrought iron table and chairs in the courtyard offer a lovely spot for morning coffee.

Lots of fun projects are on tap for 2020.  I hope you’ll come see how things are progressing.

Happy New Year and Happy Gardening!

Creating a new garden and dog-friendly landscape

We moved in June, and left behind the garden I built over 16 years.  I feel like I’ve left behind so many dear friends and labors of love.

I have moved on, as the new garden really needs me desperately.  The new owners of my garden have asked for my help in getting to the know the garden and how to care for it.  And, they’ve been very generous about my collecting some seeds and a few volunteers as well.  I look forward to teaching them to care for all my plant children.
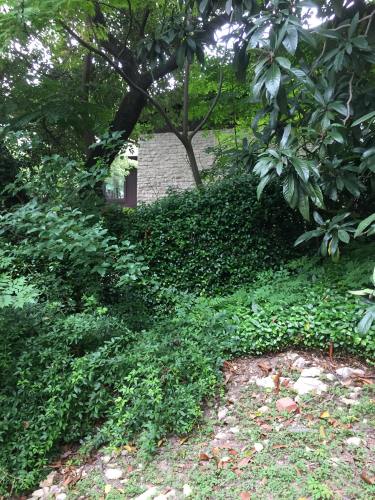
So, the new house.  The new old house.  Ivy, actually, three kinds of ivy – English, Jasmine and Virginia creeper, have eaten the entire large, corner lot, and are now trying to eat the house and all of the beautiful live and red oak trees.  Ugh.  And because I need to keep a little of it, eradication is going to be labor-intensive to say the least.

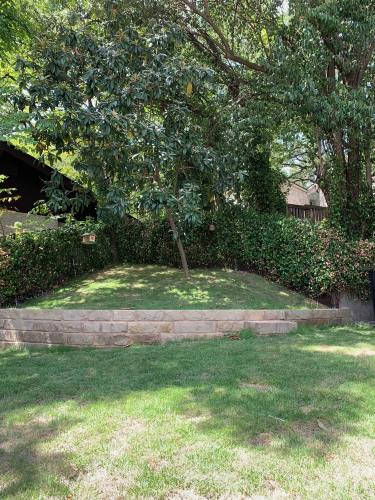
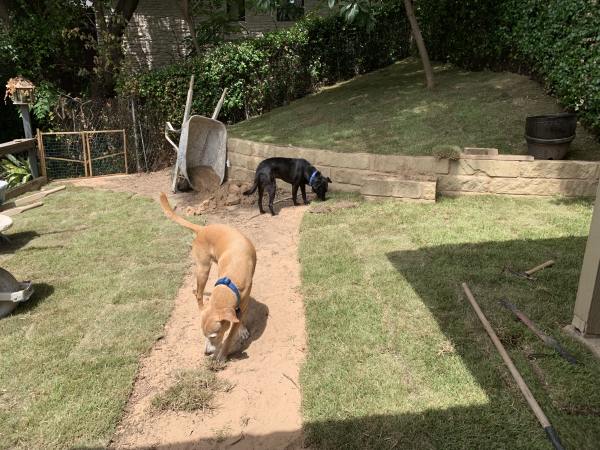
In the back, there was a tiny square of what I believe may have once been grass.  But, it was sad – invaded by ivy, a half dozen volunteer trash trees and a small circle of weeds, it was a poor excuse for a yard for the boys.  So, the first step was to clear the trash trees, dig out the ivy and the primrose jasmine, and open the chain link fence to install a gate to the next grass-creating project.

Dog inspection was critical to the leveling and retaining wall work and they were eager to check out their new space.

Once done, it was a fine yard for exploring and enjoying, and a lovely loquat tree was rescued from the encroachment, providing just a little shade.

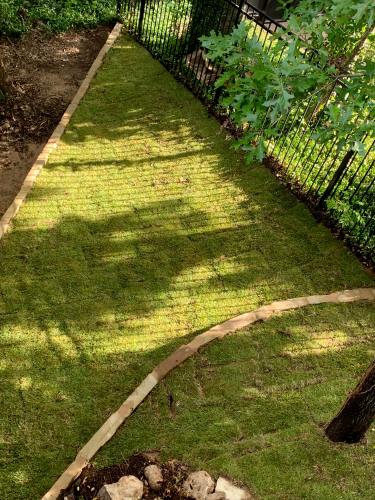
Then, onto the next part of the project.  Along the back of the deck, another incredibly steep slope of ivy and trash trees.  (Surprise, right?)

More leveling, more retaining walls, more soil and more Zoysia grass.  Opening up the trees and adding irrigation made a great, long yard for the boys to run behind the deck all the way down to the side street to watch passersby.


A gate at the bottom gives us some more flexibility and access.

The retaining walls will hopefully keep water from rushing down the hill during the periodic gully washers.

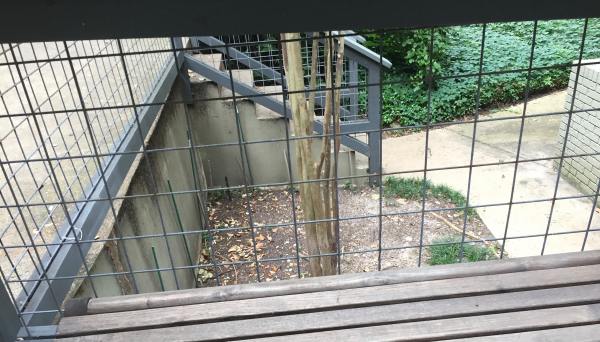
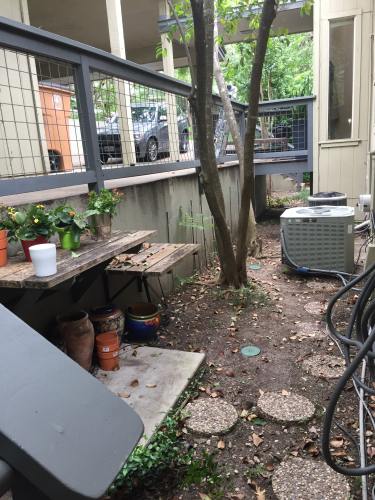
One last dog-friendly project awaited.  On a steep hill, the house has catwalks from the driveway and carport to the house.  In the space below, the owners had let poor grading and dirt erode the side of the house, so we regraded, took out more volunteer trees, installed a French drain and filled the space with river rock.  I had two more gates created so the dogs could run from the back yard and deck to the front next to a courtyard where they watch everyone go by the front yard.

Then it was time to create the first garden bed!  Whoo hoo.  I was so ready for it by this time.  It was the peak of summer and I didn’t have a single flower in the ground on the entire property.  I can’t tell you how depressing that was.

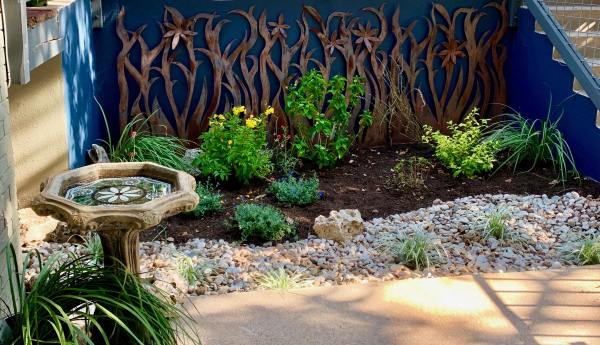
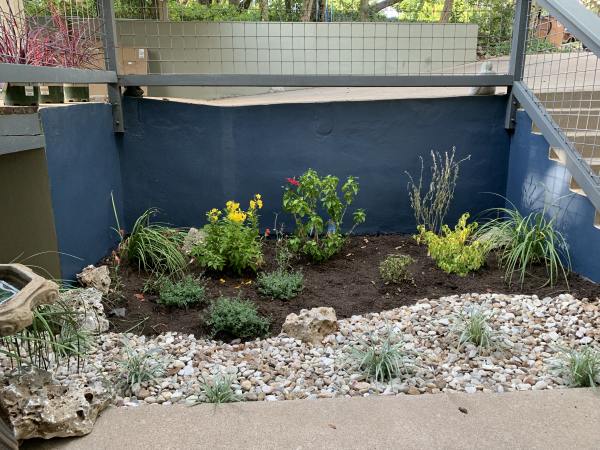
A spindly Crape Myrtle reached so far into the other oaks above the only bare trunks were visible, so we removed that and added an attractive curve to the river rock, building a bed behind it.  A spindly Crape Myrtle reached so far into the other oaks above the only bare trunks were visible.

In sad shape, the enormous concrete wall needed attention.  Step number 1 – get the bed prepped and find the right plants.


Then came concrete painting.  After a good bit of pondering what color would work with the dark sage green of the house, the gray fences and the red doors, I settled on a medium shade of blue.


I decided that the iron art I designed was worthy of so much more than an air conditioning screen, so I placed three of the panels as a focal point in front of the blue.  Wow, does that pop.

We’re not sure if the large plastic owls mounted all over the property were to keep the local hawk family away from their tiny dog, or to keep birds from pooping on the deck or what.  But, for all the trees, there are precious few birds.  I put a birdbath on the edge of the courtyard and since we are rarely out there, I’m hoping some nearby feeders and houses serve to invite some feathered friends.

Add a table, more plants and a chandelier and, voila, the perfect spot for morning coffee or afternoon iced tea.  It’s starting to feel like home.  Once again, I’m able to say I have a “happy place” to sit and relax.

Check back for the next saga of “Save the Garden,” where I’ll walk through the before and after of the two main beds directly in front of the house.

Rain, rain…well, just take a break, please…

Living with frequent drought makes dealing with torrential rains tricky. We want rain. We need rain. But, in the Hill Country, it’s tough for the ground to absorb. Which leads to floods. Dangerous floods.

Beyond the frightening potential human toll, gardeners also have to deal with plant-killing floods. I just turned in my article for next week’s Austin American Statesman, where I write about plants that “don’t like to have wet feet.” Today, that’s gonna be all of the plants in my garden. That’s from 3.34″ this morning alone and 8.29″ for the month.

Having lived through the sizzling, scorching drought, I am hesitant to wish for an end to the rain. But, geez, it can take a break for a little while — enough already!

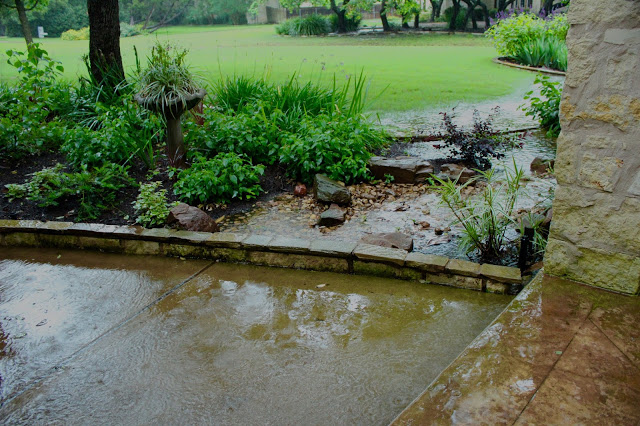
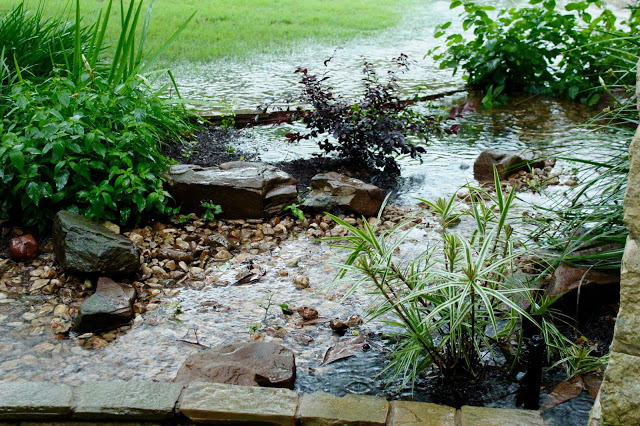
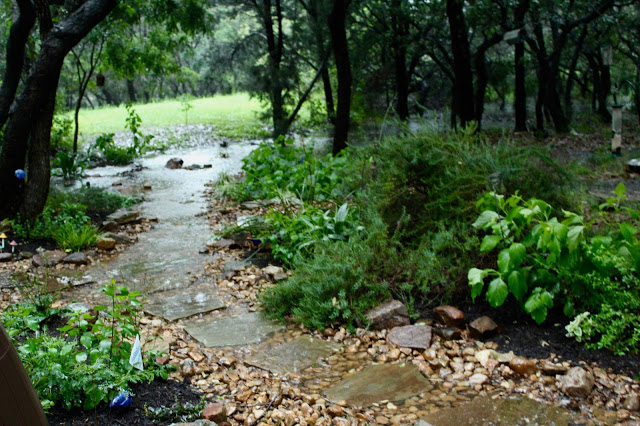
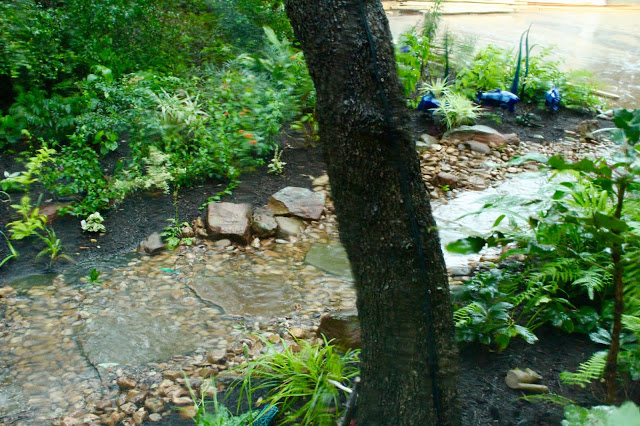
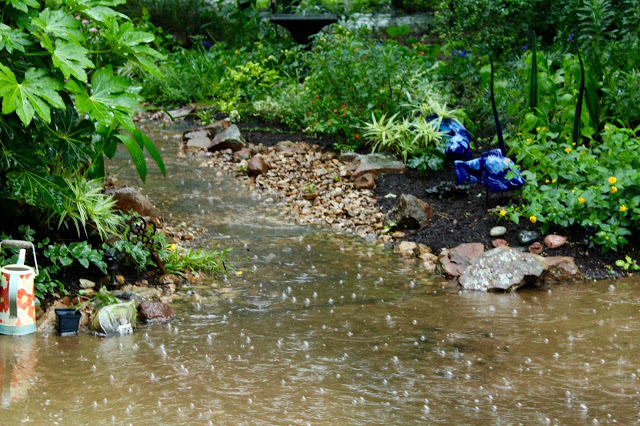
Our home sits downhill from several other homes and so we get run-off. Serious run-off! We have French drains and dry creeks in 3 separate places, designed to deal with days just like today.

And our drainage abatement IS working. Water is moving to where it’s been directed.

The dry creek is no where near dry.

No sign of any let up right now, but it’s ok, cuz the rain is “Rollin’ down the river…” We also have a 10,000 gallon rainwater tank, which is totally full. I’d take a picture of the gauge and the tank for you, but I’d have to get wet. No thanks!

Build beautiful hardscape projects in your garden now

Now that winter is keeping us out of the garden, what’s a gardener to do?   That’s easy — plan.  Plan for all the big ideas you’d like to turn into reality once spring planting fever hits.  It’s the perfect time to start planning structural hardscape changes in your landscape. 
Today, our landscapes are becoming extensions of our homes.  They bring us outdoors, in rooms and areas that provide entertaining space, room for kids and pets to play, or maybe a quiet reading nook. 
 
Where to start?   Ask yourself — was your patio too small for entertaining last year?  Did you, or your dogs, wear a dirty path in the grass to get from area to area?   Or do you just want to remove some grass, water a little less or solve a drainage problem with a dry creek?
 
Now what?
Ask yourself some preliminary questions.  First, consider your personal style – are you traditional, natural or contemporary?  Think about the existing area – do you want to use the same material as your house or other structures, or do you want something different? Identify whether you’d prefer creating a color contrast color or seamless hues of a single color.
 
Consider the type of material best suited to your project.  Stone is sold by the ton — decomposed granite by the yard — your local landscape supply yards can help you determine how much you’ll need based on your measurements.  Here are some of the choices that are commonly used for hardscape projects.
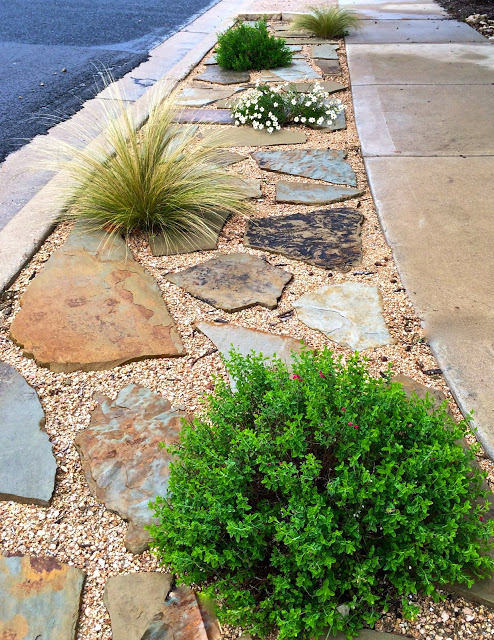
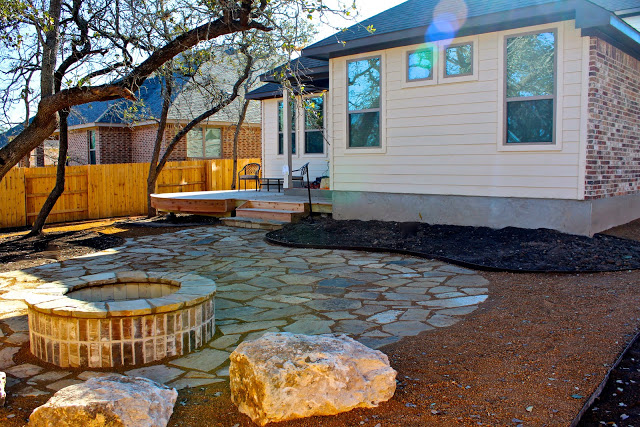
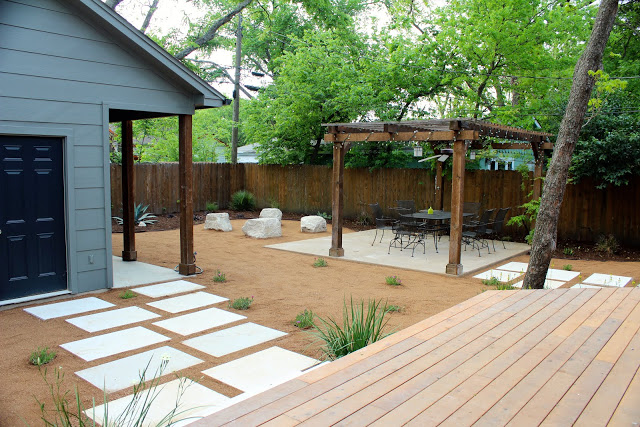
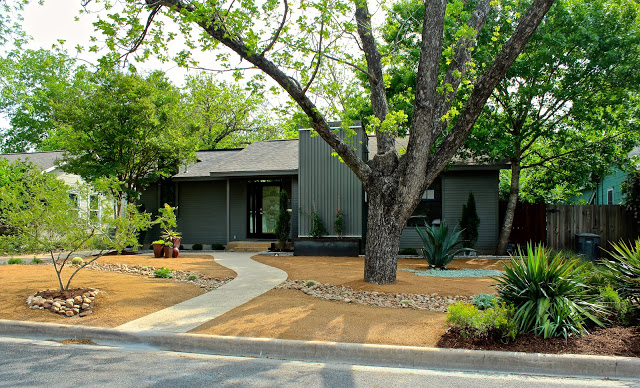
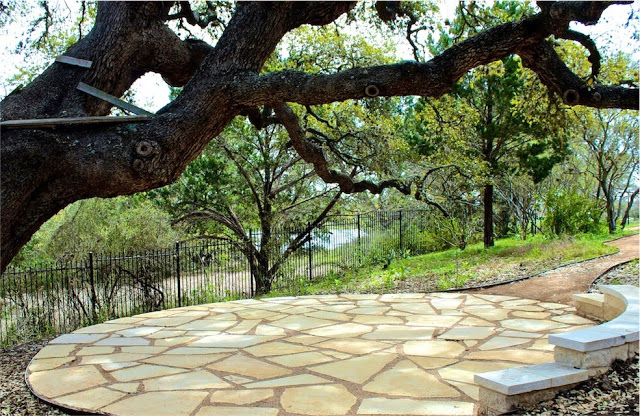
Flagstone – Can be used for a variety of landscaping projects, from paths to patios and walls.  It can be mortared into place or simply set in decomposed granite or gravel so it remains permeable.  Wondering what to do with the sidewalk strip in front of your house where the grass is perpetually dying?  Consider some attractive flagstone set in decomposed granite.  If you want a softer look, add a few Mexican feather grasses or a few small agaves or a boulder or two for interest. 
 
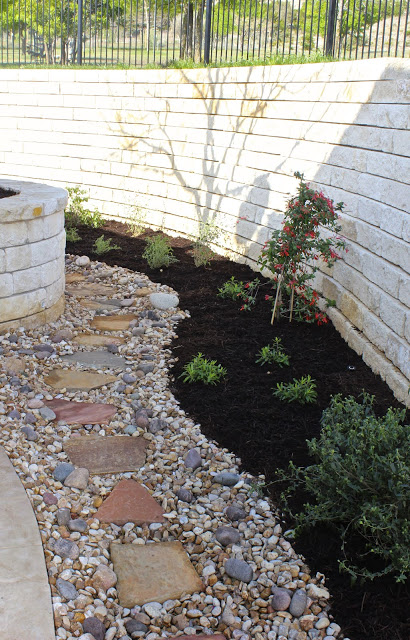
River Rock – Available in a variety of size ranges, river rock is smooth and comes in a blend of colors.  It can be used to create a meandering dry stream through your landscape or to solve drainage issues.  You can also simply replace grass with an attractive contrast of natural material in your yard.  It can be used to puddle below a water feature or a birdbath.  Always be sure to vary the size of the rock in a dry creek, scattering in the larger rocks before you put down the smaller size for a more natural look.
 
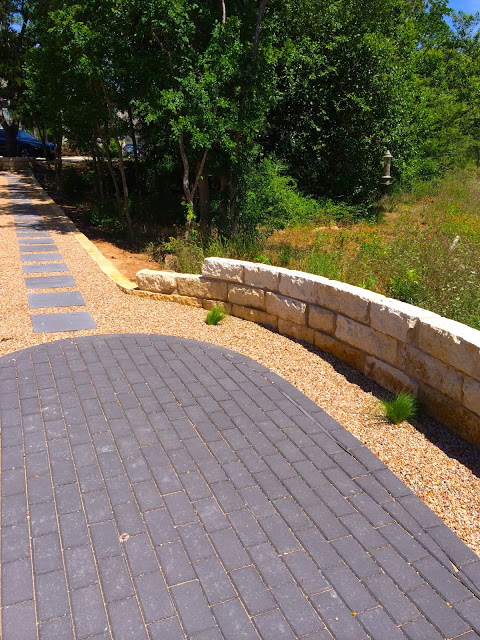
Pavers – Man-made pavers come in very imaginable color and size.  The most commonly used are made of concrete and can be used for patios and porches, paths and even walls.  They can be laid on a bed of sand, placed close together for a more manicured look, or can be laid with spacing to allow for either grass or pretty little ground covers to grow between.  Pavers create a more manicured, formal style in outdoor rooms.
 
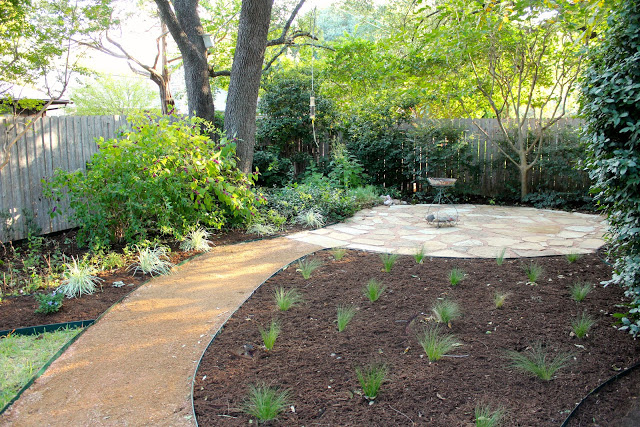
Decomposed or crushed granite – Weathered granite that has broken down into small pieces and particles of silt, DG is commonly used in patios, paths and even beds with arid plants.  It’s versatile as a filler for many different projects – just be careful not to use it on a steep hill – our periodic gully washers can wreak havoc with it.  You’ll want to make sure to use some sort of edging – metal or stone – to keep the granite in place and separated from grass or beds adjacent to it.
Gravel – Available in many different colors and sizes, gravel is a great material.  It can work wonders to help with small drainage issues and it adds texture and contrast to the garden.  Because it is larger, when used in a path, it is less likely to wash away than decomposed granite. 
 
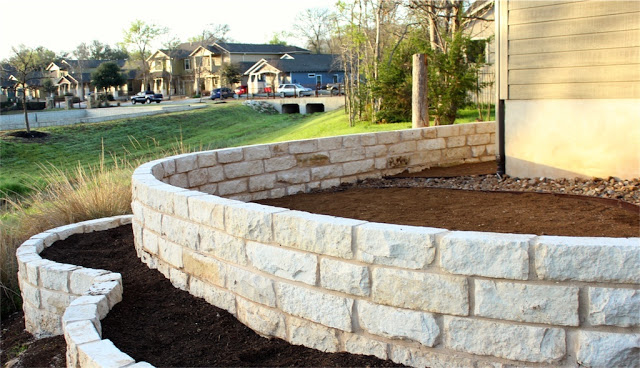
Chopped block – Most stone can be purchased as a rough-hewn brick-like shape that is more natural in form.  These are used to build retaining walls, benches, planting beds or pathway borders. 
River rock, flagstone, chopped block and other stones come in specific palettes of color – Oklahoma, Arizona, Colorado or New Mexico – are some of the choices you can find around Austin.  From golds to browns and reds or grays and pinks, the right hues in your garden can be like a fresh coat of paint in your house. 
If you are creating paths or dry streams, remember to use long, sweeping curves to provide flow and make your garden more natural and inviting.

Adding different types of material to you landscape can make it interesting and inviting – creating contrast and texture that enhance your garden.  
These are all landscape design projects I created.  For more ideas and information, go to Diana’s Designs and see other projects.

[/fusion_builder_column][/fusion_builder_row][/fusion_builder_container]

Go to Top