Sharing Nature’s Garden

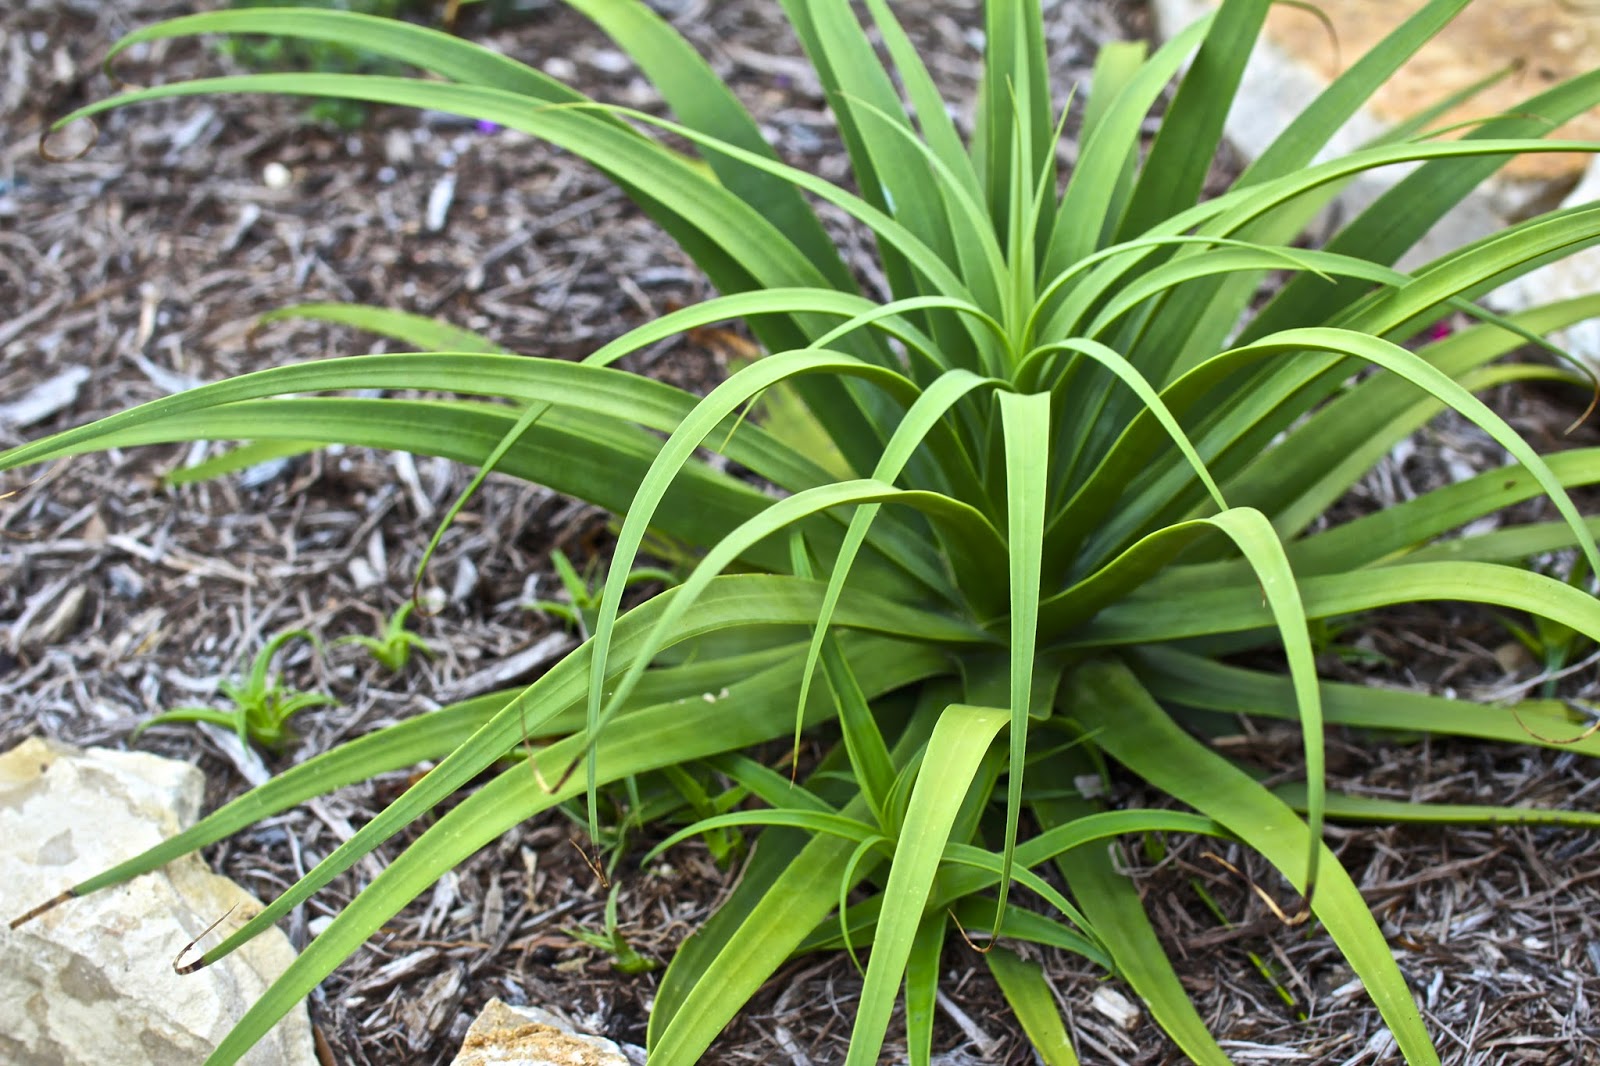
Tillandsias – Get creative with color and texture

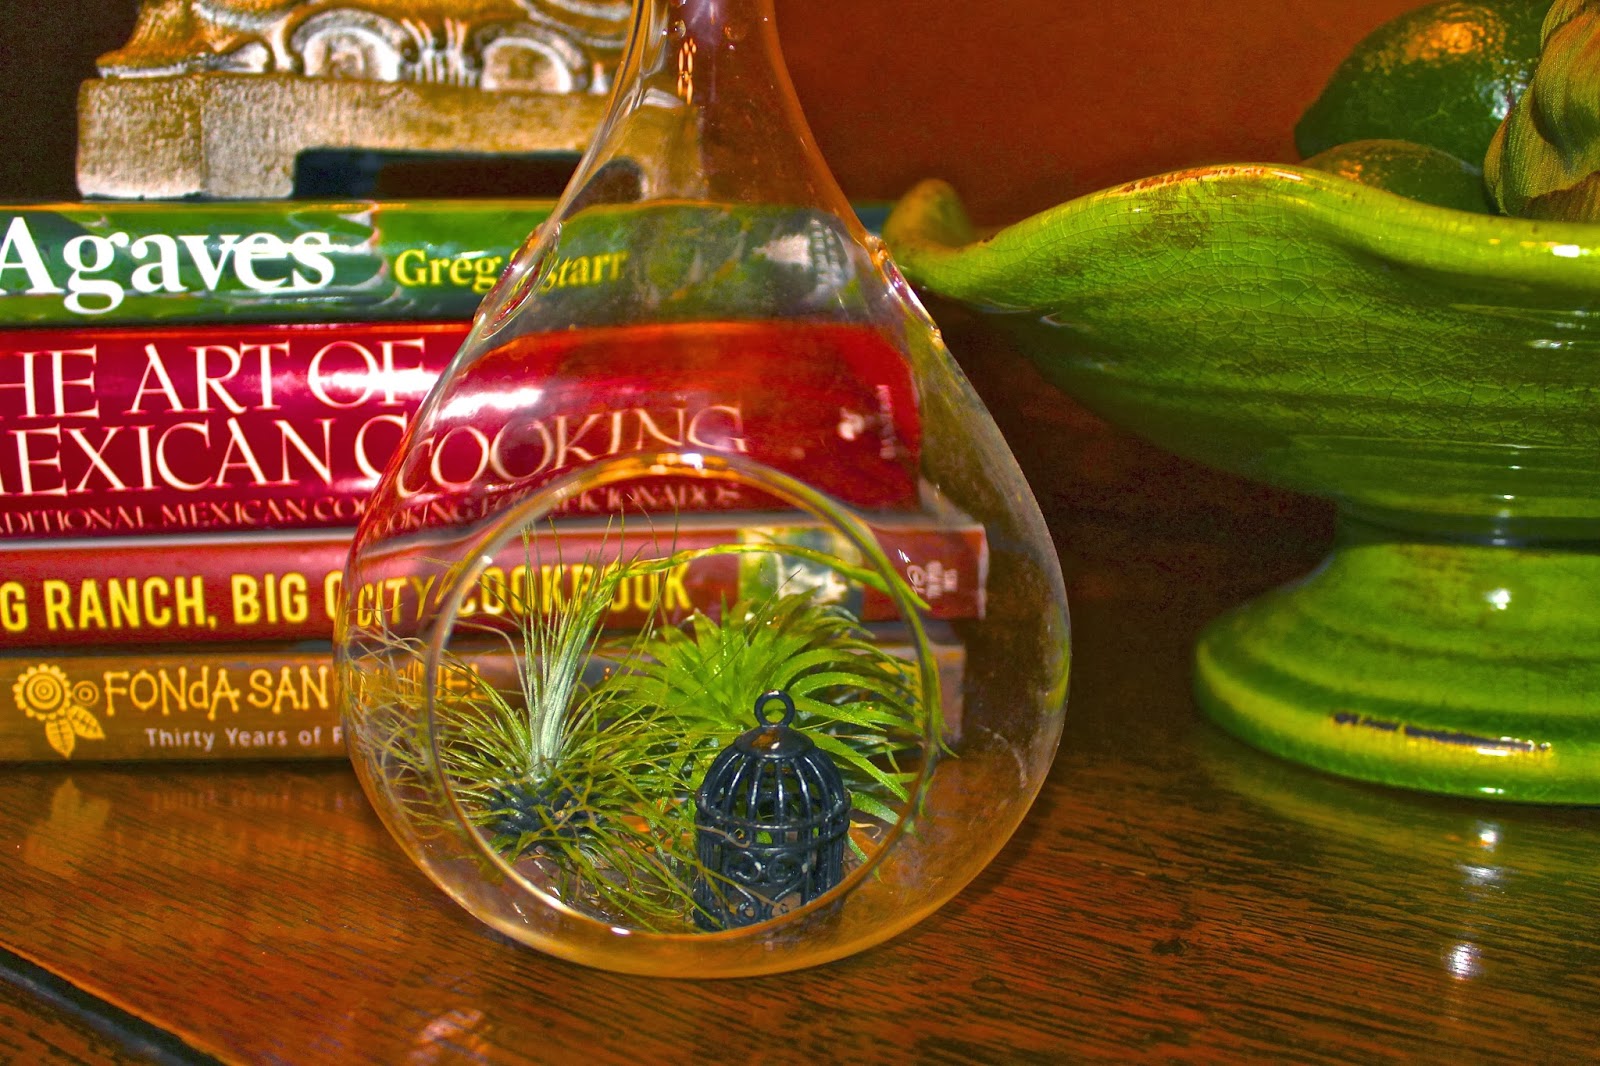
I spent some time out in the dreaded cedar pollen yesterday cleaning out and redesigning another tillandsia globe.

All the previous black sand, rocks and lichen came out and I washed the globe.  Then I went to my tumbled glass pile and collected some beautiful green, clear, blue and gold pieces of glass to form the floor for my arrangement.

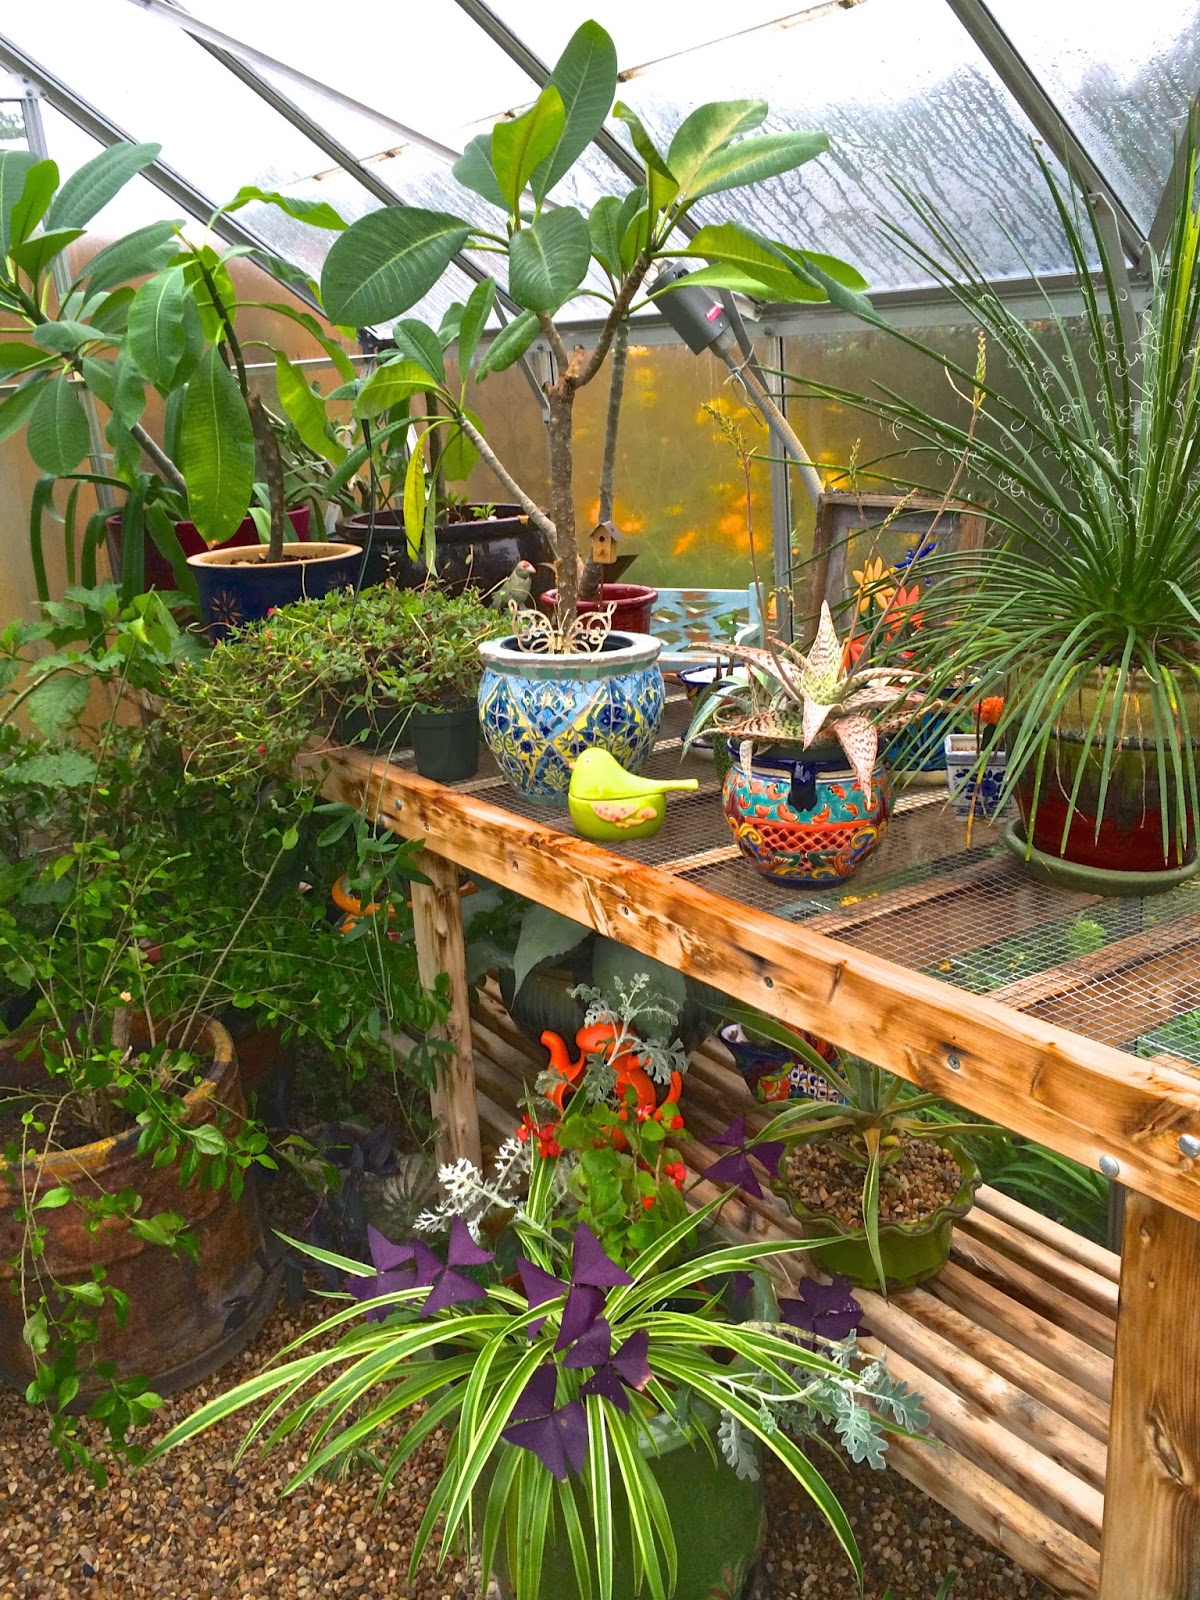
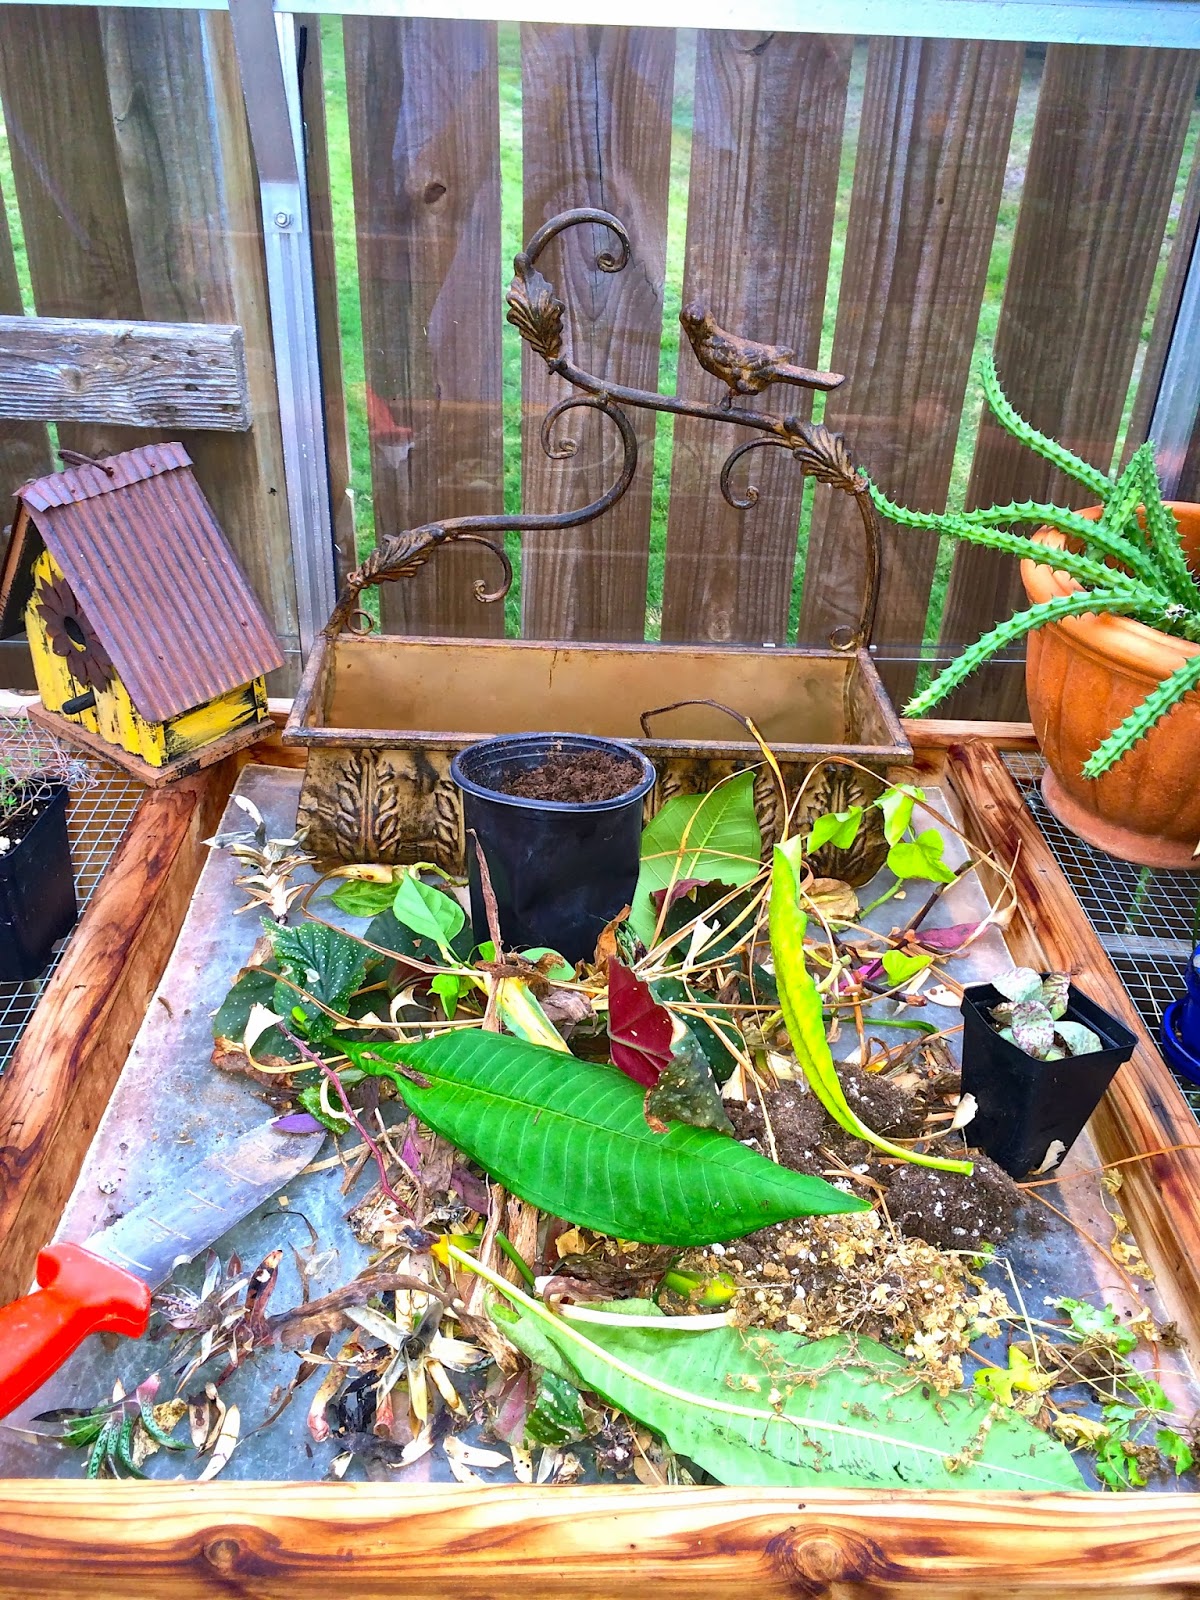
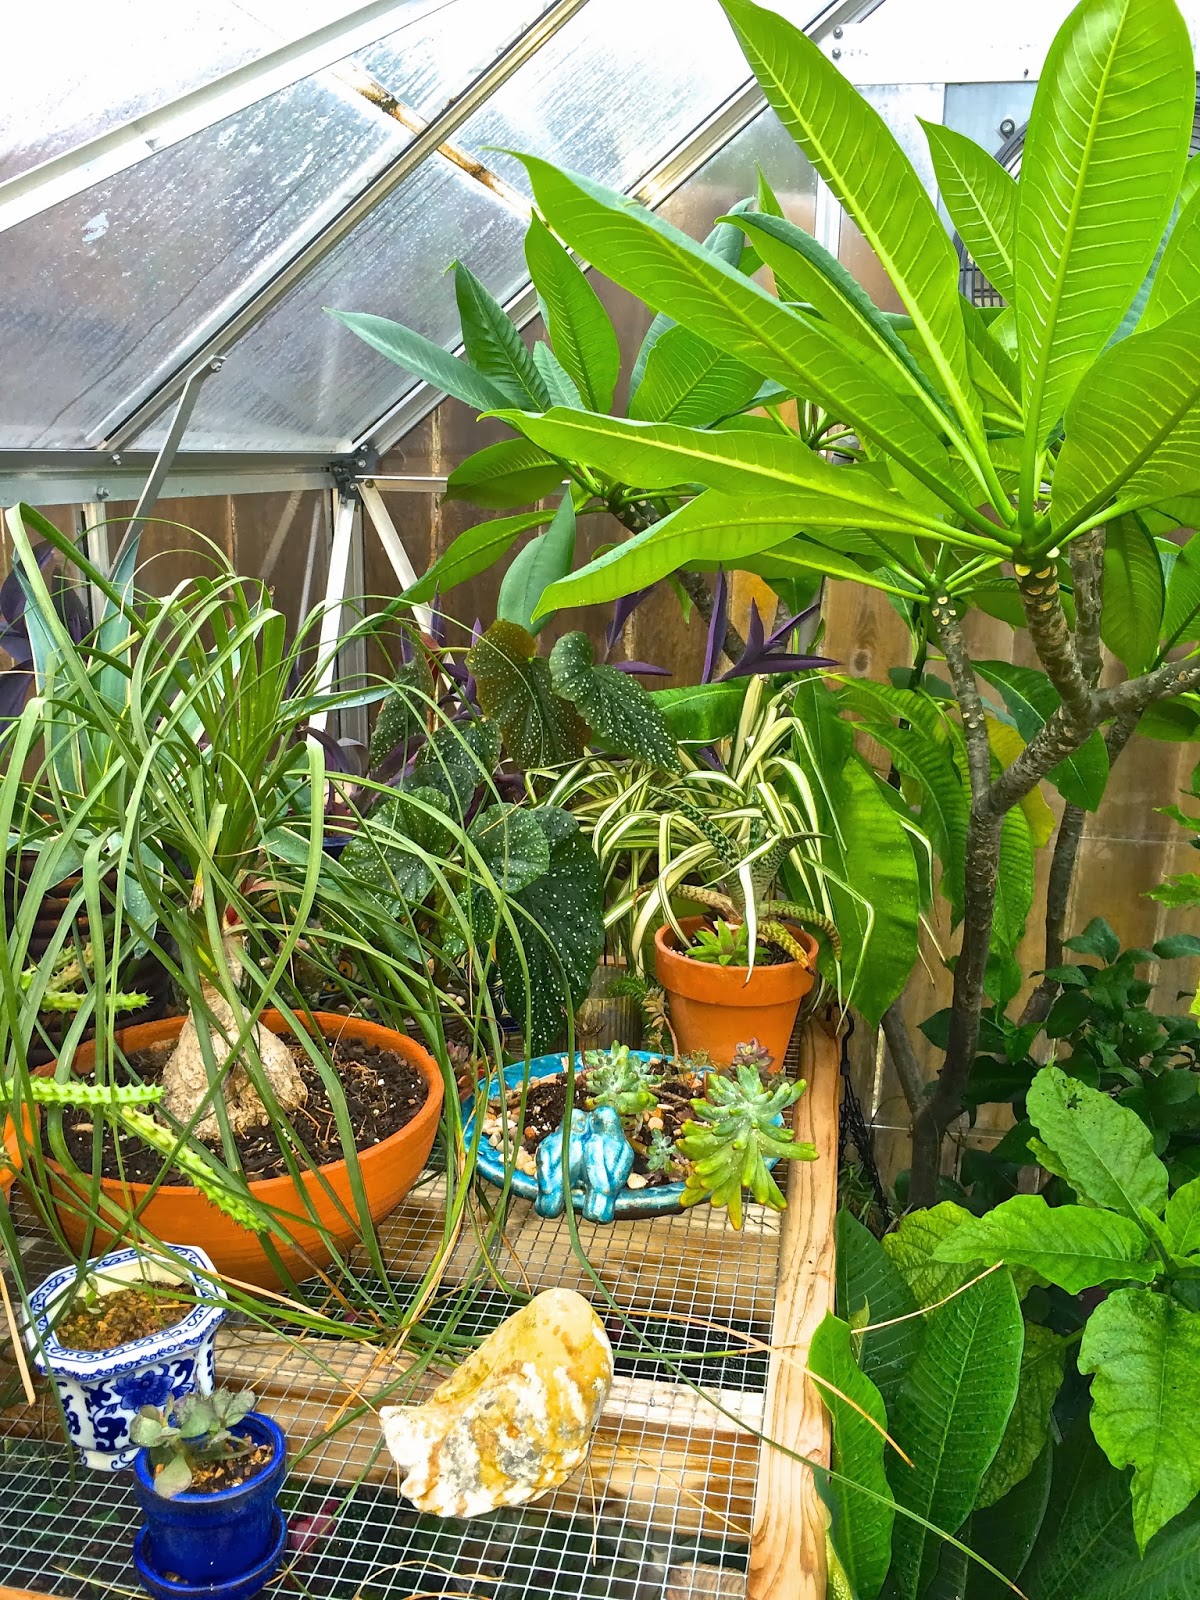
Then I wandered around the garden looking for some more interesting elements to add into the mix.  I saw some lichen up high in the cedar elm tree.  With the help of some high jumps and the broom, I was able to knock a few little bits of branch off onto the ground.  Then I stole a piece from the fairy garden and took it all to the greenhouse to clean and assemble.

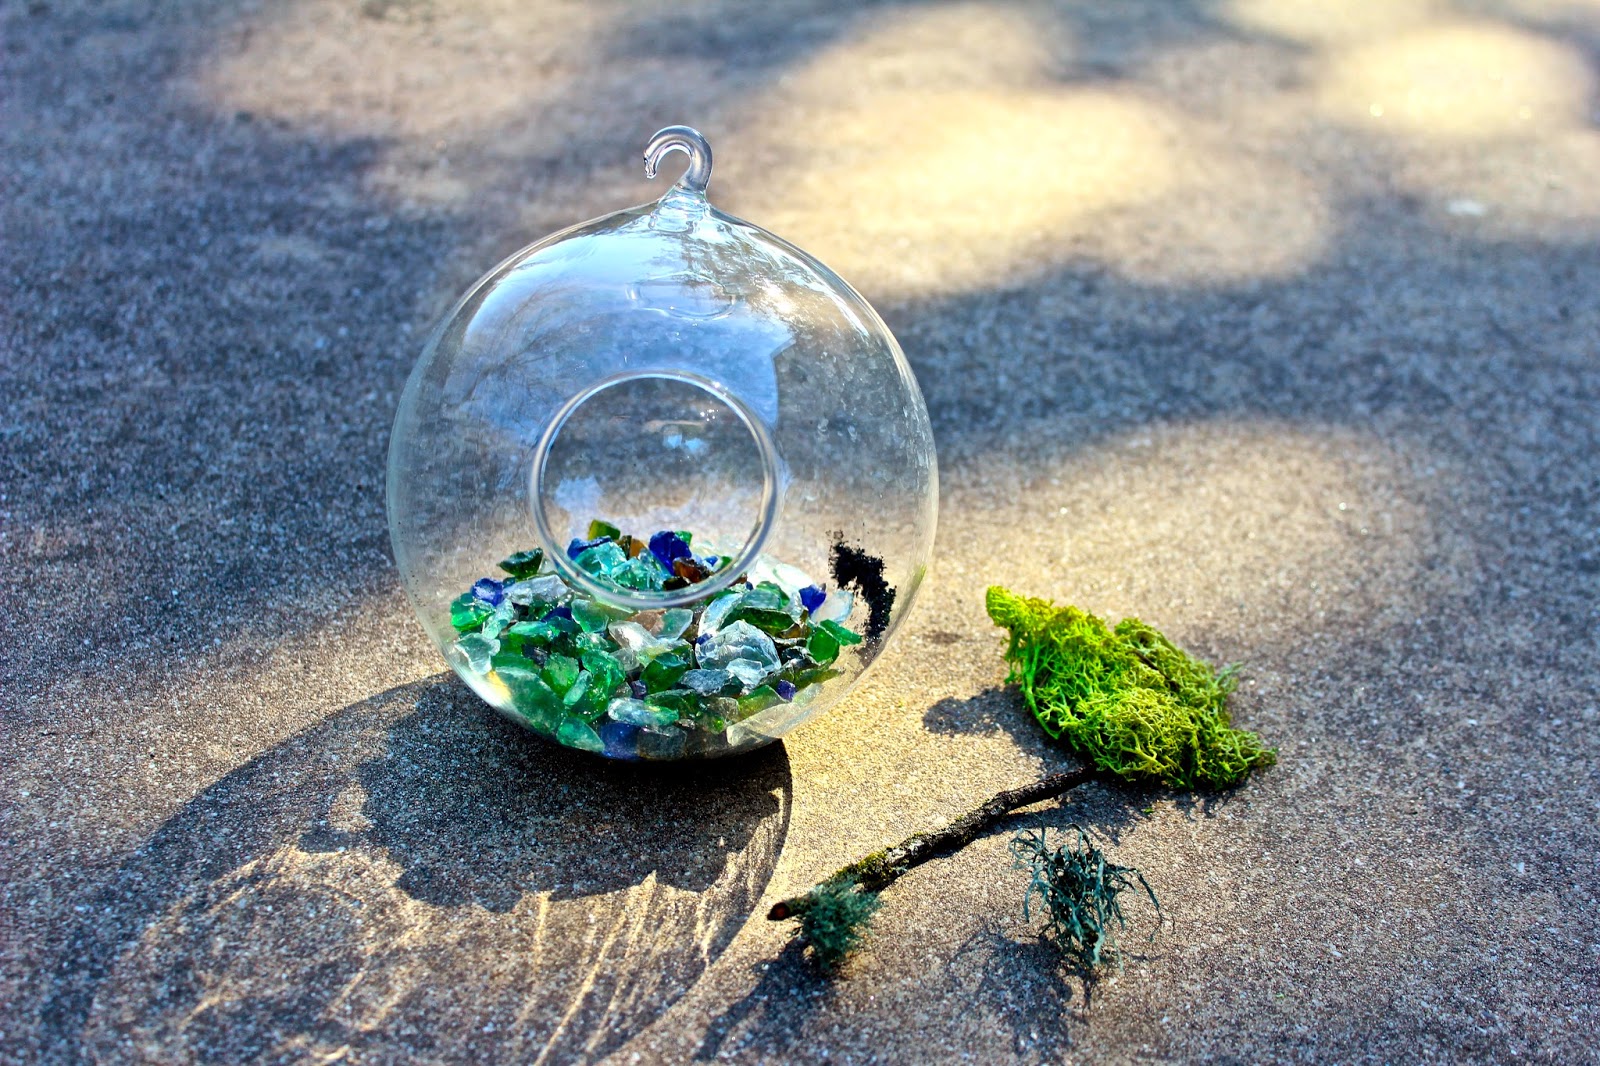
One piece of advice if you get yourself a big load of tumbled glass — don’t pile it up in the woods where it can get little bits of leaves and twigs in it — it’s a bear to get out of that glass.  After a long spell with the colander and the hose, I finally called it good enough and made sure what was left was buried.

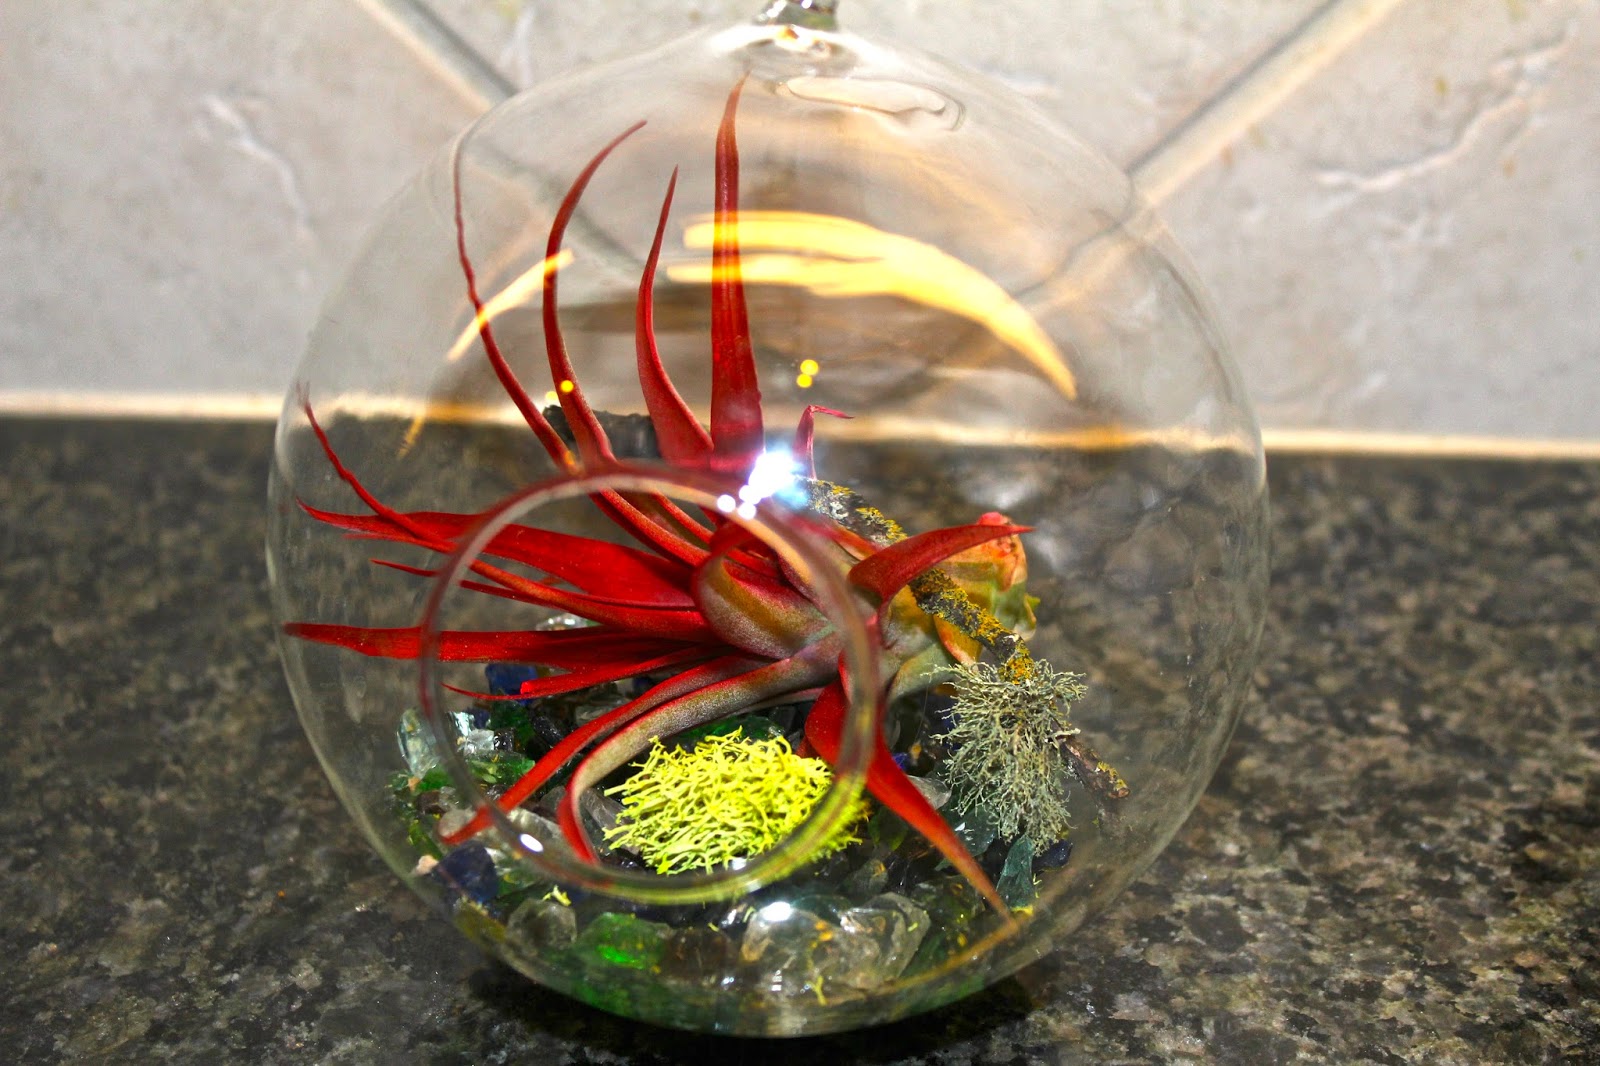
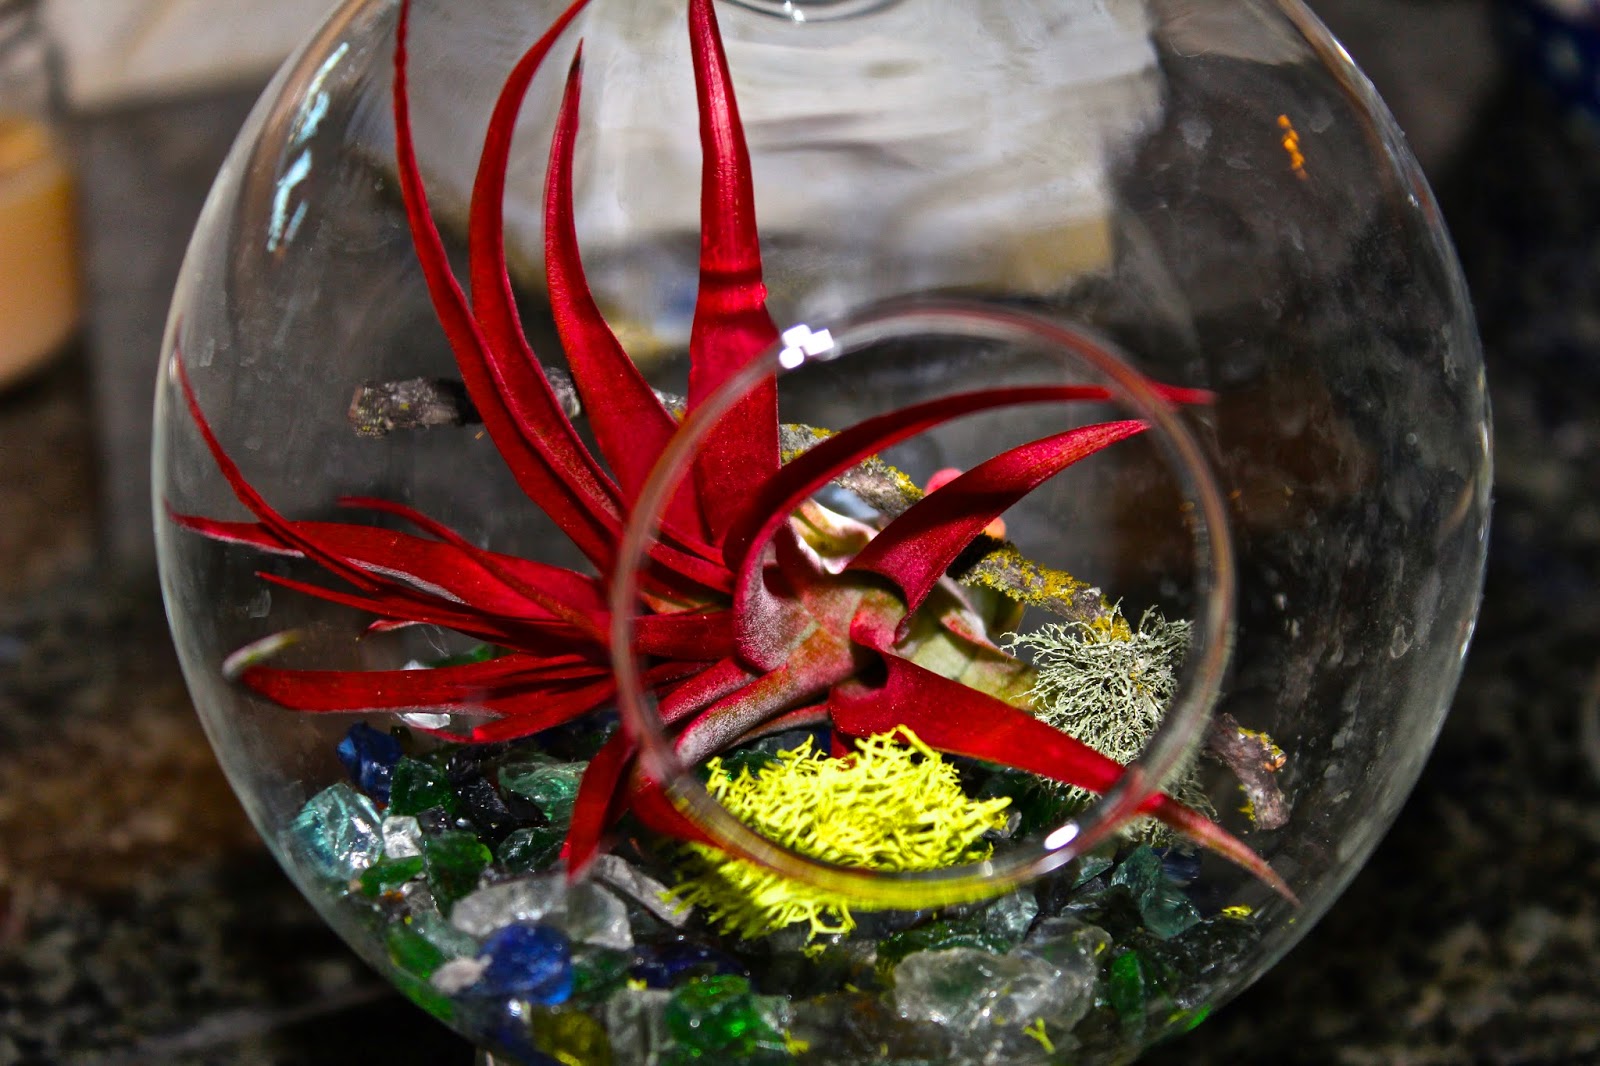
Another tip – have your tweezers and a paint brush on hand for manipulating things.  Once I put the beautiful red tillandsia into the globe, it was difficult to position the lichens exactly as I had envisioned them. 

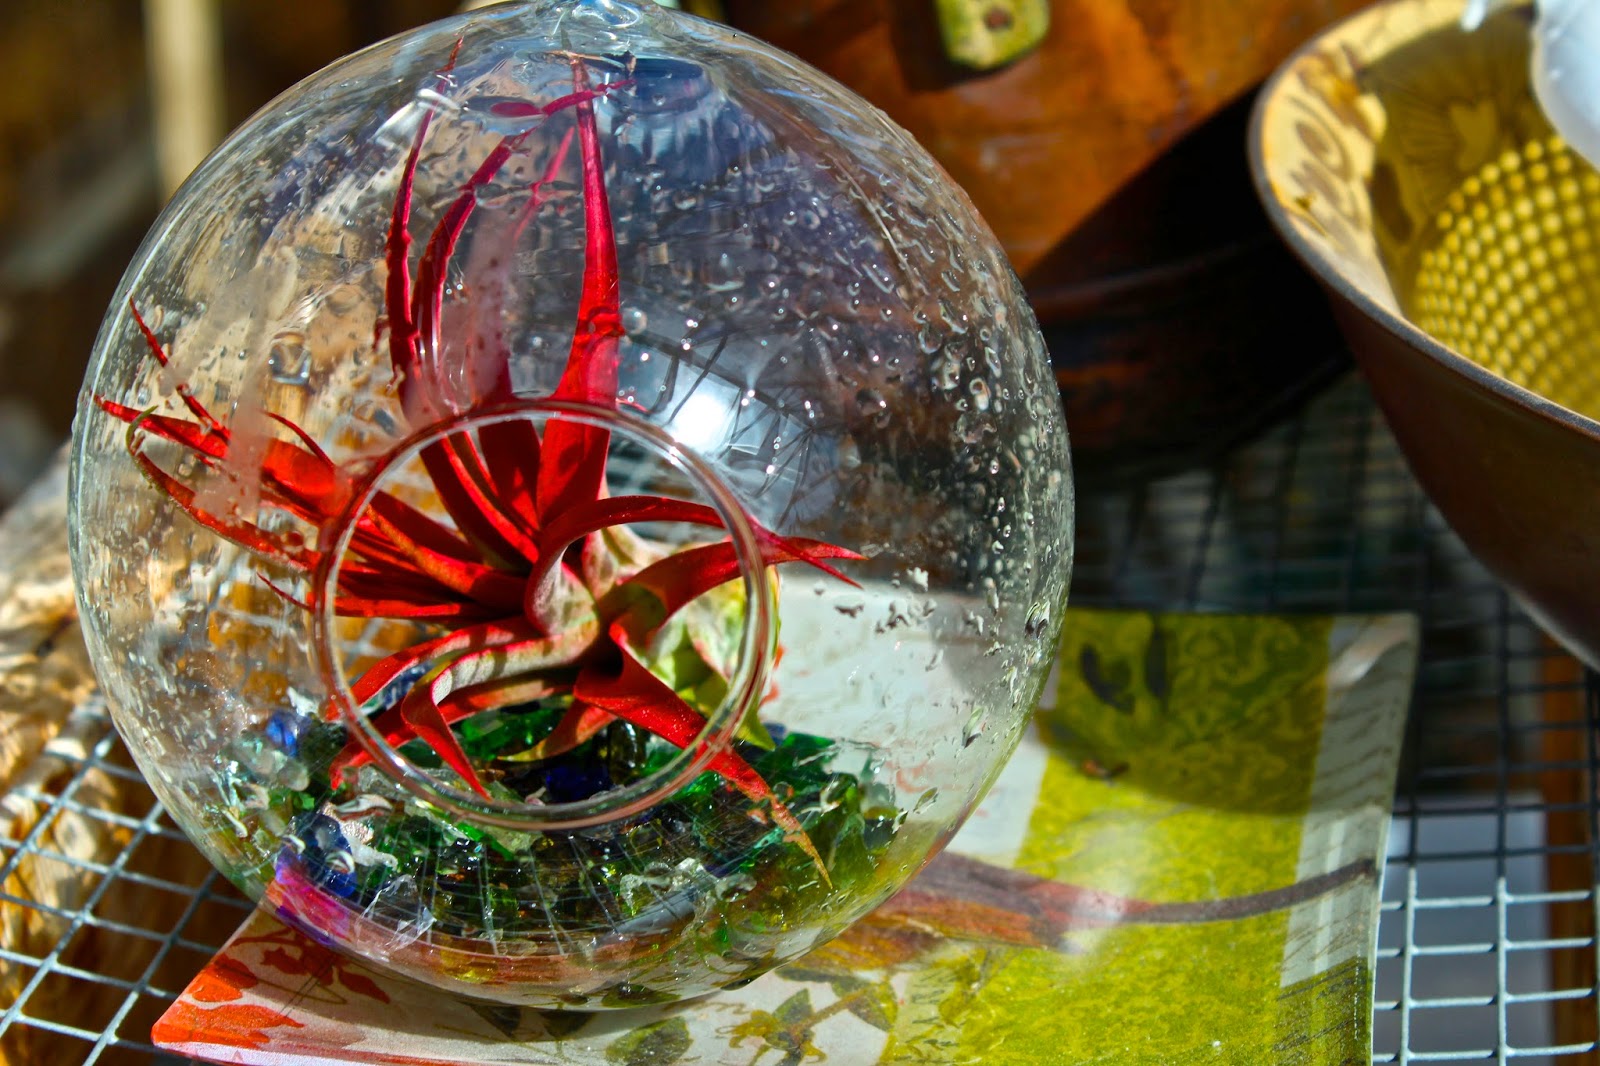
I convinced myself that it looked natural this way!

Now to find the fishing line!  I’m going to screw a hook to the back side of my desk hutch and hang it in my office. 

Now I’m on the lookout for a container to make one for my daughter.  And this, on a smaller scale, would make a great teacher/school office staff end-of-year gift, too, wouldn’t it?  Or a hostess gift.  Or…

Beautiful and easy tillandsias bridge gardeners’ winter boredom…

It’s winter and I’m bored.  I don’t really want to do outside garden chores, even on a 70+ degree day like today.  But I’m longing for something green and growing to tend.  So I’ve turned my attention to one of the easiest plants you can grow — tillandsias.

If you struggle with houseplants, these are the plants for you.  They require almost no care.

One of the latest gardening trends, you can find tillandsias in nurseries, boutiques and home stores adorning hanging glass globes, ceramic bowls and pieces of driftwood.

Tillandsia is an air plant — an epiphyte.  It doesn’t need soil to grow, but rather gets its water and nutrients from the air.  You can mount it or simply set it in a container.  It needs bright, indirect light.  You can mist your tillandsia with a spray bottle once a week, or submerge the plant in water and then remove it and turn it upside down so it doesn’t hold water in the crown, then put it back in your container.

These are my latest tillandsias, bought last week on a nursery outing.  I have two beautiful glass globes for my tillandsias.  I sometimes put lichen, rocks or sticks into the globe with the plants.  In this globe, I have placed a tiny metal bird cage from our fairy garden to accent the two tillandsias.

I chose these because I like the contrast between the bold, bright green plant on the right and the feathery, gray-green plant on the left.  And if you look closely, you’ll see that there is a bloom forming on the feathery one, arching just over the other plant.

I love their ephemeral look.  I love that they are low-maintenance.  And most of all, I love that these only cost me $1.49 each since I’ve killed several plants that came before them. 

Yes, I know what you’re thinking – how hard is it to remember to mist once a week?  Apparently, pretty hard!  But, it also gives me an excuse to go plant shopping.

So, if you’re missing your garden in the middle of winter – find a fun container and adopt a tillandsia today.

Check back for another post about the other tillandsia container.

Agaves – which ones were hardy enough to survive the surprise winter?

Have you been adding xeric agaves to your garden in an effort to be more water-wise in light of our extreme heat and drought?
Adding native and adapted xeric plants to the garden is the perfect solution to reducing your lawn and your water bill.
But, as with all plants, it’s important to do  your research and know what you’re getting.
This cold and early winter weather had been hard on some agaves that can take the heat, but can’t handle the cold.  
I’m always pushing the edge of the envelope (and not just in gardening, but we won’t talk about that here).  So, that means I trial many plants in my garden that might not be a perfect match for our climate.  And, sometimes it kicks me in the …trowel.
Here’s what did and didn’t make it at this winter’s current low in my garden:
The squid agave, pictured above, is always a tough cookie.  They have survived for me down to 17 degrees in the icebox winter of 3 years ago.  

The giant franzosini agave handled the cold with aplomb.  It’s big and bold and still making way too many pups!  Let me know if you want one!  I’ll even ship!  Seriously!

This was an experiment.  This octopus agave is stunning when it’s alive.  Trust me.  However, I knew that experts report it hardy only to between 26 and 28 degrees.  And that’s in the ground.  Plants in a pot are much more tender because their roots get colder above ground faster.  Sometimes it doesn’t even freeze here in the winter, so I was taking a calculated risk, knowing I might simply have to replace it when it warms up next spring.  And I will replace it.  I love the look and the sculptural shape so I will just take my chances and treat it like an annual in cold years.

This Arizona star agave looks pretty ugly now, but I think it will come back from the crown — it will just take a while to be big and beautiful again.

This standard weberii agave seems to be tolerating the cold just fine.  It’s been scraped up by the deer, roaming around looking for places to rub their antlers, but that’s just a cosmetic problem for this agave.

I’m very surprised that this variegated agave Americana made it through.  I’ve lost some in previous years’ freezes and I fully expected to lose this one at 24 degrees.  There are a few ugly spots on the back side, but it’s doing great.  Those that died in previous years were much younger, so I think this one did well because it’s well-established now.

This wicked sharkskin agave in the back xeric bed is hanging on just fine.

I think this sweet little quadricolor agave has struggle with some deer munching and the cold, but a little pruning will help it shine again in the spring.

You can see that the green goblet agave has some freeze damage on the lower leaves, but the rest of it looks healty.  Another haircut and it will be pretty as a picture again.

 And, finally, my whale’s tongue agave is hanging tough and looking good in the cold.

Just to set the record straight, I have learned some lessons from previous freezes.  I have several desmettiana agaves in pots in my greenhouse – staying toasty warm for the winter.  I use to have a nice one along the front walk and it died in a slight freeze.  They are so pretty that I reserve those for pots now.

As long as this is as cold as it gets this winter, most of my agaves are safe.  Hint, hint….  How are your agaves faring in the winter vortex this year?

Next post I’ll talk about how and when to prune out the rotting stuff.

No lack of gardening chores, even in winter weather…

We’ve had some uncharacteristically cold days and nights in Central Texas this year.  Winter arrived early and didn’t let up. 

I’ll admit, I do enjoy a little garden break.  But the garden still beckons me when the sun comes out and the weather warms just a little. 

As I look out, I see:

  • shrubs and perennials I’d like to prune,

(don’t those look terrible?)

  • weeds that are taunting me by growing right through the cold,

  • leaves calling my name (even though I will leave them there to protect plants),
  • the see-sawing back and forth of deciding whether or not to do some larger projects while things are dormant,
  • and piles of empty pots, unattended seed packets and a few dead plants in the garage – breaking the rules of everything having a place in the new cabinets.

But I also see:

  • bulbs peeking up out of the mulch, growing just as they should, working hard to be ready for spring,

  • winter-loving plants like the hellebores and quince getting ready to bloom, 

  • and the blue bonnet foliage growing and spreading.

I know what comes next, do you?  The rationalizing…

I think … oh, I still have plenty of time go take care of those chores … oh, it’s still pretty cold out – I don’t really want to be out there yet … oh, I should be doing indoor organizing chores …

You know the drill, I know you do.  Don’t those things go through your head as well?

Ah, the peace of winter and the promise of spring. (And just a little smidge of the guilt of gardening!)

By |2016-04-14T02:39:28-05:00January 9th, 2014|Blog, Sharing Nature's Garden, Uncategorized|0 Comments

Keeping tender plants under wraps protects them from freeze…

It is that time of year when we play chicken with Mother Nature.  Will it really get that cold?  Am I in a little pocket that’s warmer/colder/somehow different than the forecast?  Some of us are in perpetual denial, while the rest (like me) run around like Henny Penny thinking the sky is falling.
Depending on the source you check, the average first frost here in Austin is said to be anywhere between November 28 and December 5.  We didn’t follow the norm this year – with one of the earliest freezes for some areas last week.  Regardless of when winter arrives, there are many things you can do protect tender plants from frosts or freezes.
First, water moderately before the freeze.  Water loses its heat more slowly than air throughout the night.  Combined with covering plants or even a heat source, watering can help make a real difference by a few critical degrees.
Sheets, blankets and heavyweight row cover can all help protect plants from a freeze.  But it’s important to note that it’s not the cover that keeps the plant warm, it’s the radiant heat coming up from the ground that is held in by the cover.  Drape the cover all the way down to the ground and secure it like a tent with rocks, bricks or my favorite – canned vegetables (lighter than rocks, easier to find in a pinch, and they don’t mess up your sheets and blankets).
Do not, however, drape something over the top of the plant and then tie it around the trunk like a giant lollipop.  This is pointless, because you are actually keeping the heat away from the plant.  If you have plants that can’t withstand the weight of a blanket or sheet, you can plan ahead and use tomato cages, large boxes or PVC hoops or frames – really, anything to hold up the cover.
For particularly tender plants or a really cold night, you can also add a droplight or the large-bulb Christmas lights under the cover to create some additional heat.  Be careful not to let the bulb touch either plant or cover.
When temperatures rise above freezing – remove covers the next day to allow the plants to absorb the next day’s heat and recover as necessary.
Protecting container plants is a little trickier.  Their roots are much less insulated than plants in the ground and will get much colder.  To protect them, you can group them against your house and use the same techniques as you would for in-ground plants.  Even the littlest radiant heat from the house can help make a difference on a cold night.
Having spent years putting big pots of plants in the garage, this is also a great way to overwinter them, with a few conditions.  Remember, plants need light, and overhead light won’t cut it.  If you don’t have windows in your garage, make sure you open the garage door to let in sunlight and fresh air when temperatures allow.  In the garage, some plants will go dormant for the winter reserving their energy in their roots for the next spring.  Water them sparingly and let them rest for the winter. Once indoors, these plants require less water since there is no wind, and winter
daylight hours are shorter and lighting levels lower. When their leaves drop, don’t worry and don’t fertilize them to try to push them into growth while they are inside.
So, plan now – collect your sheets and blankets, find some tomato cages, lights and canned goods and you’ll be ready to go when a surprise weather forecast sets you scurrying in the dark at 6 p.m.

Early freeze means plants need TLC today…

Our first freeze here in Austin is usually the first week in December, so we are ahead of schedule today, with a freeze warning for the next two nights.

After a month of delicious rains, Austin gardeners are beaming with the resulting bursts of bloom and growth. 

But that’s about to come to a screeching halt if the weather forecasters are right.  The outlying areas of the Hill Country will certainly see a freeze, but Austin proper temps are usually a little warmer.  We’ll see.

Unlike most years, I got my plants into the greenhouse in time.

I’m still taking cuttings from tender plants throughout the garden, so space is filling in quickly.  I will admit that a few large pots/plants just didn’t make the cut this year so I could have room to walk into the greenhouse and to reach the ceiling windows in the back.

Many of the plants got a good clean up and a haircut.  A few of the plumerias that were towering over me were pruned to fit and the new stalks planted up in smaller pots.  After the heat of our dry and blistering summer, I get weary of potted plant care – every single day.  The cooler temps were invigorating and it was really fun to have my hands in the soil again.

The temperatures are dropping through the day today as the cold front hits.  I’ll turn the heater on late afternoon and keep them toasty warm through the night.

They look cozy in there together, don’t they? 

Now I just have to cover the peppers, pick the tomatoes and the basil, take more cuttings and water.

Guess I only thought I was ahead of the game!

Are you ready for winter?

Go to Top